If you have existing feedback from another source, you can import that feedback into Idea Manager using a CSV file:
-
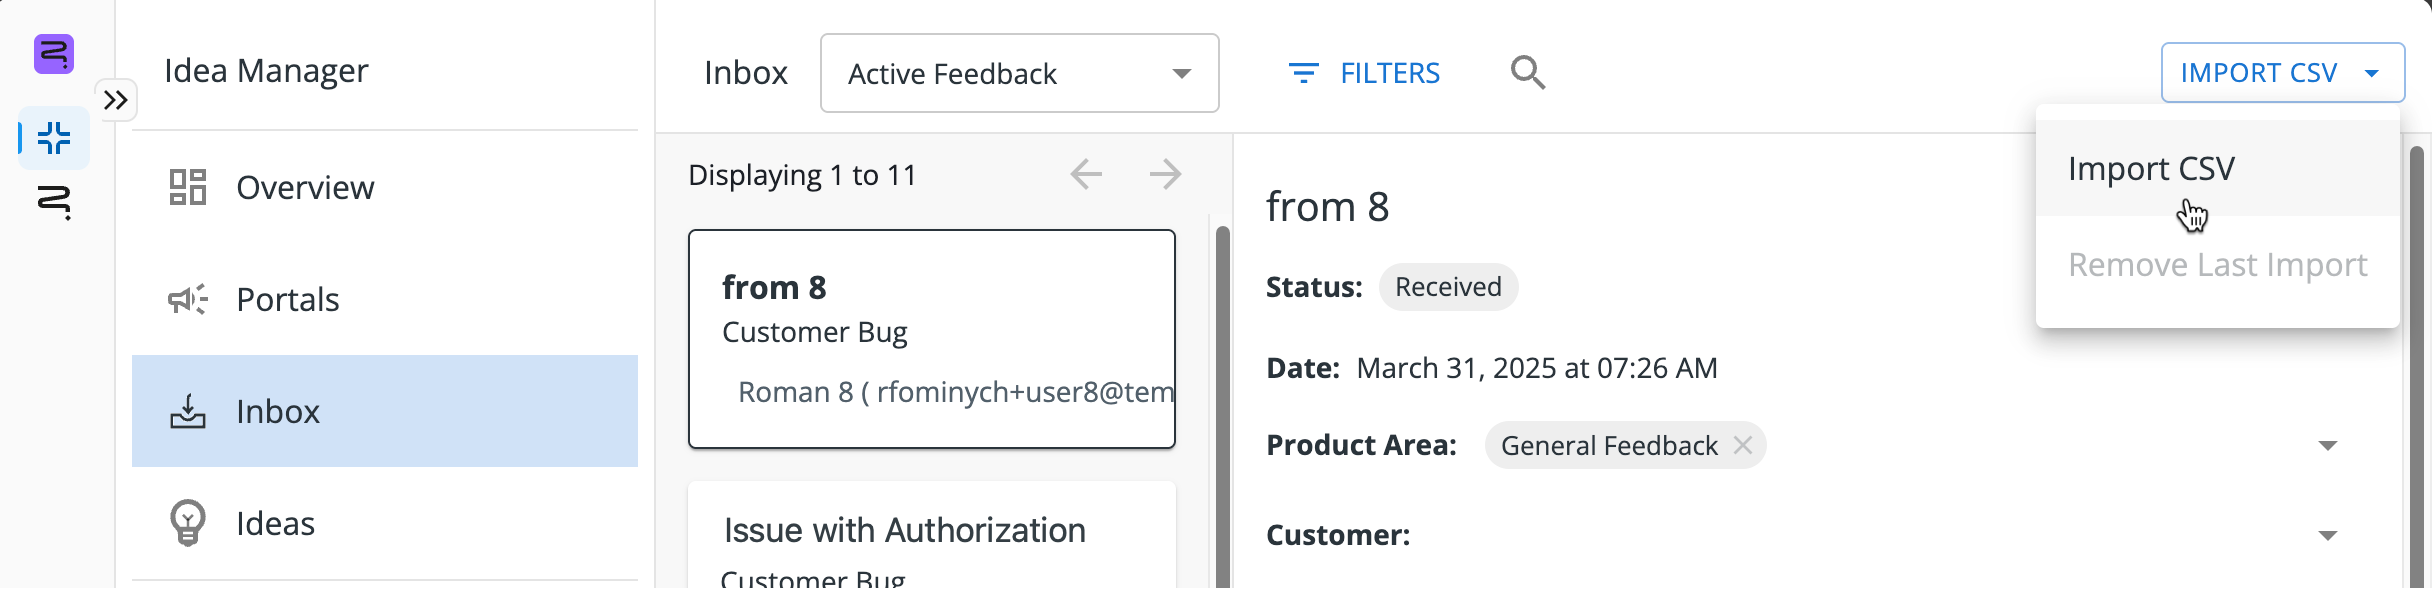
From the Idea Manager landing page, go to the Inbox section.
-
In the top-right corner, click the Import CSV button.
-
Select Import CSV from the drop-down menu.
Importing Feedback Using the CSV Import Tool
-
To get started, drag and drop your CSV file into the dashed area or browse to its location on your computer by clicking inside the dashed area.
-
All imported CSVs require a Summary column, but can also include additional fields.
-
There is a 250MB limit on uploaded CSV files.
-
On the next screen, you can map the imported fields from your CSV. There are four scenarios you may encounter during this step:
-
Existing Fields: If an in-app version of the field exists, the imported fields should automatically map to their in-app counterparts.
-
Incorrectly Mapped Fields: If an in-app version of the field exists but is mapped incorrectly during the import, you can re-map the field by clicking the blue field header and selecting the correct field from the drop-down menu that appears.
-
Unmapped Fields: If an in-app version of the field exists but is not mapped during the import, you can map the field by clicking the grey field header labelled Map to Field and selecting the correct field from the drop-down menu that appears.
-
New Fields: If the field does not exist yet, you can create a new field by clicking the grey field header labelled Map to Field and selecting + Create New Field at the bottom of the provided drop-down.
-
-
On the same screen, you can also update your Import Settings. These allow you to specify whether a header row exists, confirm the date format for your imported file, and select any product areas to map these items to.
Though you are required to select a product area for import, this option can be changed once the data has been imported.
-
To proceed, click the Validate button at the bottom of the screen. A summary of the import should appear. If there are any errors flagged during validation, you will be able to download an error log that explains the reason for the validation issue and correct those. If there are too many errors flagged during validation, you will need to review your file and re-attempt the upload.
-
To complete your import process, click Import. Once the import is completed, you will receive a summary of the import and can close out of the menu when ready.
Removing Imported Data
For a short period of time following the import, users are able to remove the previously uploaded data. This can help to clean up erroneously uploaded files or remove test data. To remove a previously uploaded CSV:
-
From the Idea Manager landing page, go to the Inbox section.
-
In the top-right corner, click the Import CSV button.
-
Select Remove Last Import from the drop-down menu.
-
In the window that appears, select Remove to complete this process.
This action is permanent and cannot be undone. By completing this action, all of the data you imported will be deleted from your account. Newly created product areas and custom fields are not deleted.