Publishing in Table View or Timeline View
To publish a Table or Timeline view to URL, PNG, or HTML:
-
Open the roadmap and select the view you want to export in the View dropdown.
-
Select the Export Preview button in the toolbar.
-
Select the export format: PNG, HTML, or URL.
-
Choose the appropriate export options.
-
Select the publish/download button that corresponds with your export format.
Exporting will only capture what is shown in the time slider span for the visualization. If you change this, you will need to re-export/re-publish the new roadmap visualization.
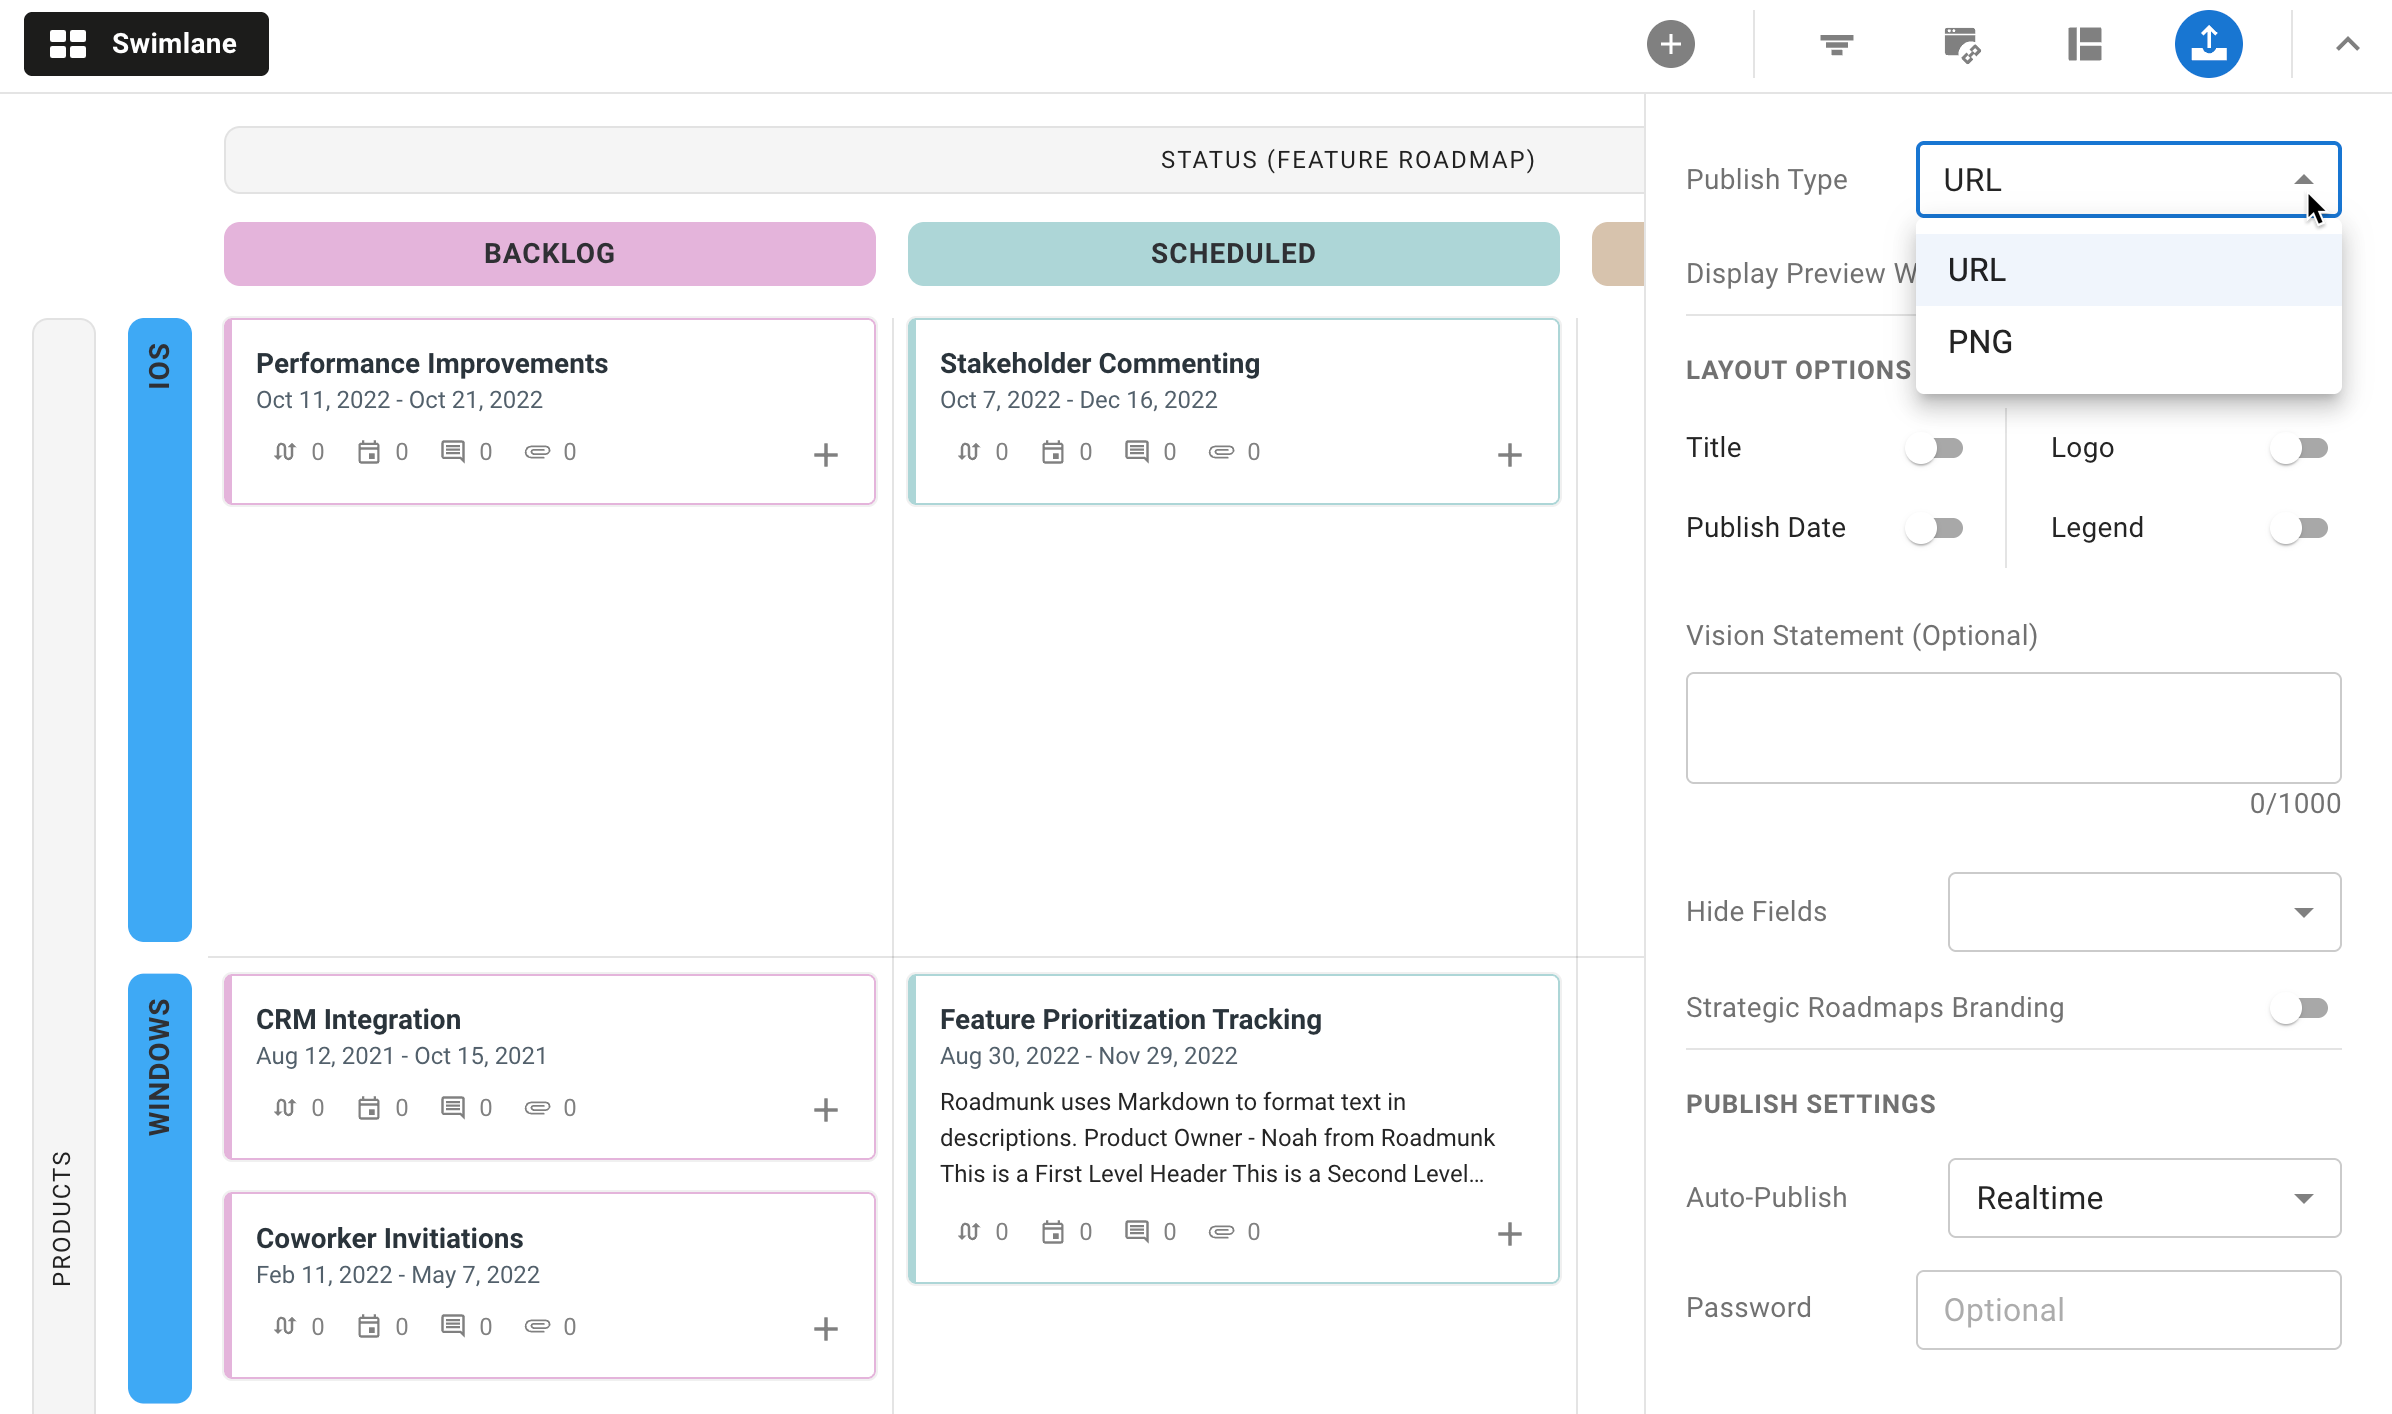
Publishing in Swimlane View
In Swimlane view, you can publish your roadmaps using URL or PNG. HTML publishing is not available for swimlane views.
To publish your swimlane view to URL or PNG:
-
Open the roadmap and select the view you want to export in the View dropdown.
-
Select the Export Preview button in the toolbar.
-
Select the export format: PNG or URL.
-
Choose the appropriate export options.
-
Select the publish/export option at the bottom of the Export panel.
Exporting will only capture what is shown in the time slider span for the visualization. If you change this, you will need to re-export/re-publish the new roadmap visualization.
Publishing a View to a Web-Hosted Format (URL)
When you publish to a web-hosted version of your roadmap (URL), you create a shareable link that points to an image of the view published in Strategic Roadmaps. Share the link with anyone or set up a password to provide access only to selected people.
To publish a roadmap view to a URL, you would need either Owner or Editor permissions on the roadmap. There is no plan limitation on this publication method, meaning that all teams with Strategic Roadmaps access should be able to use this feature.
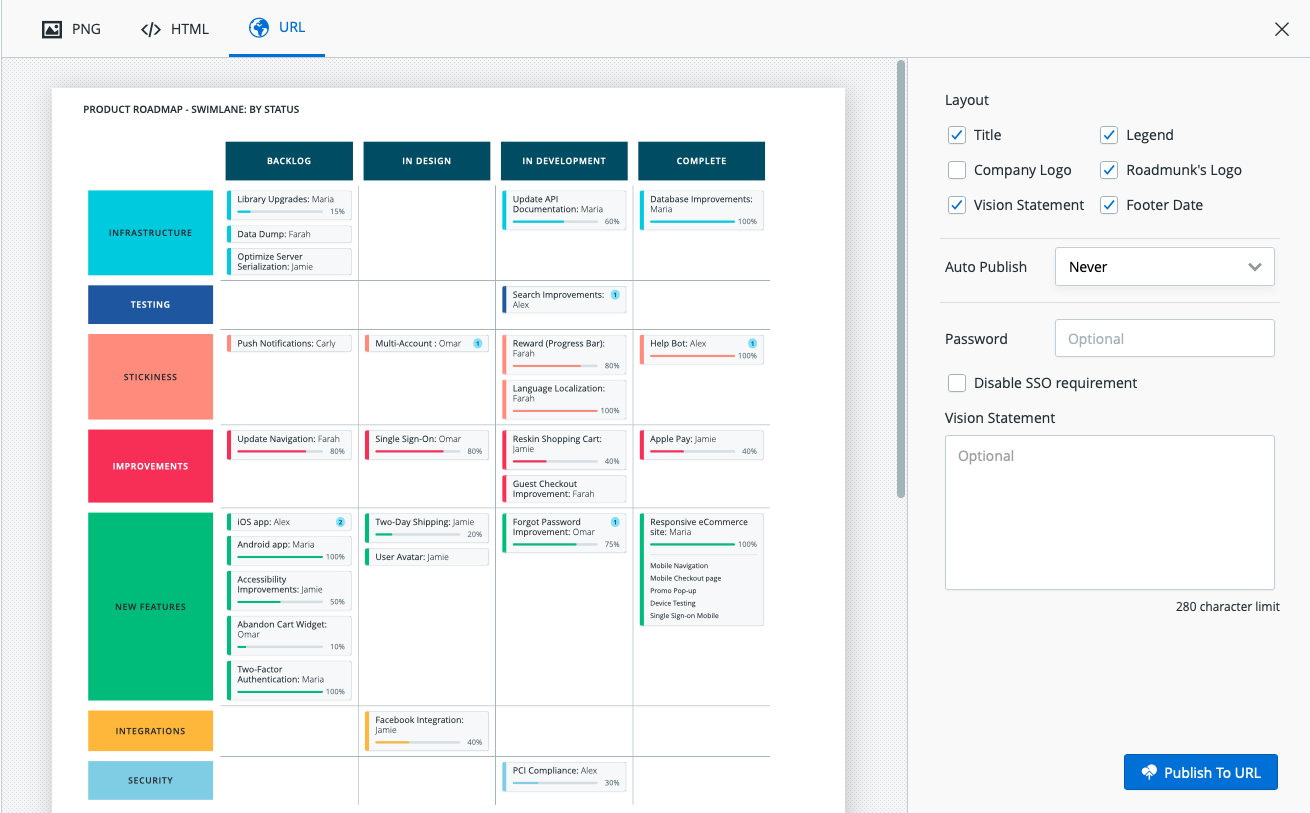
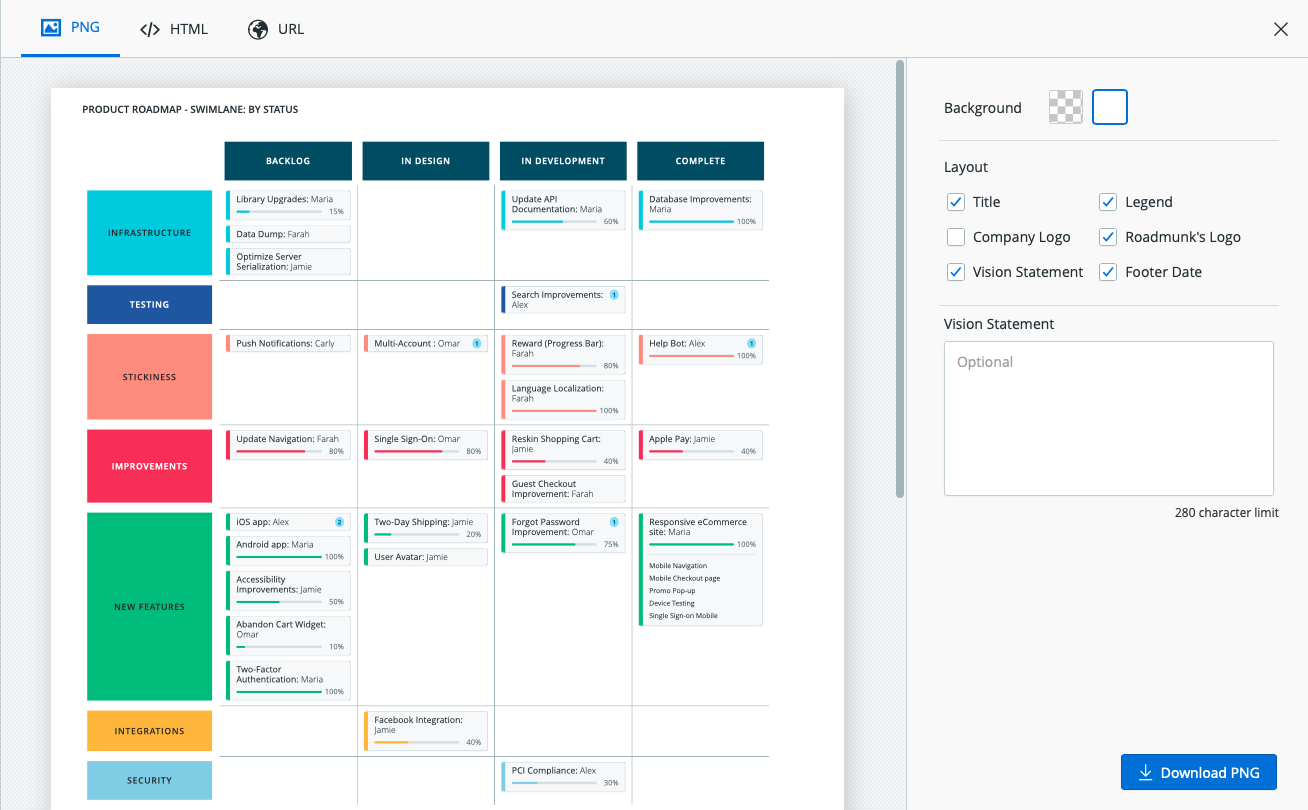
To export to a web-hosted version of your roadmap, select the URL option from the top navigation in your Export Settings menu. Once there, you can specify the following export settings using the formatting panel on the right-hand side:
-
Background: Select Transparent or White (default) for the image background.
-
Layout: Select the view properties you want to appear on the image, including:
-
Title (roadmap and view names)
-
Legend (what the colours mean)
-
Company Logo
-
Vision Statement
-
Footer Text
-
-
Auto Publish: Select the cadence at which to automatically publish your roadmap
-
Password/SSO Enforcement: Secure your roadmap using standard or SSO authentication
When you're ready, click the Publish to URL button at the bottom-right to publish the roadmap.
If you make any changes to the Export Settings Menu, you will need to publish the roadmap again. Examples include changing the title, adding/removing something from the layout, or adjusting the vision statement.
Locating the Published Roadmap URL
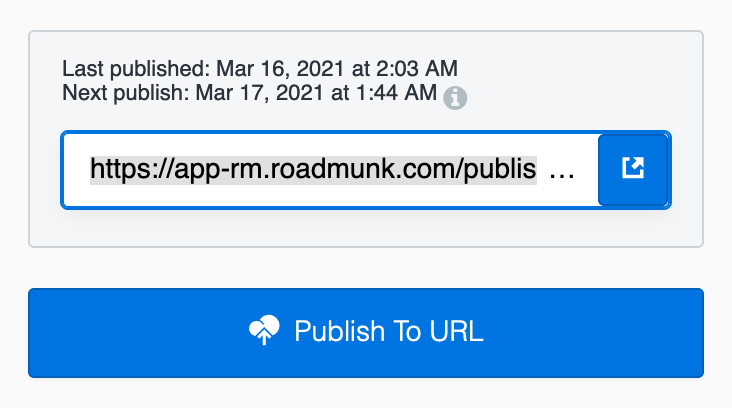
After clicking Publish to URL, your brand new URL will appear at the bottom of the export settings panel in your Export Settings and in the menu that appears when you click the Export button on your roadmap. Although only Owners and Editors can publish a particular view, any user with access to this particular roadmap can view and share the published roadmap's link.
All the URLs published through Strategic Roadmaps are unindexed and unsearchable for an extra layer of security protection!
Deleting a Published Roadmap URL
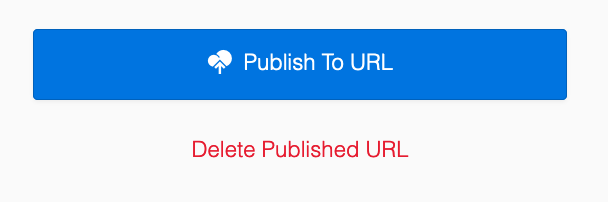
Along with being able to generate a published URL of your roadmap view, users with Owner and Editor permissions are also able to quickly delete a published URL, should the need arise. To delete an existing published URL, users can select the Delete Published URL option from the bottom of the export settings panel in your Export Settings or in the menu that appears when you click the Export button on your roadmap.
In both cases, you'll be prompted to confirm the deletion through a confirmation modal that appears in the middle of your screen. Once confirmed, a toast notification will appear in the bottom-left corner letting you know that the published roadmap URL has been successfully deleted.
This change is permanent and cannot be undone. Once a published URL has been deleted, you will no longer be able to access the published roadmap view from that URL and will be unable to republish the roadmap to that particular URL.
Publishing a View to PNG or HTML
When you publish an offline version of your roadmap (PNG or HTML), you create a shareable file that contains either a static or interactive version of the view published in Strategic Roadmaps. Once generated, this can be shared directly with your team or input into any of your existing team's existing documentation.
Any user with access permissions is able to publish a roadmap view to PNG or HTML; however, this feature is only available for teams working on our Business, Professional, or Enterprise plans.
To export to an offline version of your roadmap, select the PNG or HTML option from the top navigation in your Export Settings menu. Once there, you can specify the following export settings using the formatting panel on the right-hand side:
-
Background: Select Transparent or White (default) for the image background.
-
Layout: Select the view properties you want to appear on the image, including:
-
Title (roadmap and view names)
-
Legend (what the colours mean)
-
Company Logo
-
Vision Statement
-
Footer Text
-
When you're ready, click the Download HTML or Download PNG button at the bottom-right to export the roadmap to your specified format. The export to your specified format may take a couple of minutes to complete on our end if you're working in a larger roadmap, but the download should trigger automatically once the export has been completed.
Publishing to HTML is not available in the Swimlane view.
Differences Between PNG and HTML Formats
When choosing which offline format to export, we often recommend that you make the decision based on how you intend to use this export. For example:
-
PNG is typically used when you need a static representation of the roadmap. Users will often use their exported PNG files in printed documents, PowerPoint presentations, videos, or webpages.
-
HTML is typically used when you need an interactive version of the roadmap. Because of its portability, users will often use this for the team and stakeholder-facing web pages and documentation.
Publishing a Portfolio Roadmap
Similar to source-level roadmaps, users can export the items in a Portfolio roadmap by following the instructions listed above for URL, HTML, and PNG publications (respectively). Since Portfolio Roadmaps only contain a single view which is created by rolling up multiple source-level views, you won't need to select the view you want to export or publish as you would when exporting a source-level roadmap.
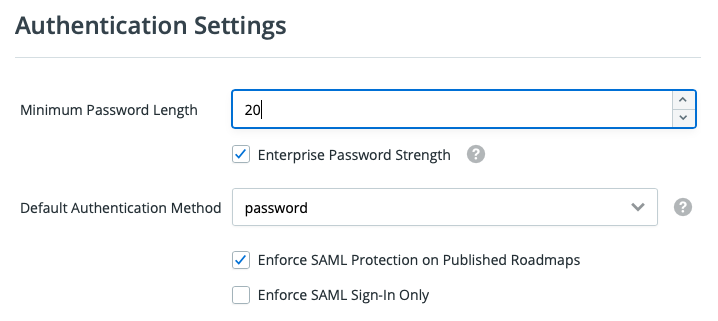
Enforce SAML SSO on Published Roadmaps
To ensure that users comply with company security policies, account admins have the option to Enforce SAML Protection on Published Roadmaps for anyone viewing a published roadmap.
Once SAML/SSO has been enabled, any user with Account Admin permissions can:
-
Click into your avatar in the bottom-left corner and select Account Settings.
-
In the window that appears, click on the Company tab.
-
Scroll to the bottom and click the Enforce SAML Protection on Published Roadmaps checkbox
Once enforced, Account Admins will still have the option to disable this enforcement on a per-roadmap basis by selecting the Disable SSO Requirement checkbox prior to republishing their roadmap, while this option will be greyed out for Collaborators or Reviewers.
Hide Fields on Exported Roadmaps (URL or HTML)
Roadmaps are often seen as living, breathing documents that are full of contextual data which helps to build the story of your product; however, while the full scope of contextual data in your roadmap might be suitable for your team and other internal users, external users often don't need to see every little detail of the roadmap - just the important pieces.
Interactive published roadmap formats (URL & HTML) give users the option to hide fields from the item cards on the exported document, to ensure that users have control over which data external users will see and which data remains internal-facing only.

From the roadmap view you're looking to publish:
-
In the publishing menu, select either the HTML or URL tab
-
From the formatting panel on the right-hand side, click on the Hide Fields dropdown
-
Select the fields you are looking to hide from the export in this dropdown
Once your fields have been selected, you can publish your roadmap and save these changes by selecting the Download/Publish button .