Filters allow you to tailor roadmap visualizations by displaying only the items that are relevant to a specific audience. Unlike items, fields, and milestones, which are shared across all of a roadmap's views, filters are applied to a specific view and saved as the view's filter set.
A view's filter set determines which roadmap items and milestones appear in the view's tables, Timelines, and Swimlanes. Any items or milestones that don't match the view's filter set are excluded from the view.
Which Fields Can Be Filtered?
Fields that can be filtered:
-
Lists
-
Multi-Select Lists
-
Numeric
-
Dates
Fields that cannot be filtered:
-
Item and milestone names
-
Descriptions
-
Free-form fields
Applying filters
Filters can be applied to a view from the items table or a Timeline or Swimlane visualization. Filters cannot be applied to the All Items view.
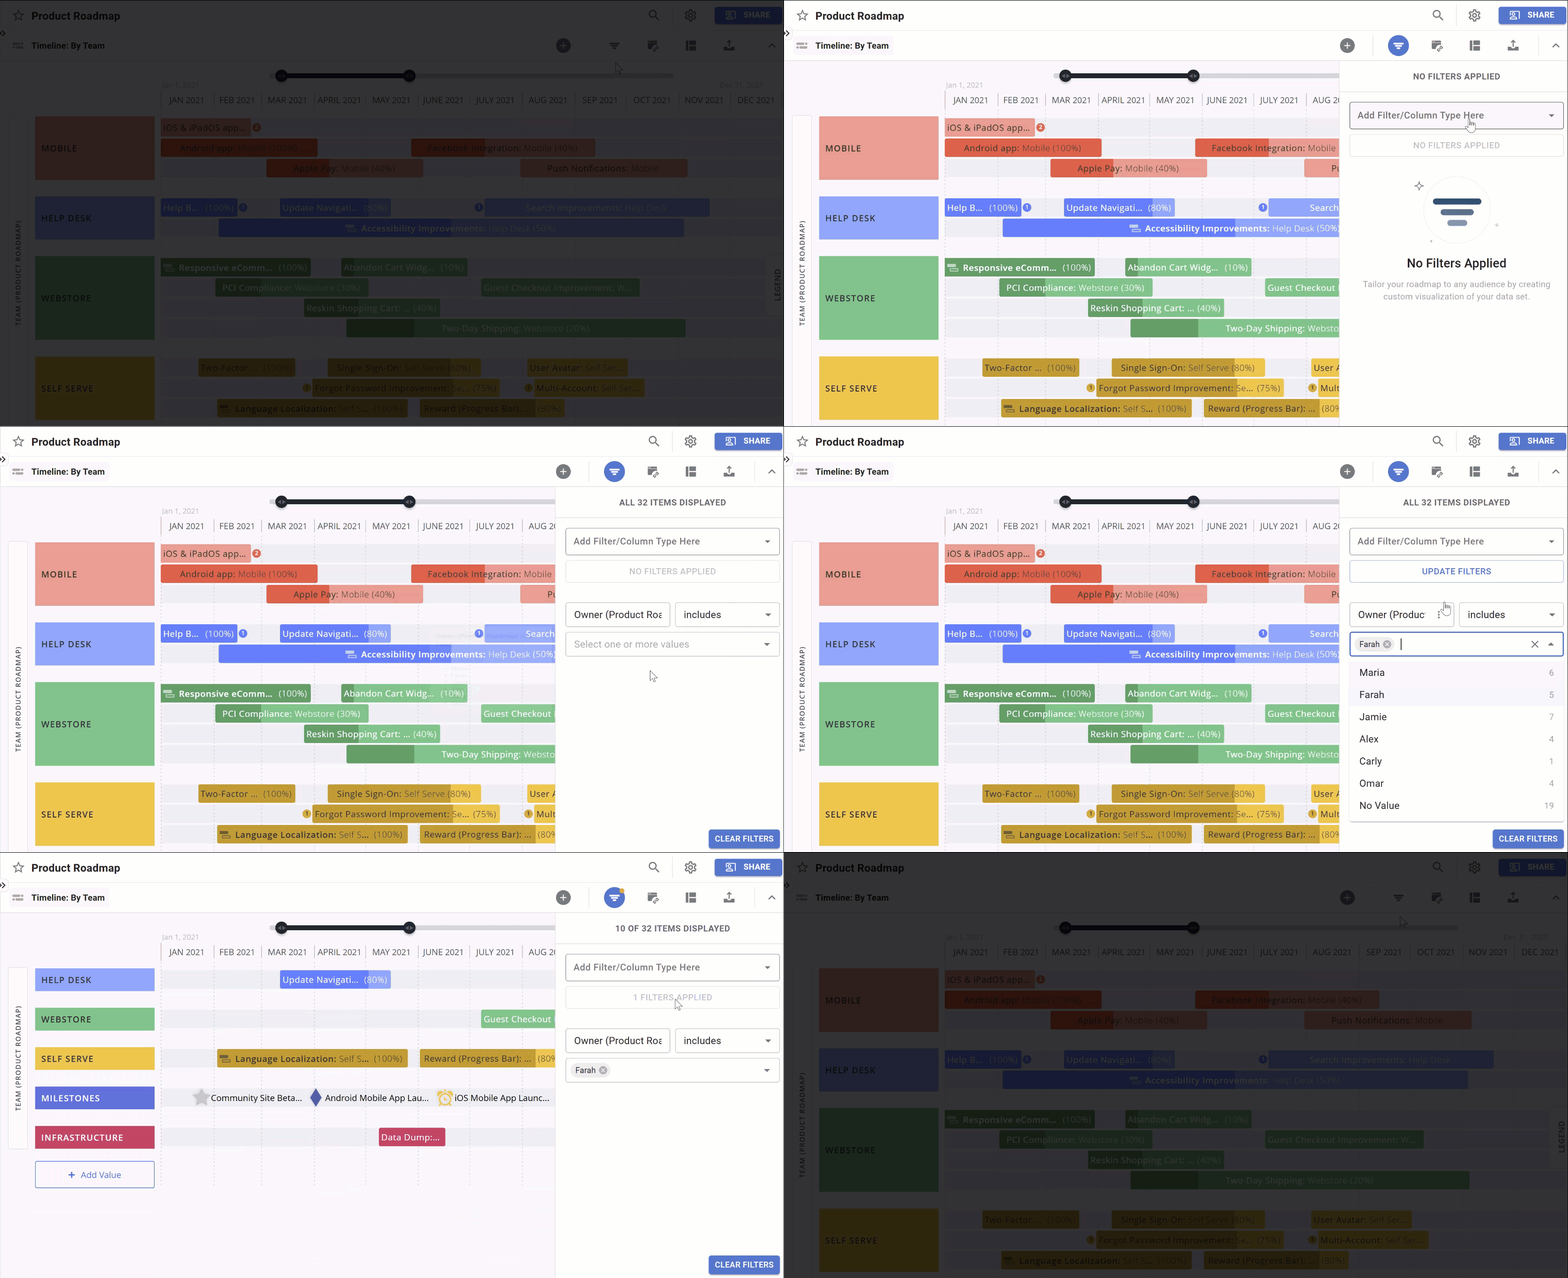
To apply a filter to a view:
-
Click the Filter icon in the toolbar
-
In the Filters panel, click Add Filter/Column Type Here and select a field from the dropdown
-
Select the field values you want to filter by and the filter options
-
Click the Apply Filters button
Filter Options
You will see different filter options depending on the field type selected.
List Fields
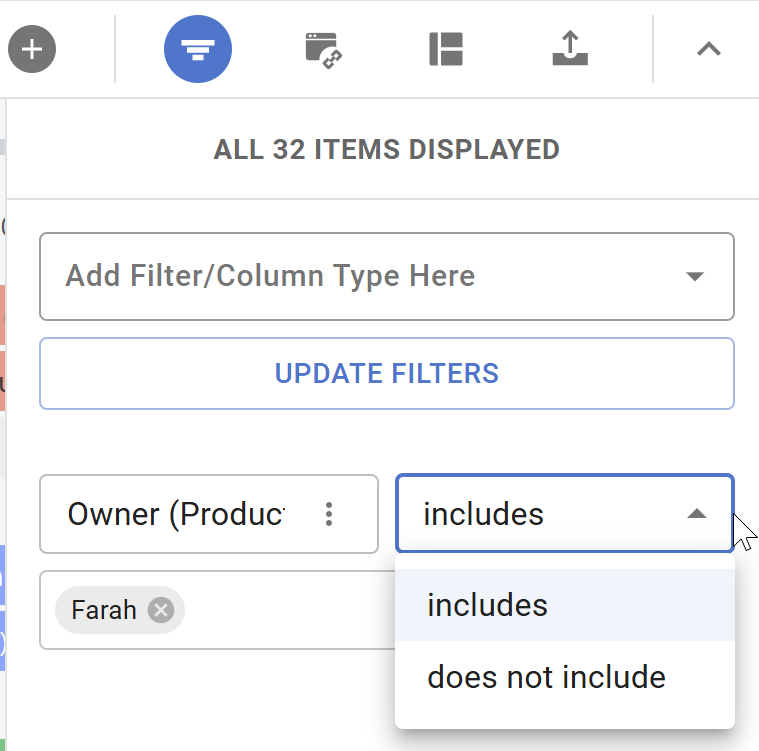
For List fields, you can choose if the filter includes or does not include the specified field values.
Numeric Fields
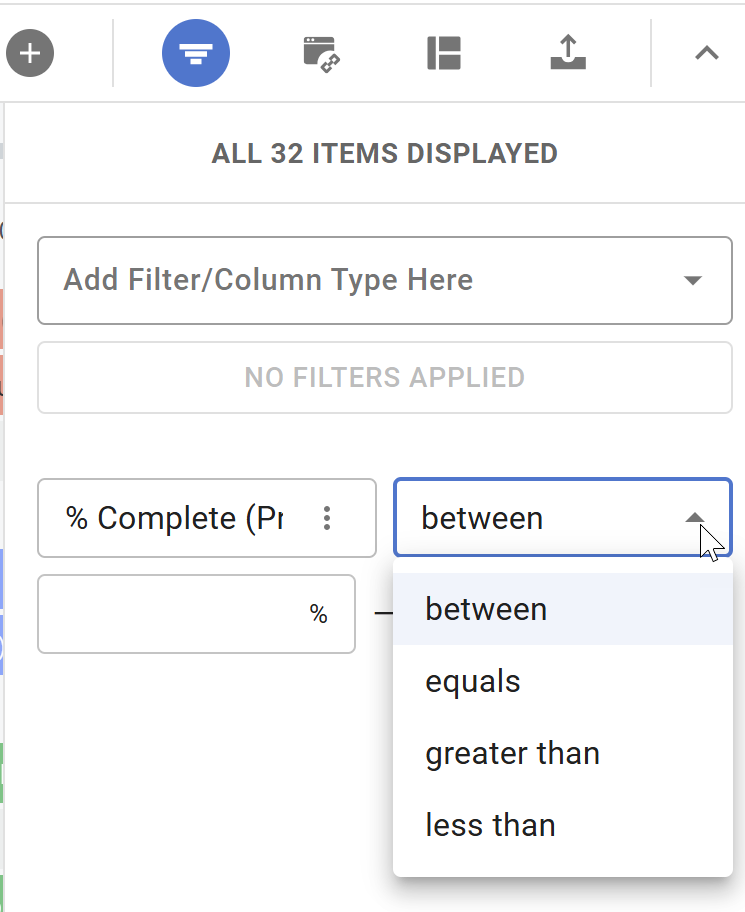
For numeric fields, you can display items that are between, equal to, greater than, or less than the specified field value(s).
Date Fields
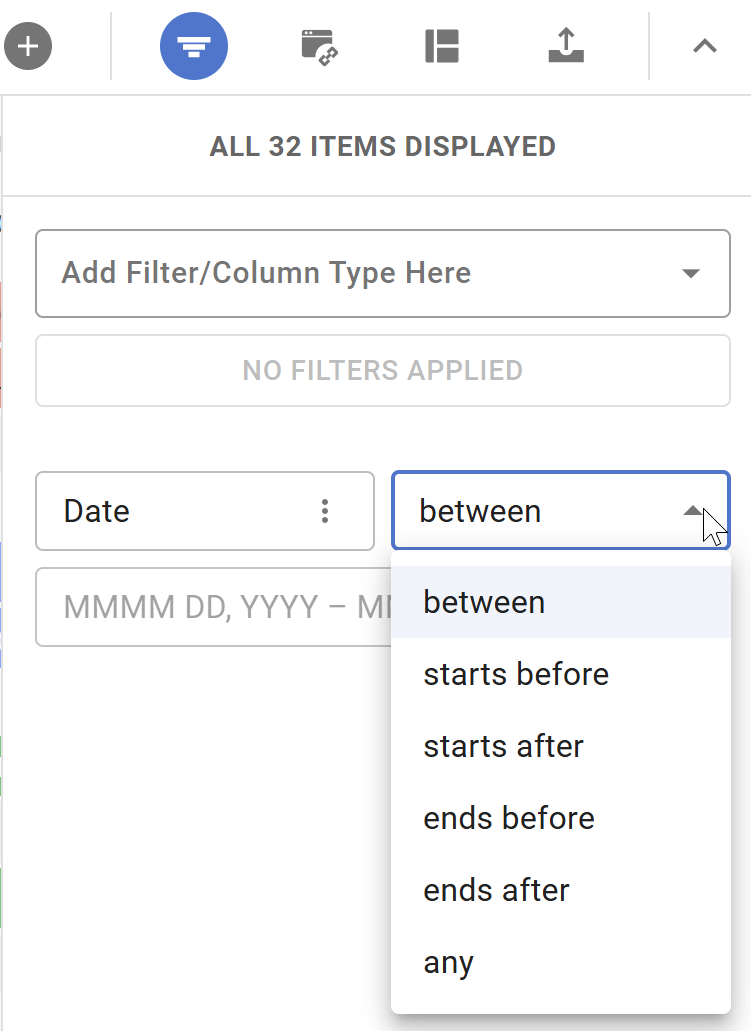
For Date fields, you can select from the following filter options:
-
Between - show only items with dates that fall within a certain range
-
Starts before - show only items before a certain start date
-
Starts after - show only items after a certain start date
-
Ends before - show only items before a certain end date
-
Ends after - show only items after a certain end date
-
Any - show any items with date values
View and Update a View's Filter Set
To view or update the current filter set, click the Filters button to open the Filters panel.
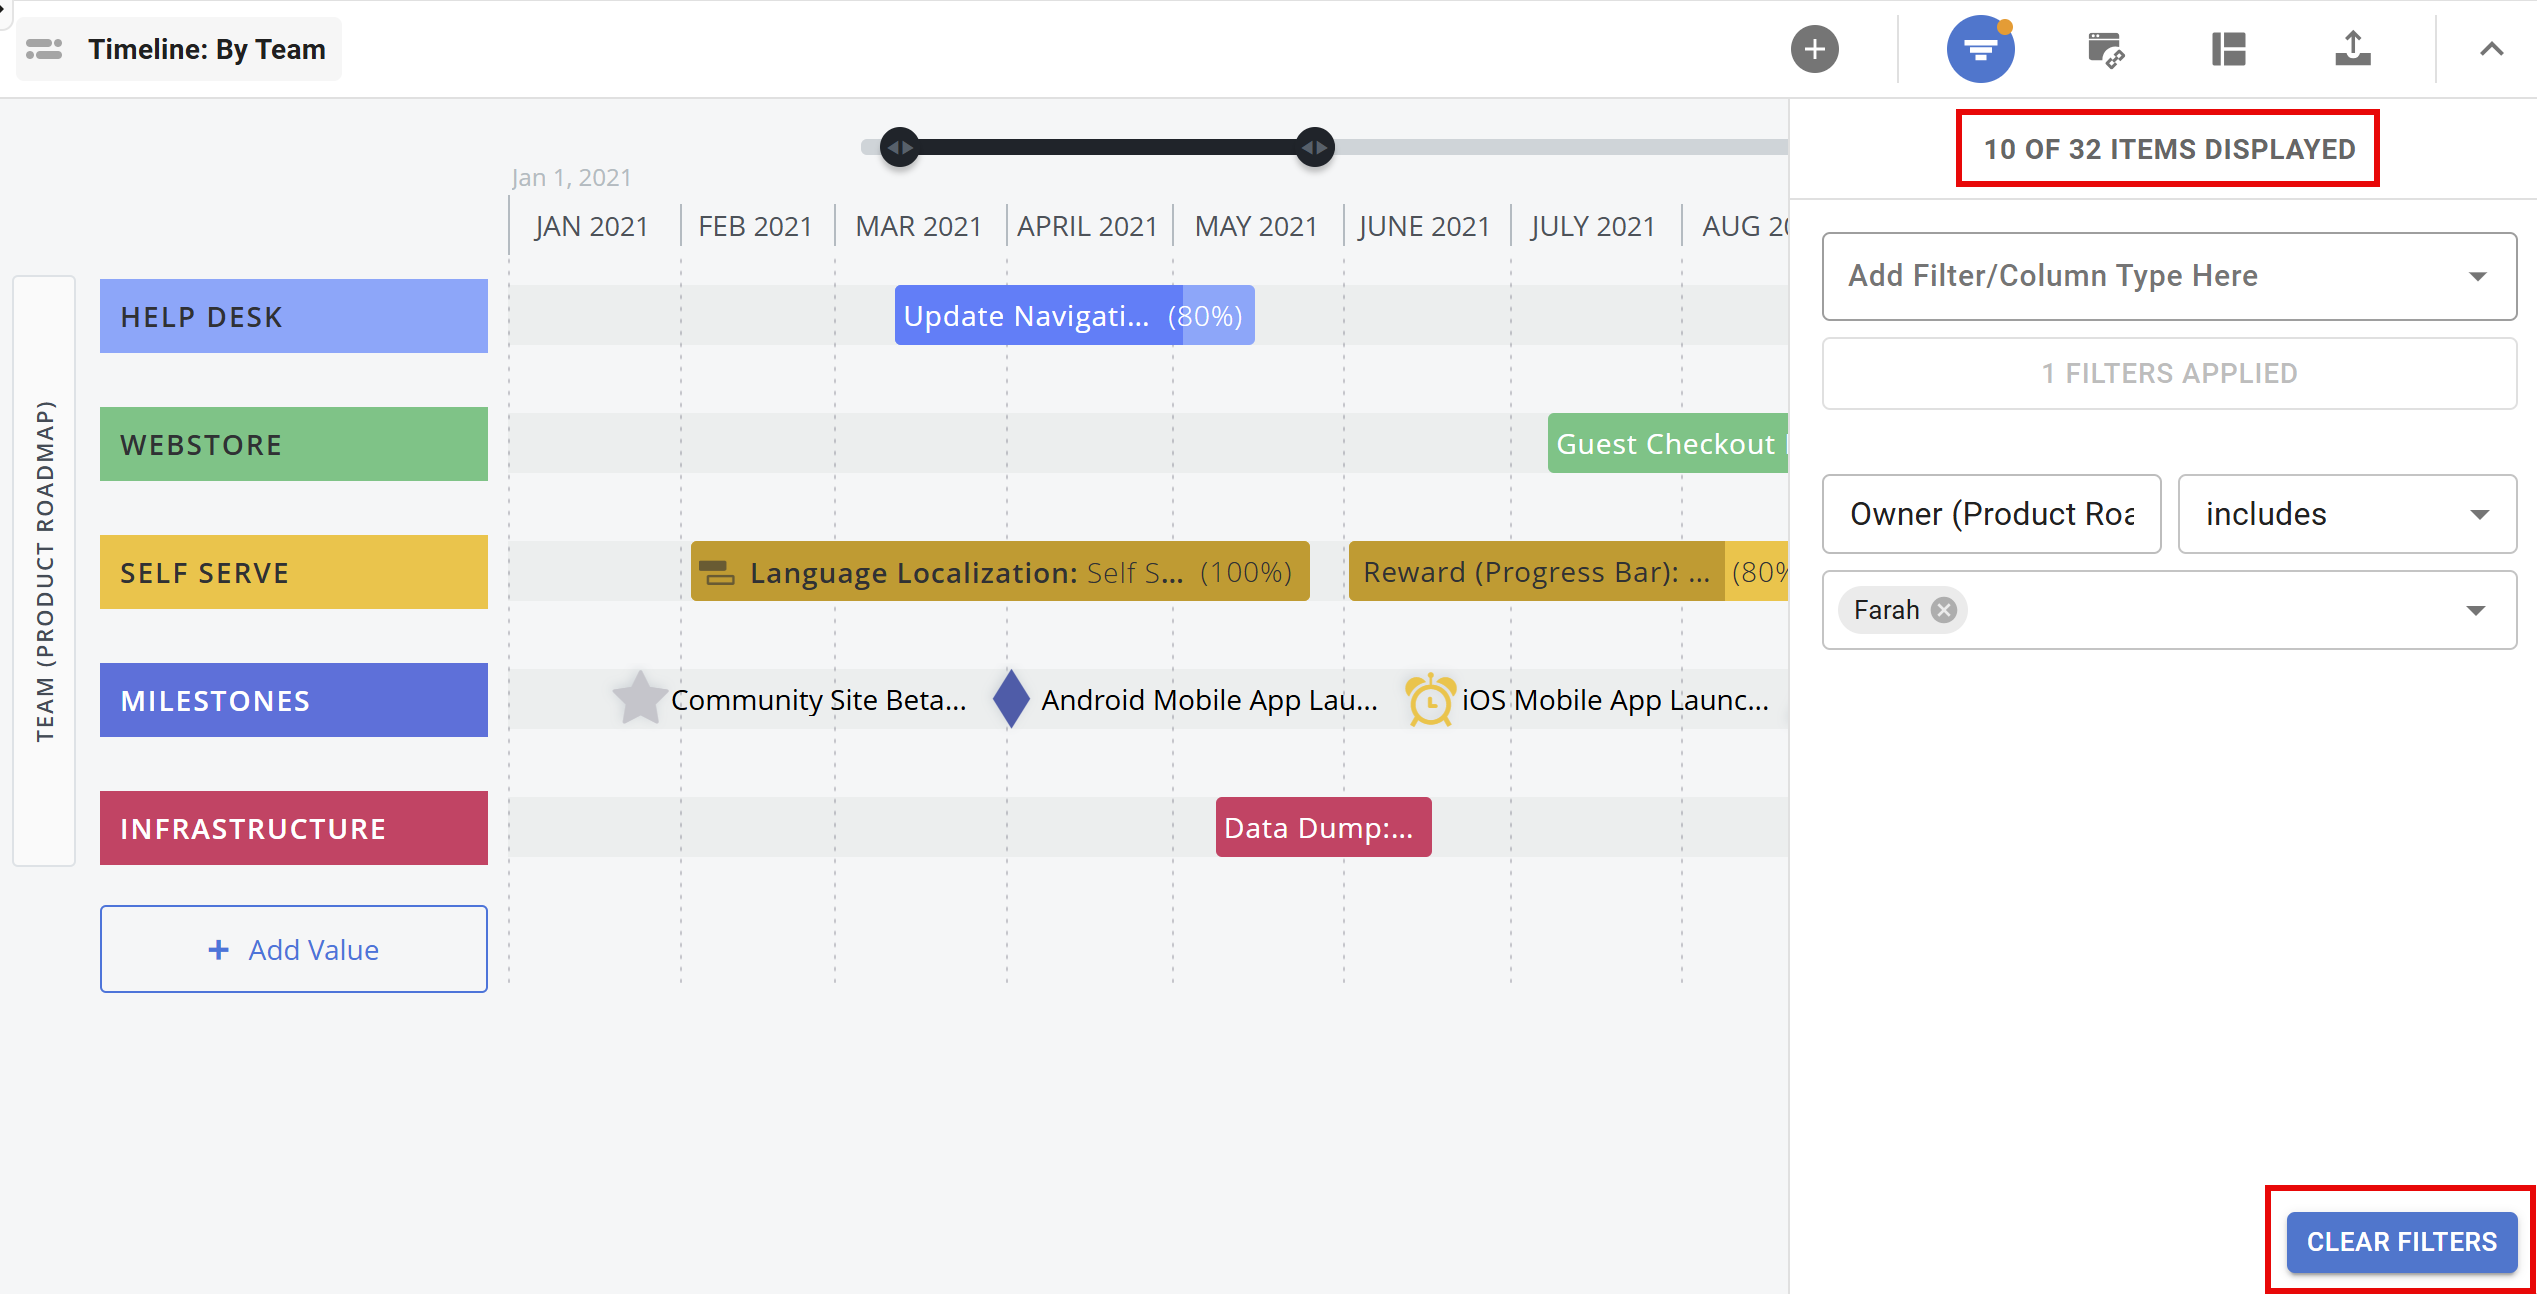
You can:
-
View your filter status: This is displayed at the top of the panel.
-
Update existing filters: Make any necessary adjustments and click Apply Filters.
-
Remove all filters: Click Clear Filters.
(No Value) Filters
Including No Value Items
By default, Strategic Roadmaps filters out items with no value in the selected filter fields. If you want to include items that match your selected field value(s) OR have no value for the field, add the “No Value” option from the values dropdown.
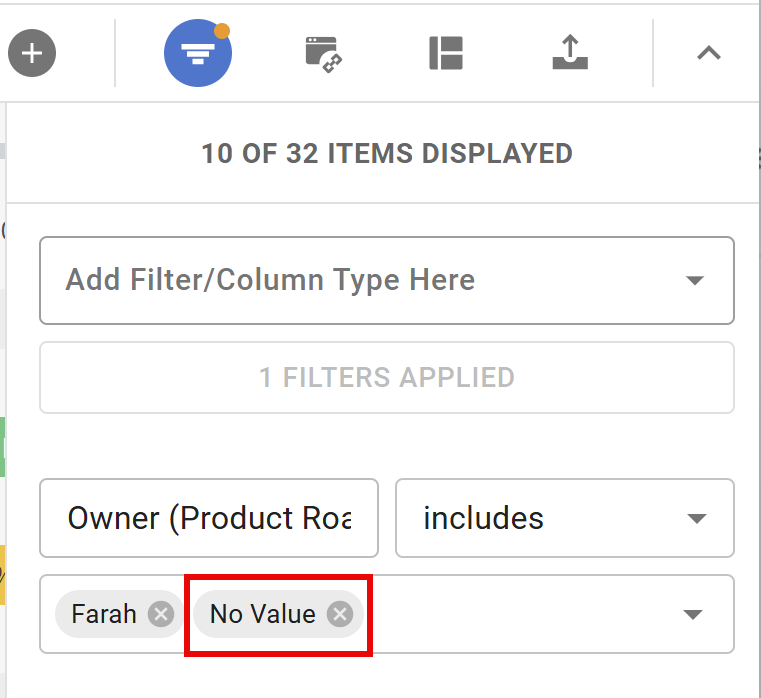
In the example above, the roadmap will show any items that have Farah listed as their owner, as well as any items with a blank Owner field.
Showing ONLY No Value Items
The (No Value) selection is also useful if you want to see all the items in your roadmap without a value in a given field. To do that, select the field and ONLY the (No Value) option in the values dropdown.
Adding an Item to a Filtered View
When adding an item to a view that has been filtered, if the item does not match the applied filters, it will be hidden automatically. You will see a message letting you know what has happened.

To see the hidden item on your roadmap, you can:
-
Click Open Item Card and update the item field(s) to match your filters
-
Open the Filters panel and clear the filters
-
Change to a view without filters
Copy Filters to a New View
When creating a new view for a roadmap, you have the option to include the filters from an existing view:
-
Open the Views dropdown and click the + button to create a new view
-
In the New View dialog, open the Copy filters from... dropdown and select the source view
