Available on the following plans:
-
Business
-
Professional
-
Enterprise
How to Create Sub-Items
Sub-items can be easily created from the Table View in one of two ways: by using the Add Sub-Item option that appears on the right-click menu or by selecting the Add Sub-Item option that appears on the context menu which is visible on hover and accessed by clicking into the ⋮ icon to the right of the item name. New Sub-Items can also be created via the Sub-Items section of the Item Card. When created, sub-items will automatically populate under the parent item without any of the dates or field values of the parent items; however, this can be easily changed by adjusting the field values and dates on those items.
With just a quick click-and-drag, sub-items can be re-ranked under their existing parent item, re-assigned to another parent item on the roadmap, or taken out of their family and converted into standalone items.
When working in the Items Table, users are limited to 50 sub-items per parent item and 1 level of sub-items per parent item.
How to Convert Existing Items to Sub-Items
Any item in your roadmap can be easily converted into a sub-item in a matter of seconds. In order to covert an item into a sub-item, simply click-and-drag the intended child item on top of the intended parent item and it will automatically add itself as a child of the specified parent item. Additionally, you can click and drag the item into a specific rank within your existing sub-items.
If your view is sorted, you will be unable to drag and drop items and convert existing items into sub-items. If your view is sorted, we recommend removing the sort, or adding sub-items from inside the item card.
How to Add Sub-items from the Item Card
As noted earlier in the article, sub-items can be created by clicking the standalone item you want to use as a parent item, opening the Sub-Items panel on the item card, and selecting Try Adding A New Sub-Item or the Add button. You can create a sub-item from an existing standalone item, or you can create a new sub-item. You are also able to set the dates of those items from inside the item card using the date picker shown on the right-hand side of the sub-item.
To rename or remove a child item from the sub-item hierarchy, click into the context menu that appears on hover and select the respective option. Removing a sub-item will convert that child item into a standalone item and will relocate it to the bottom of your roadmap, while retaining all past comments, activities, and other attributes that have been applied to the item.
Please note that not all items can be added as children. Similar to the Table View experience, items that are already parents cannot be assigned as children of other items; however, unlike the Table View experience, items that have already been assigned to other parents cannot be shifted to new parent items.
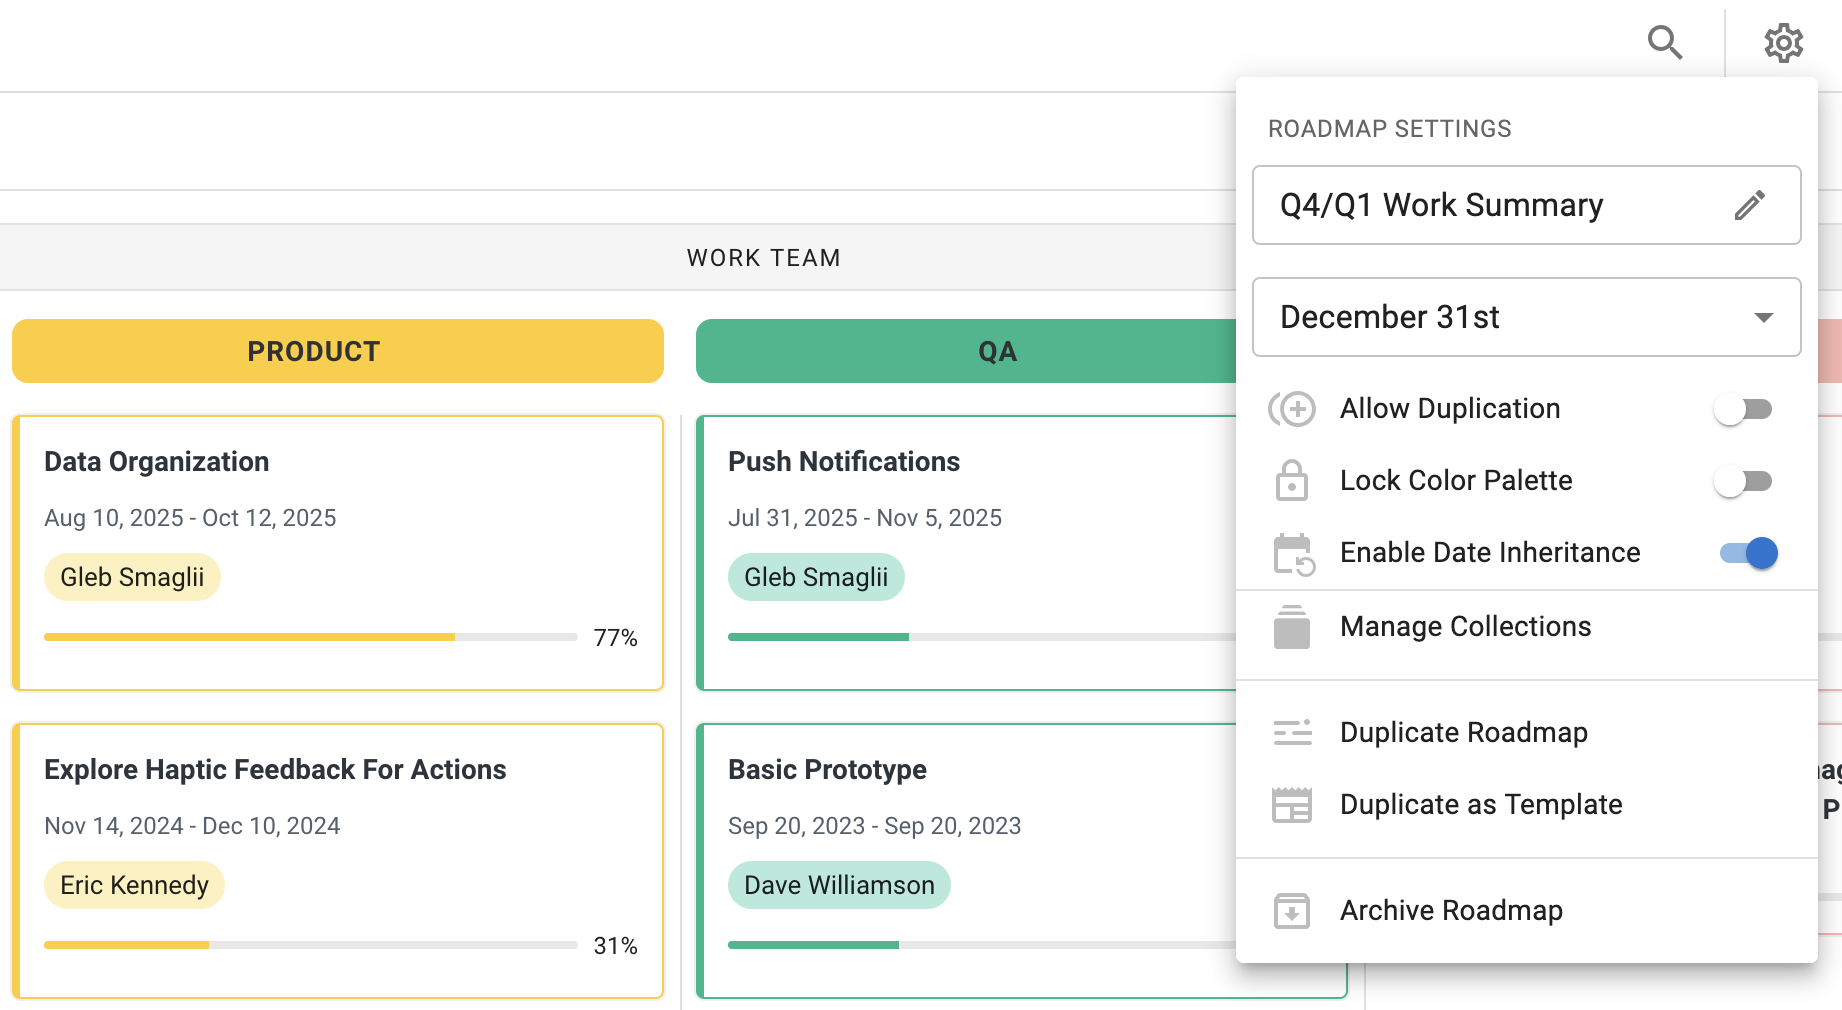
Date Inheritance for Parent and Child Items
Date inheritance allows you to automatically set the date of parent items based on the earliest start date and the latest end date of the sub-items beneath them.
For specifics on how dates work when this setting is enabled or disabled, see Setting Up Dates for Parent & Child Items below.
Enabling/Disabling Date Ineritance
Users with Editor access or higher can define whether or not a roadmap uses Date Inheritance from the Create Roadmap modal on a new roadmap or from the Roadmap Settings menu on an existing roadmap,
Roadmaps integrated with Structure and roadmaps whose dates are managed by an integrated source will automatically have this feature disabled by default. Due to the way that dates and item hierarchy are handled on other platforms, this prevents accidental data overwrites.
Setting Dates for Parent and Child Items
When Date Inheritance is enabled, date ranges on parent items are automatically calculated based on the earliest start date and the latest end date of the sub-items beneath them, meaning parent items are locked to a specific duration based on their children.
When a parent item is moved along the date picker, it retains its duration and automatically adjusts the dates of its sub-items. In order to expand or reduce the total duration of a parent item, adjust the dates for its sub-items.
When Date Inheritance is disabled, the dates of parent and child Items are not linked and are independent of one another. This means that all items within the family can have unique dates or ranges, and the dates of one type of item in these groups are not affected by another.