Copying and exporting Jira custom fields requires the Jira Administrator permissions and the Tempo Administrator permission.
You can select any of your defined Jira custom fields and copy them to your Tempo database. Once copied, the custom field values are included when you export a Logged Time report as Raw Data for additional processing. The custom fields are also available when using the Jira REST API.
The Jira custom fields are not displayed directly in the Logged Time reports - they are included only when you select the Download Raw Data option from the Export menu in Tempo reports. With the Raw Data option, you choose either the CSV or Excel (XLS, XLSX) formats for export. The Jira custom fields are not available with the XLS or CSV Report data Export options from Tempo reports.
Copy and Export Jira Custom Fields
You can select your defined Jira custom fields and copy them to your Tempo database. Once copied, the custom field values are included when you Download Raw Data to export a report, then select the Excel or CSV formats.
-
Select Settings in the Tempo sidebar.
-
Under Configuration, click Custom Fields.
-
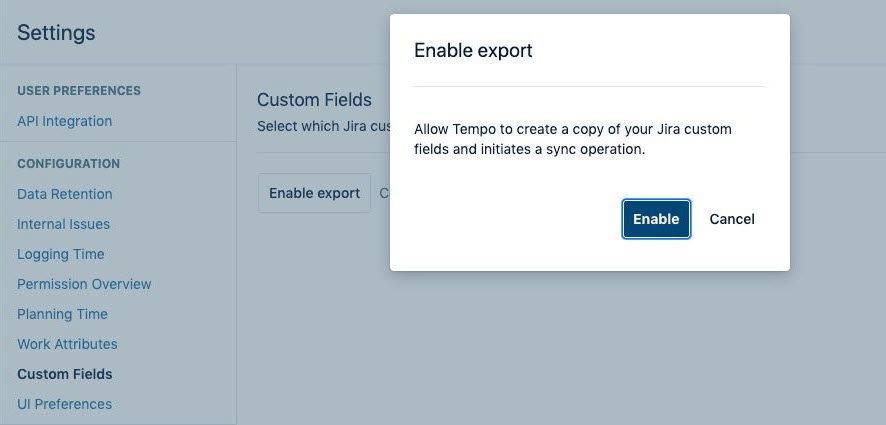
Click Enable export, then click Enable in the dialog that appears to initiate a sync operation.
-
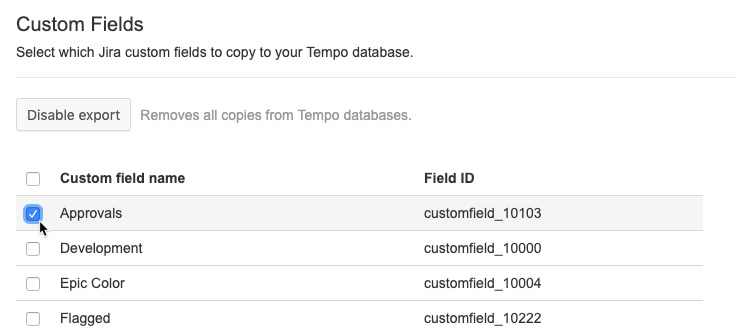
Select one or more Jira fields for export. You can select all fields by clicking the checkbox in the header row.
-
Click Save.
Disable Exporting Jira Custom Fields
-
Click Disable export, then click Disable in the dialog that appears. All fields are removed from your Tempo database.
If you disable a custom field in Jira that you have selected for export, you will not be able to deselect that field in Tempo afterward.