
Before you create your first scenario, make sure:
-
You have a portfolio with items — imported from an integration, created in Loop, or both.
-
Teams have been set up with members and available capacity - see Settings.
Once you have items in your portfolio, go to the Planner tab to create your first plan.
You should see one of the following things on this screen:
-
A “No Scenarios Created” message - Perfect! This means you already have items in your portfolio and you’re ready to create your first scenario. Click Create Scenario to get started.
-
A “No items found yet” message - You need to add items to your portfolio before you can create a scenario. See Creating a New Loop to get started.
-
An active scenario with items and a timeline - This means you’ve already created a scenario. Skip ahead to Creating a New Scenario, Editing a Scenario, or Publishing a Scenario.
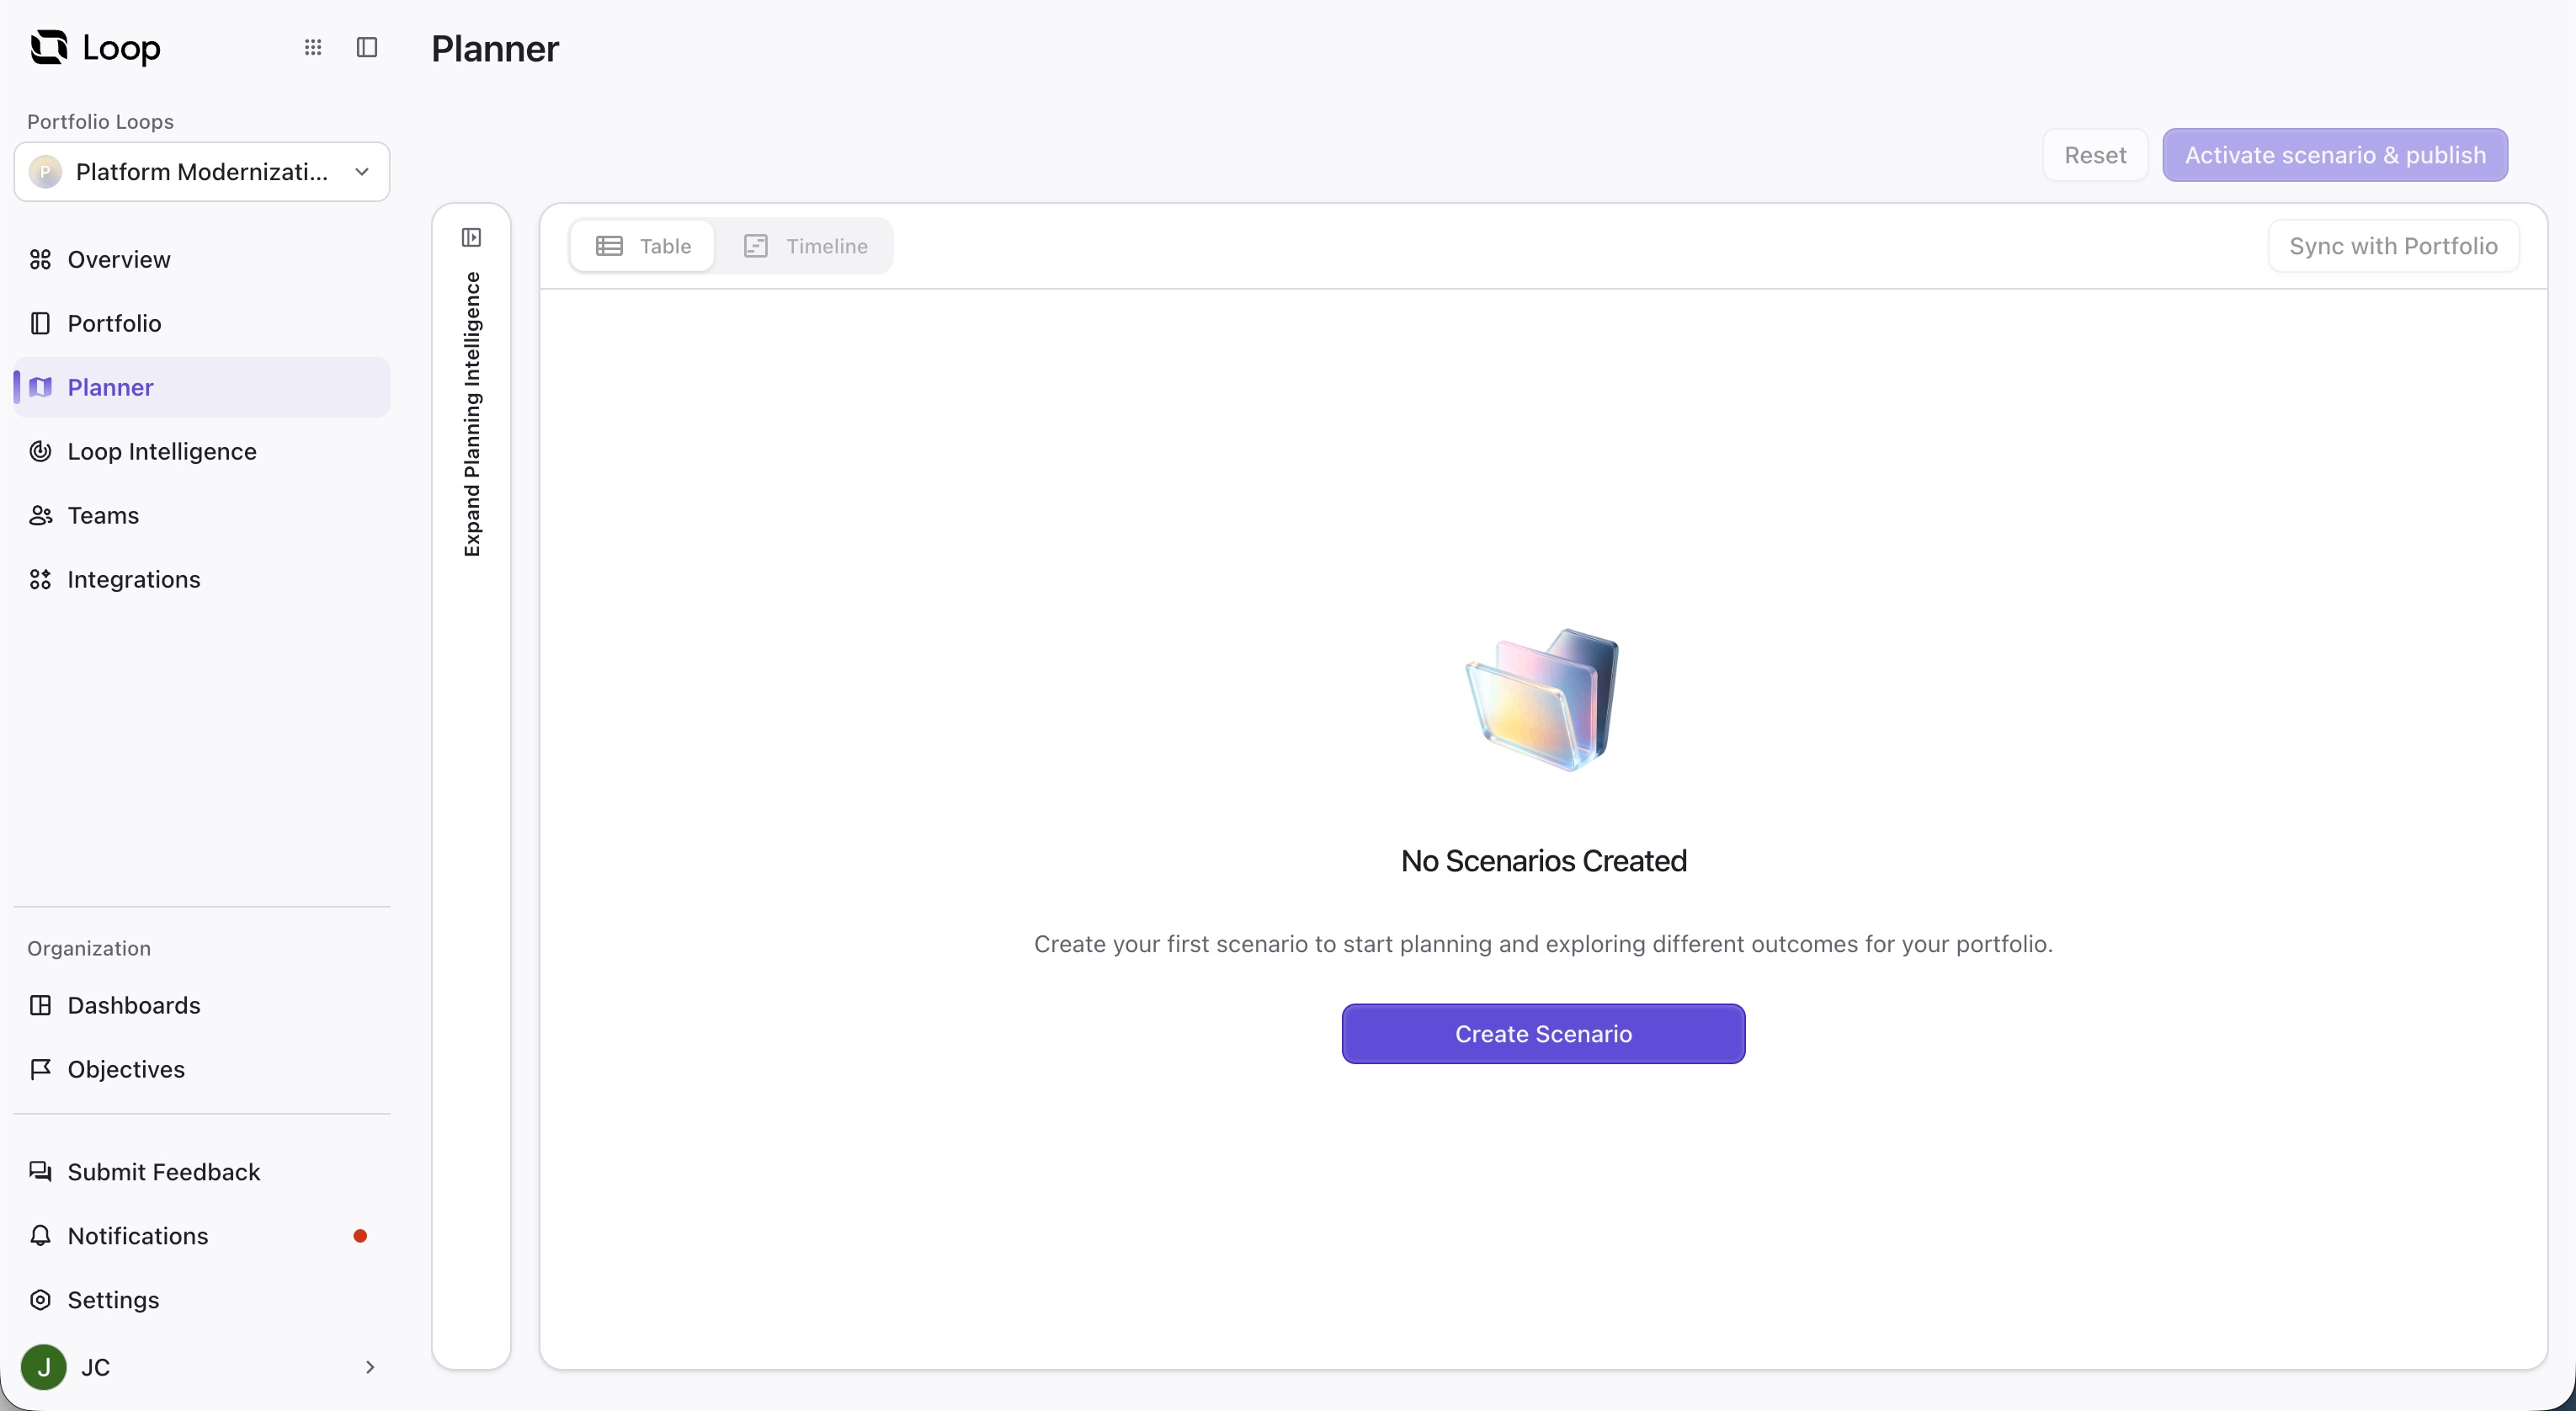
To create your first scenario:
-
Click the Create Scenario button.
-
In the Create Scenario dialogue, enter a name for your scenario. The Scenario name field is pre-filled with the current date. Clear or edit this to your preferred name.
-
Click Save.
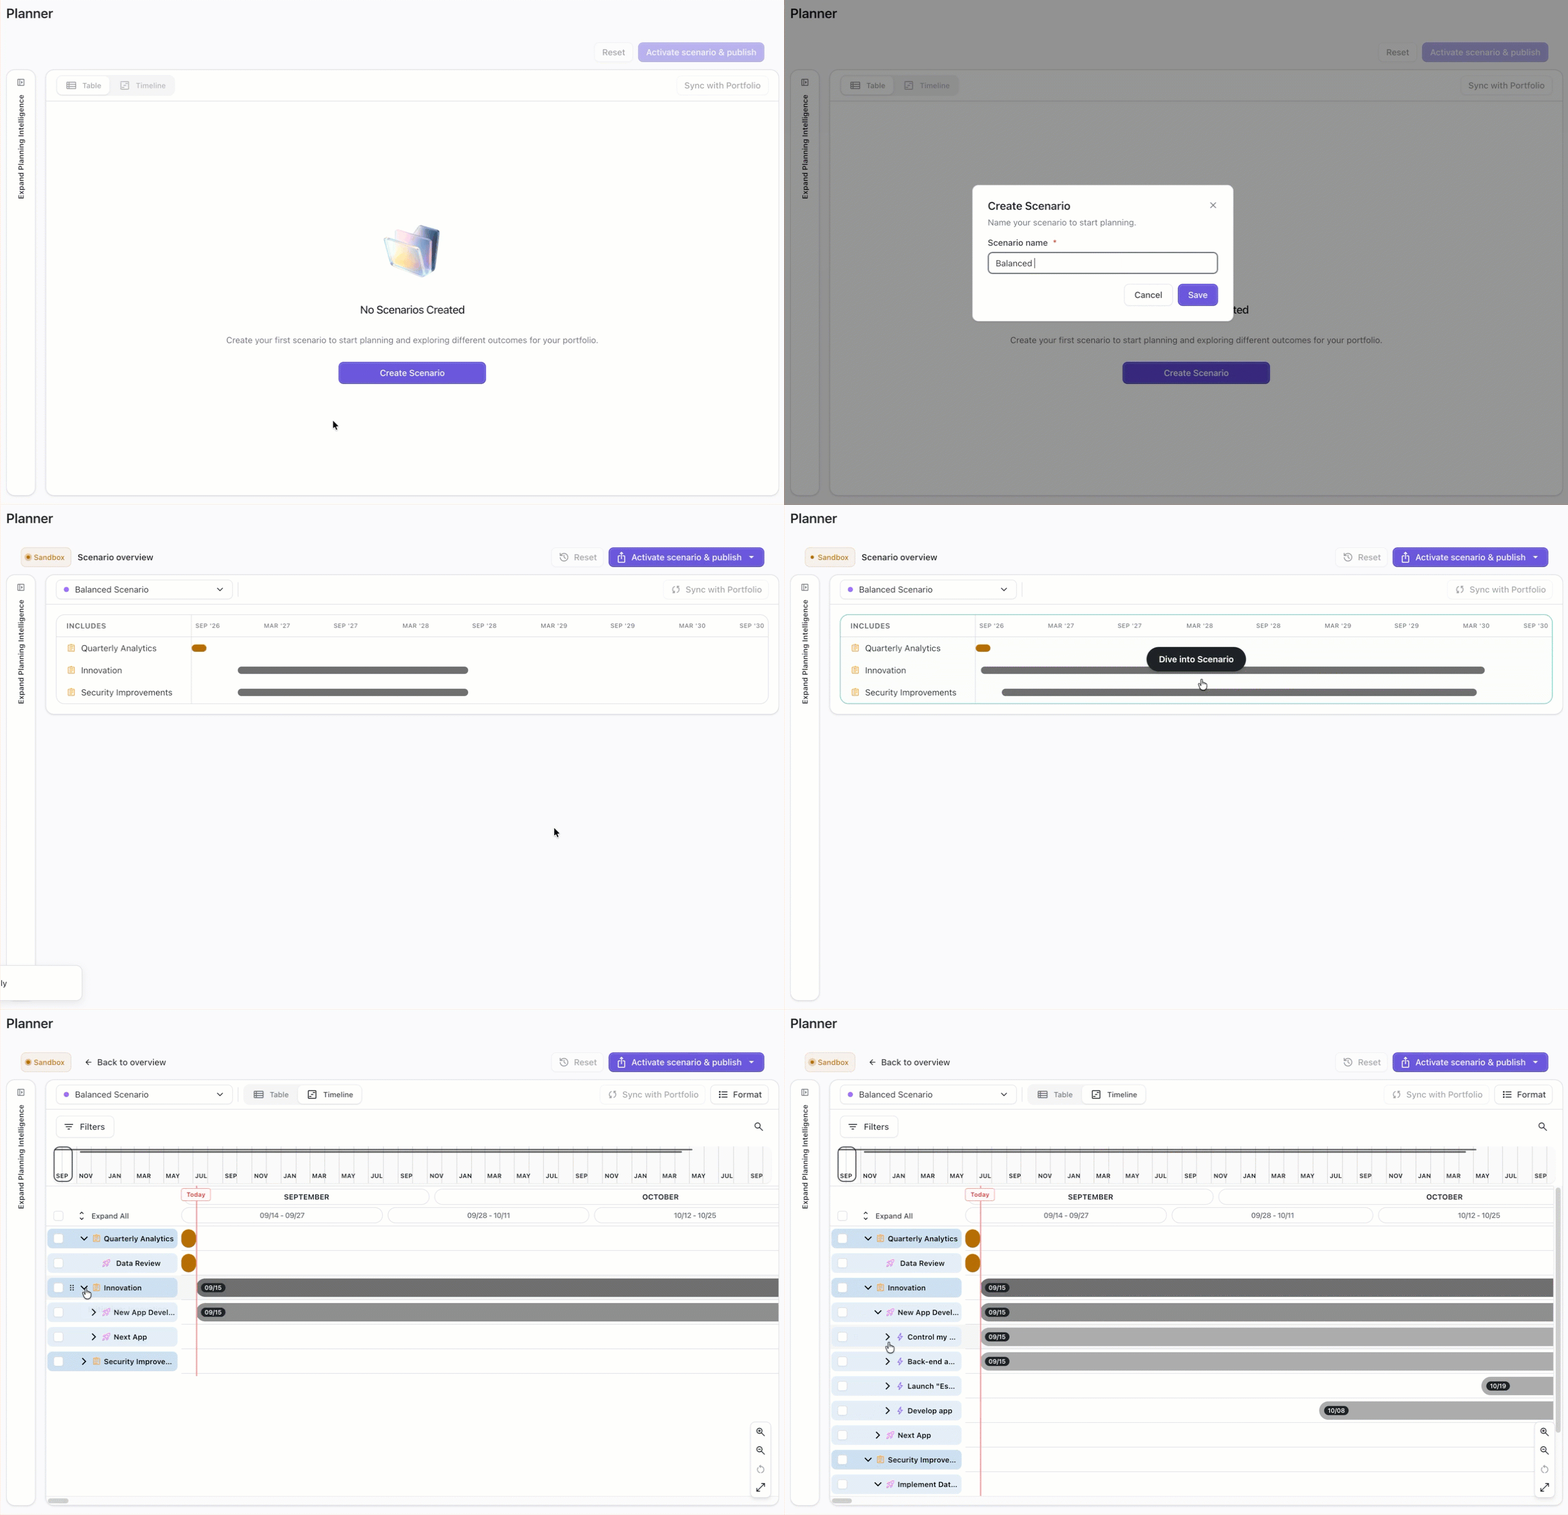
The new plan is created based on known values (start/end dates, work estimates, dependencies, etc.) and predicted values from the backlog of work items in your portfolio.
-
When the Plan first opens, you’ll see the overview screen, which shows the planned timeline for top-level items.
-
Click anywhere on the Overview to view the plan in detail.
In the next step, you’ll customize the plan to fit your specific business needs.
Next Steps
Now that you’ve created your first scenario, it’s time to customize the scenario to your unique business needs. See: Customizing a Scenario.