How to Add Power BI Gadget
-
Being signed in to your Jira instance, select Dashboards, and then select the dashboard you want to add a gadget to.
-
Select Add gadget.

-
Select Load all gadgets.
-
In the Search box, type in Power BI, and then select Add gadget (next to Power BI Report by alphaserve).
The Power BI Report configuration window will appear.
-
Open your Microsoft Power BI Pro, and then open the report you need.
-
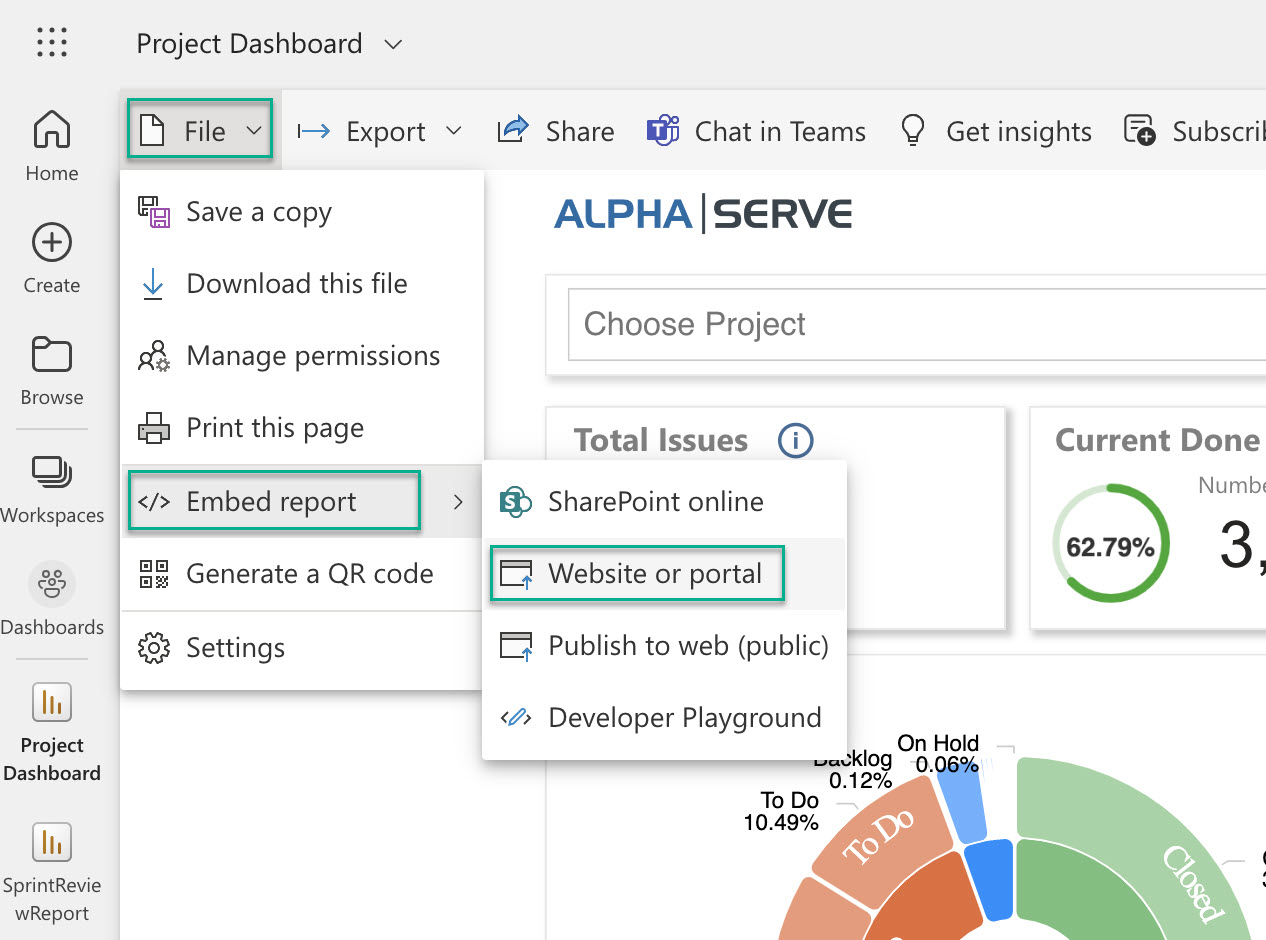
Select File, select </> Embed report, and then select Website or portal.
If you need more information on how to embed Power BI reports, please refer the this page.
-
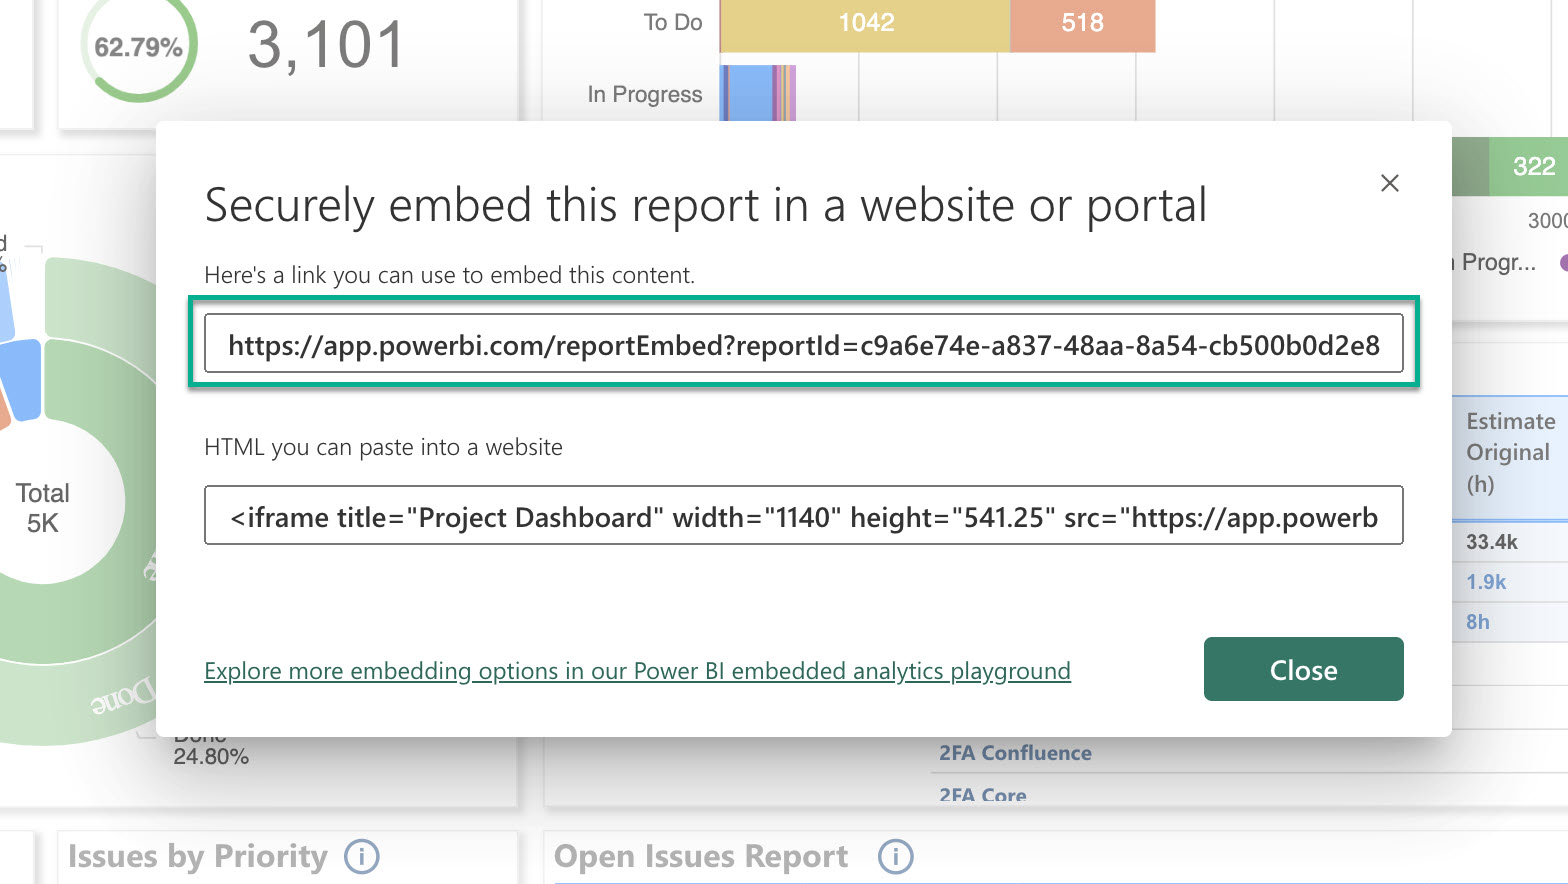
Copy the link, and then go back to your Jira nstance.
-
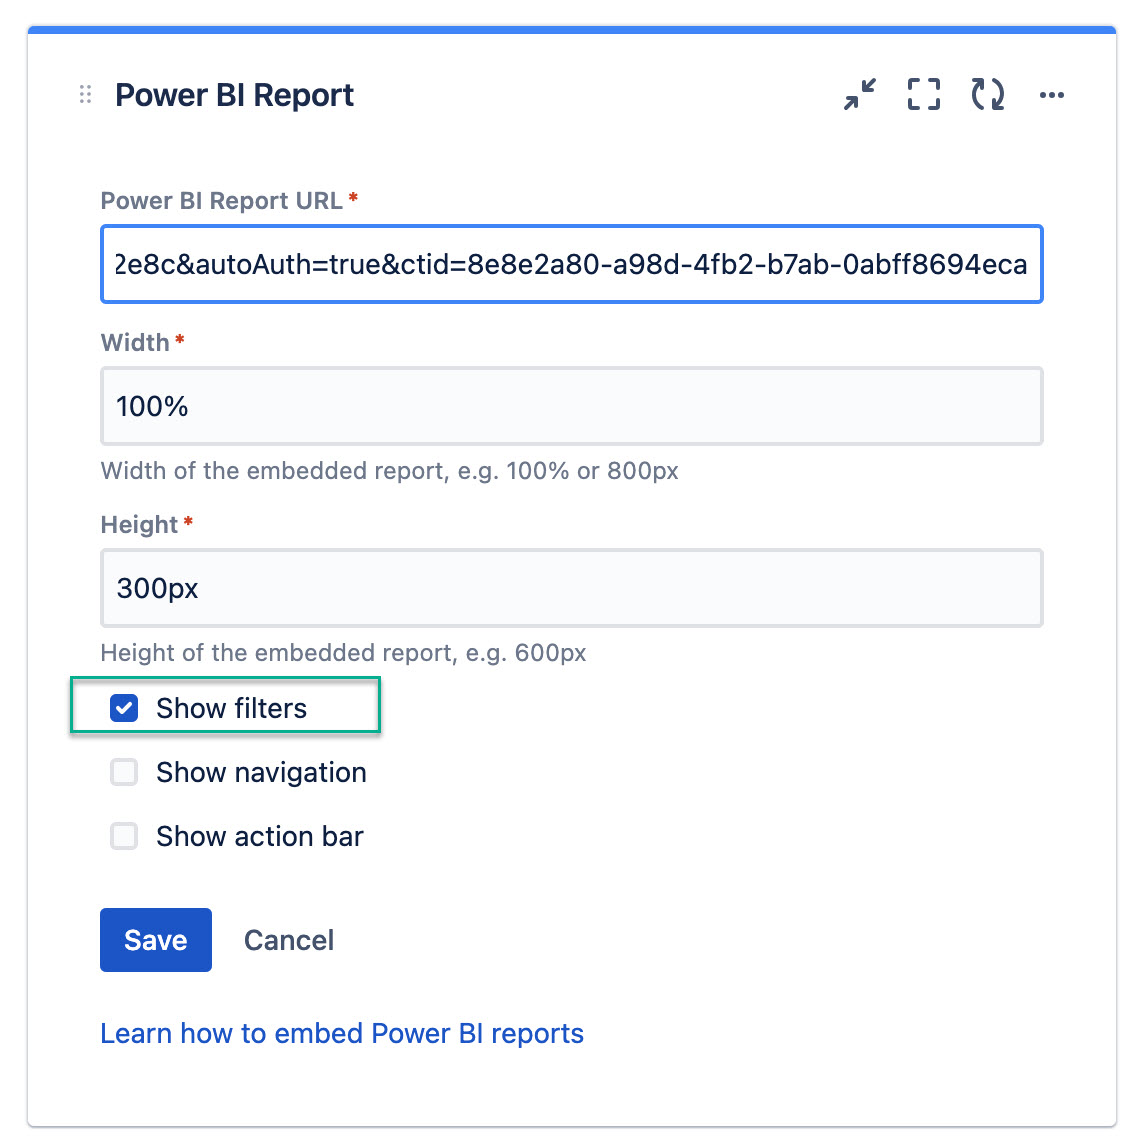
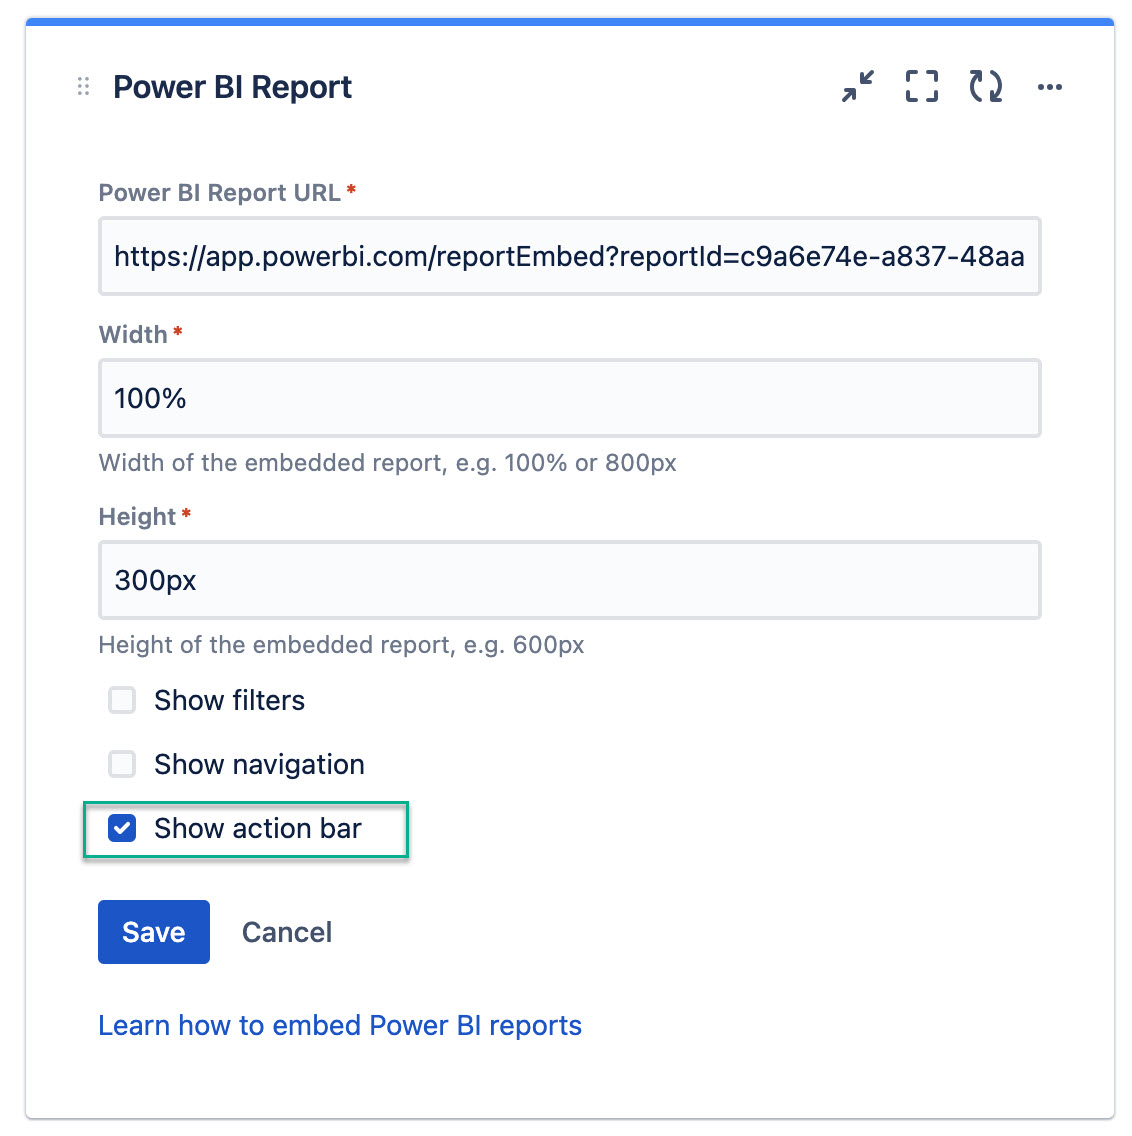
In the Power BI Report URL* field, paste the link.
-
In the Width* and Height* fields, select the desired width and height of your gadget.
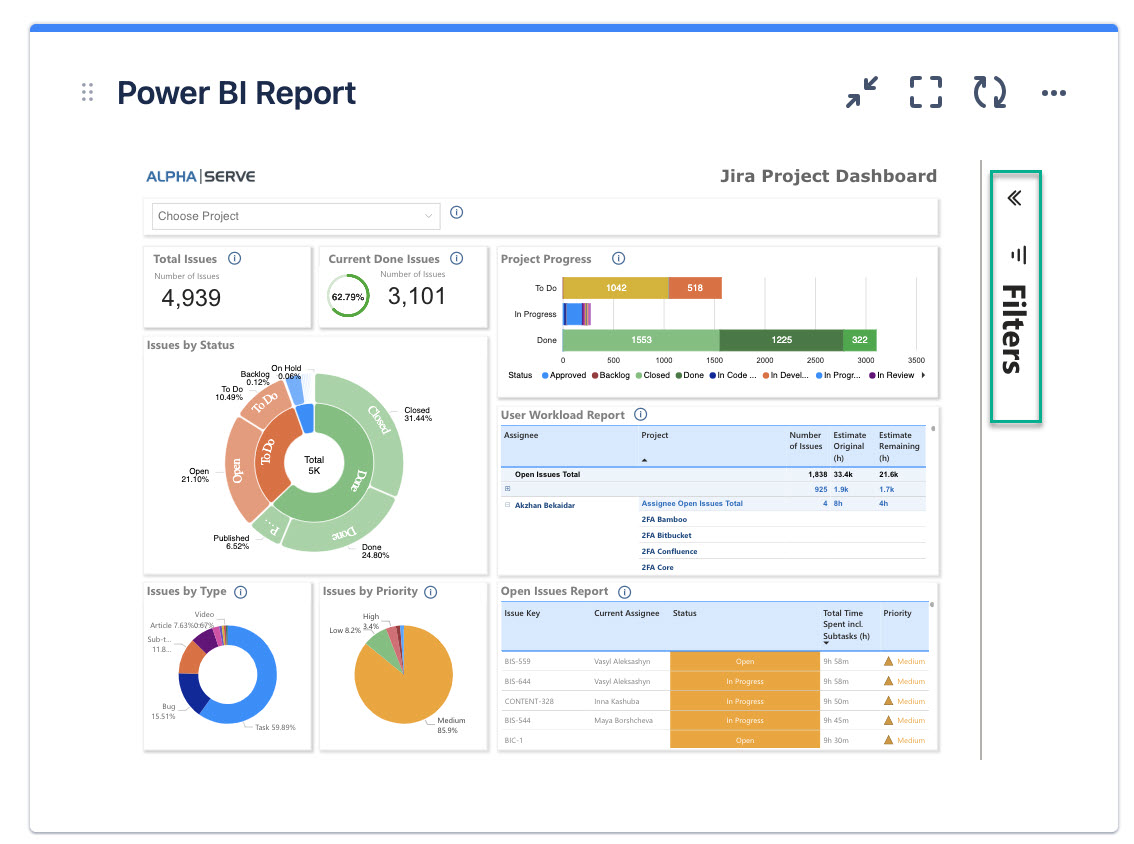
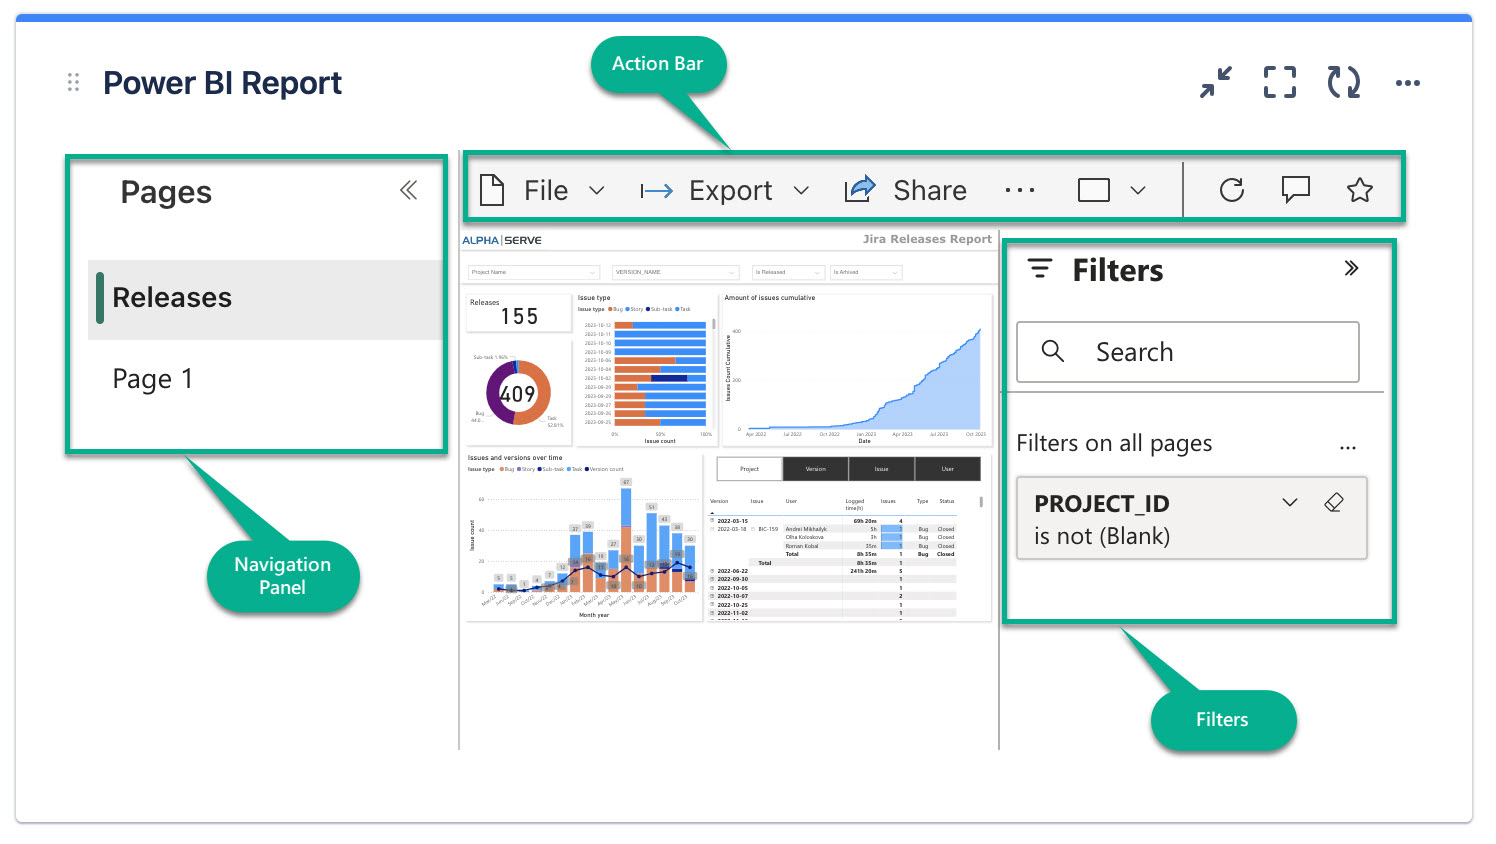
10.1. Select Show filters if you want the filters panel to be displayed on your gadget.
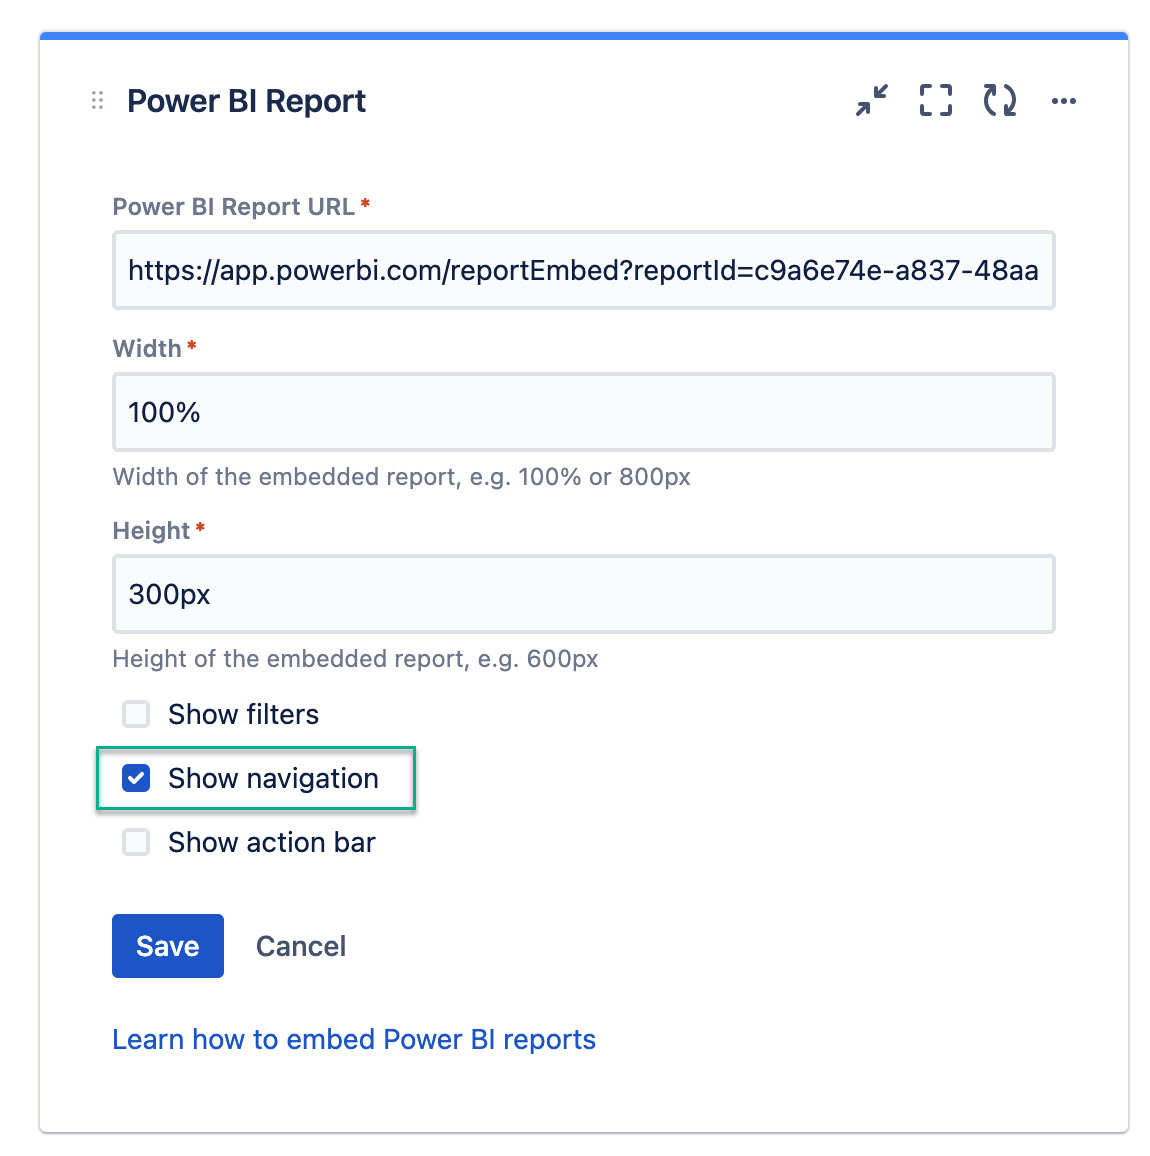
10.2. Select Show navigation if you want the navigation panel to be displayed on your gadget.
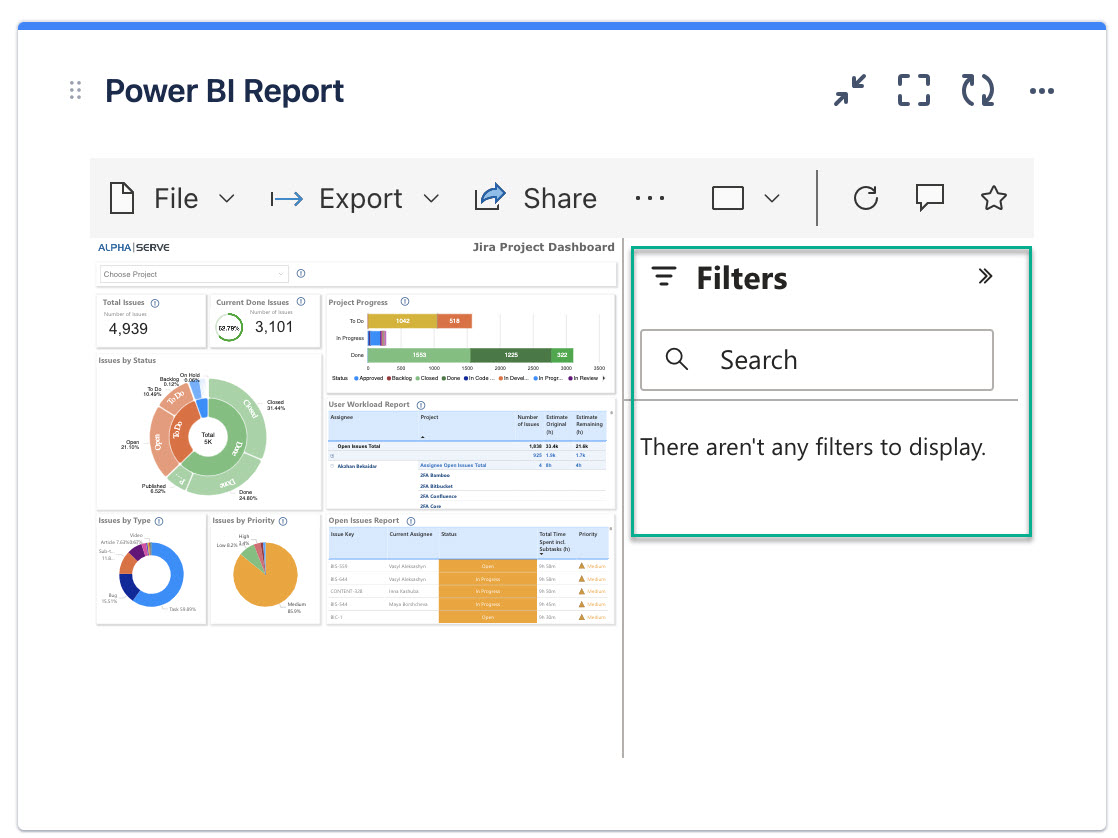
10.3. Select Show action bar if you want the upper ribbon with possible action to be displayed on your gadget.
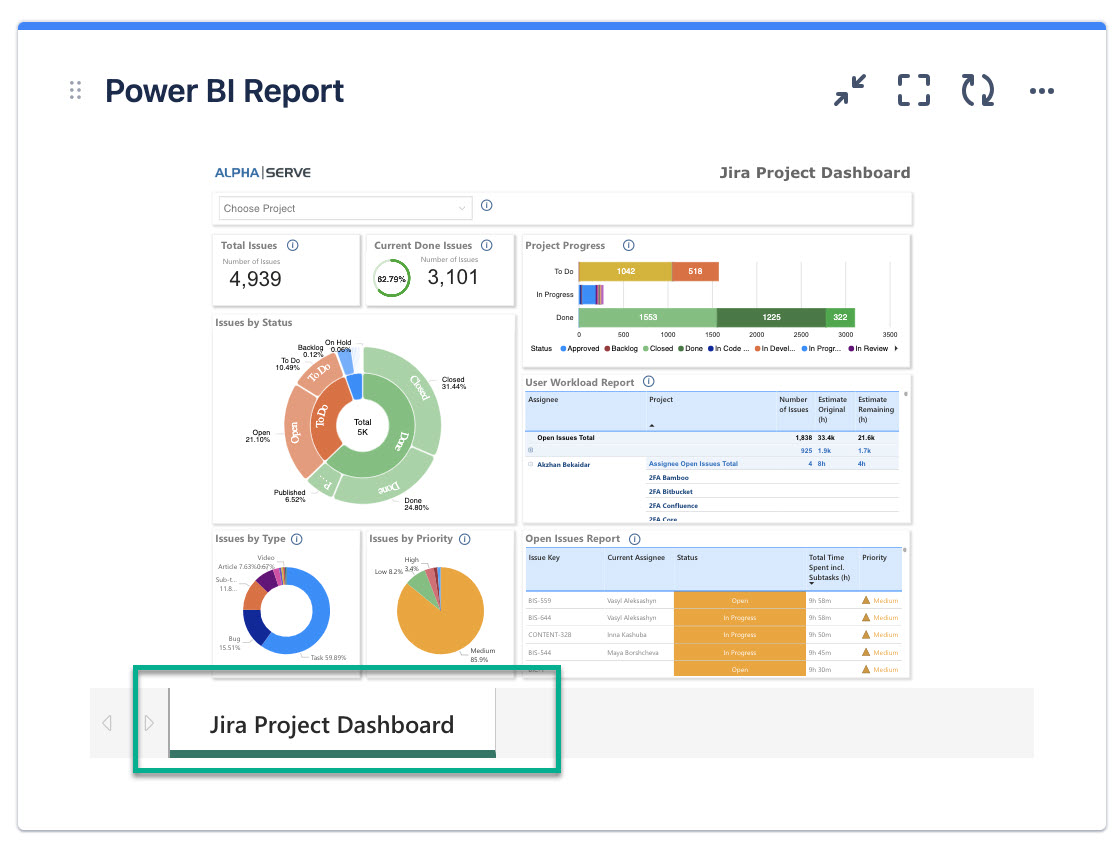
Power BI Gadget Configuration Options
This is what the Power BI gadget looks like when everything is disabled.
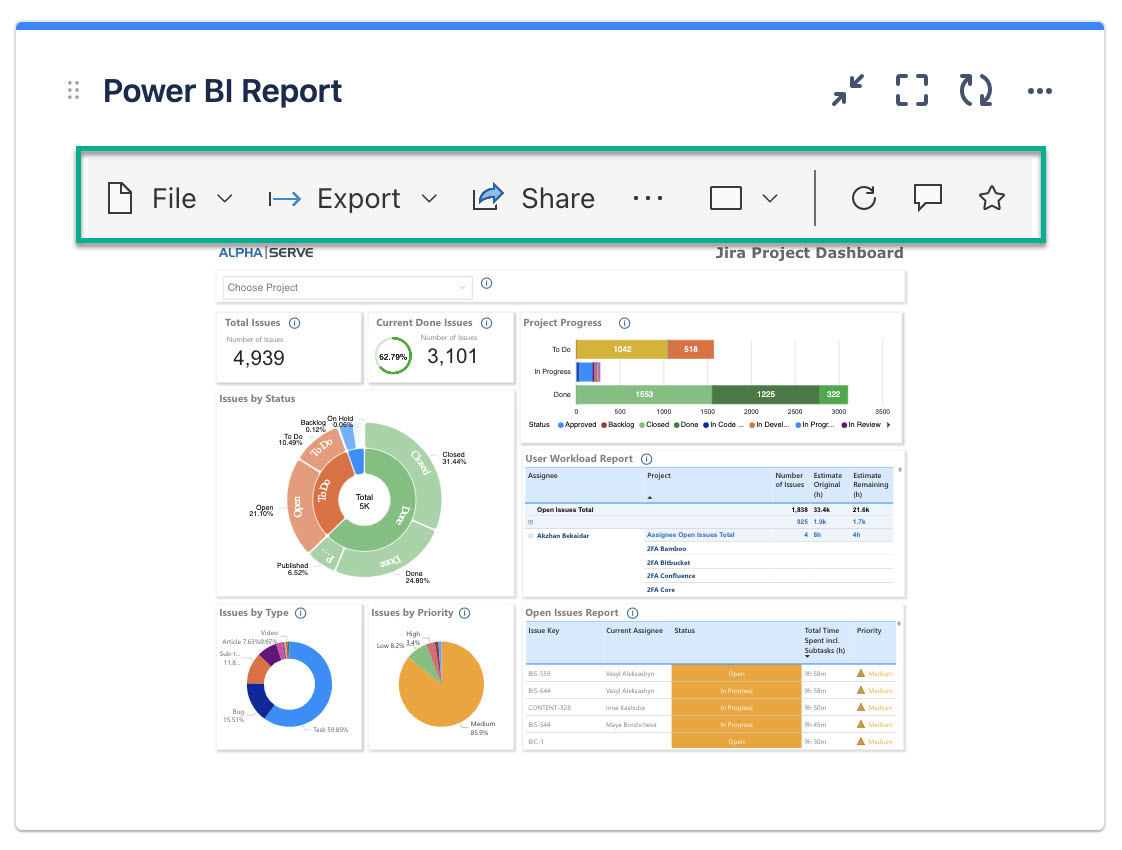
This is what the Power BI gadget looks like when everything is enabled.
When everything is enabled, the navigation panel moves to the left.
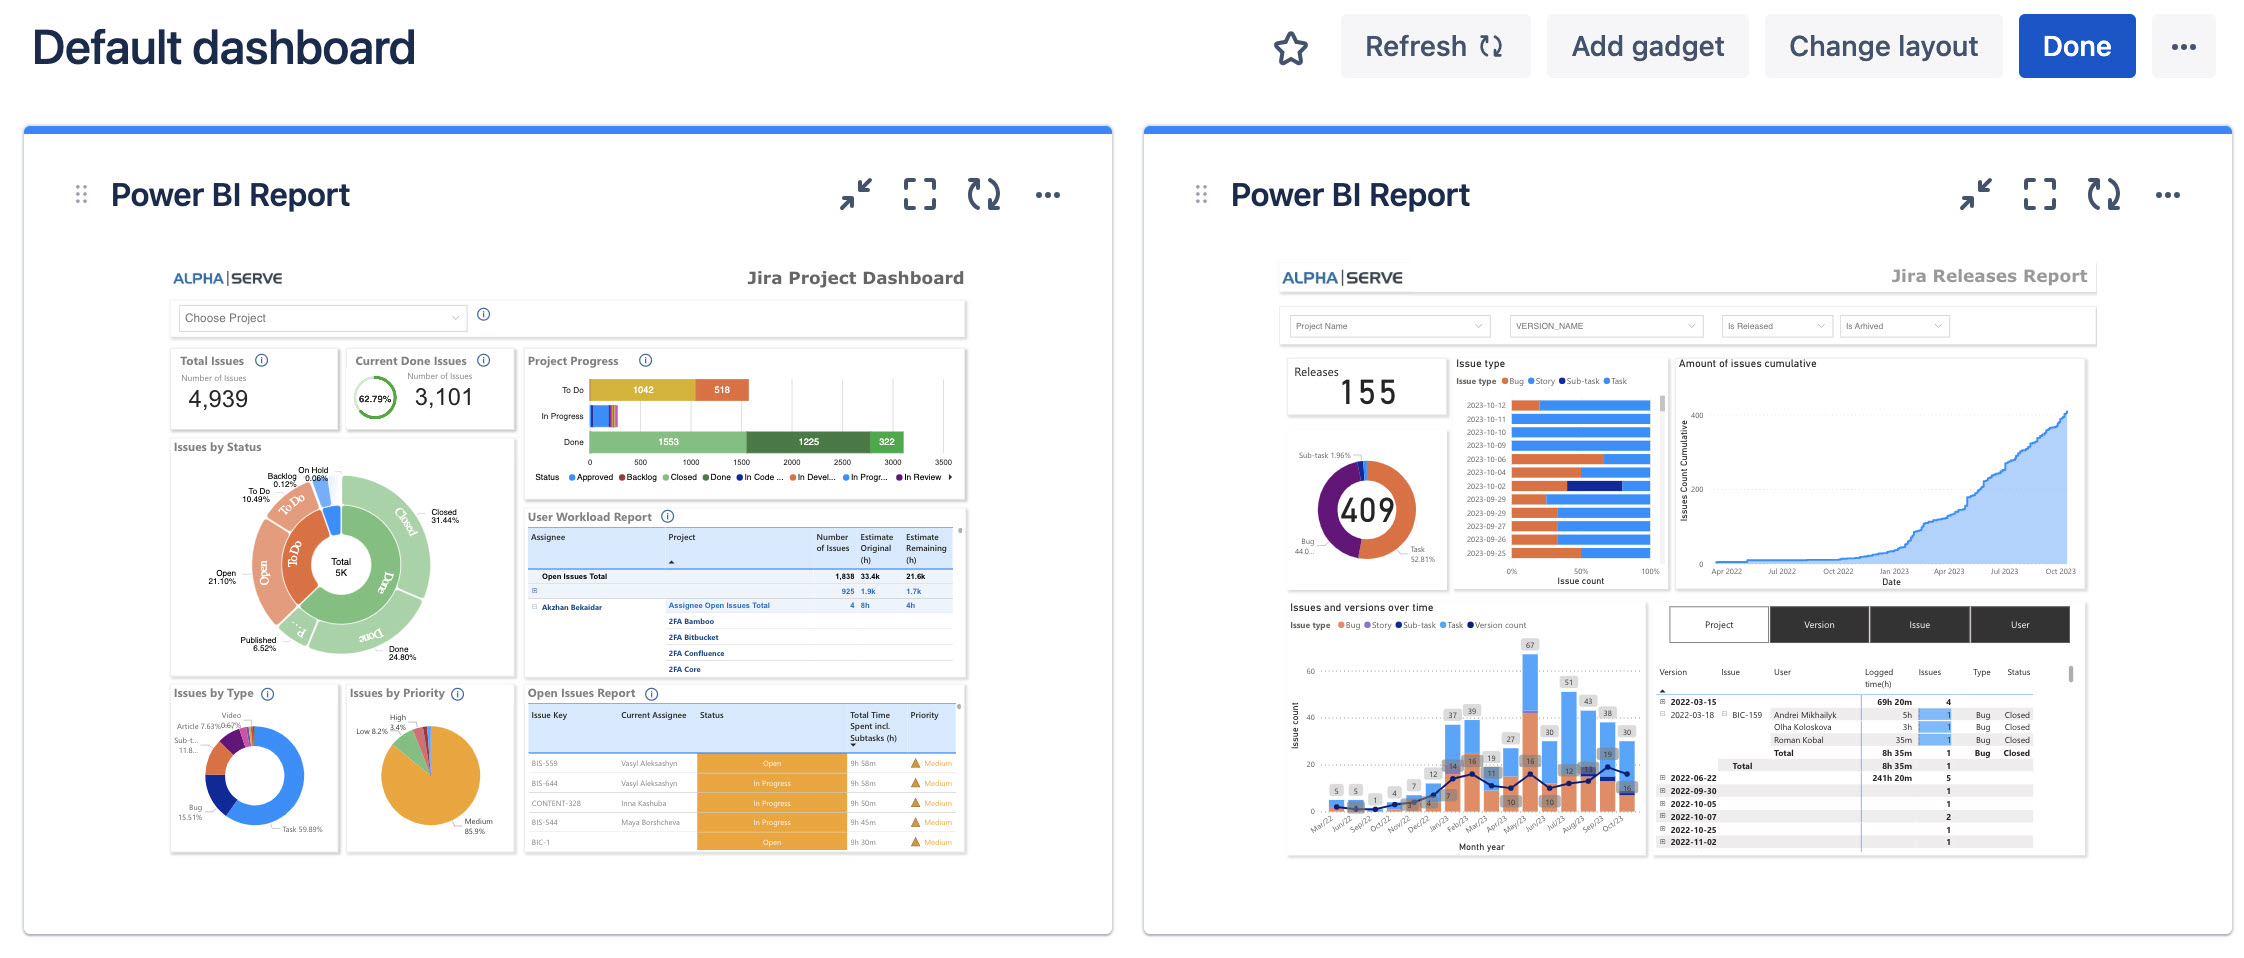
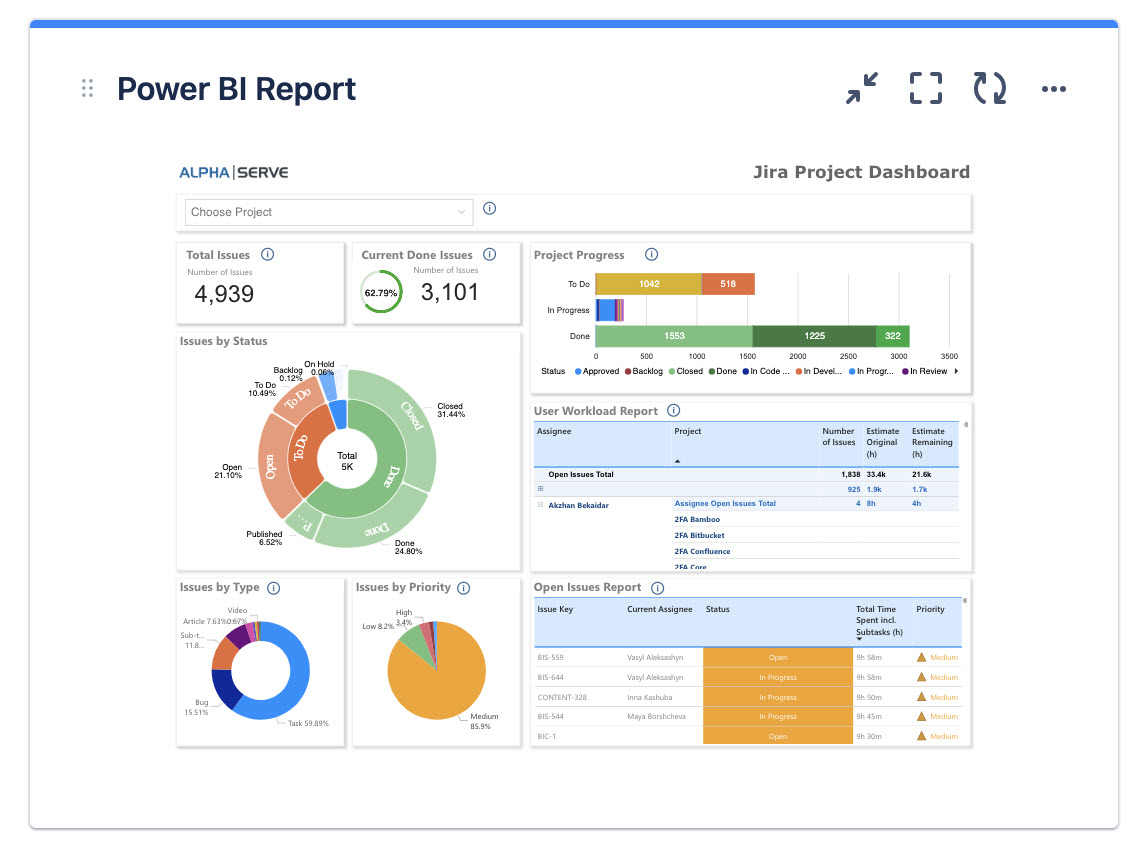
This is what it looks like when you have 2 Power BI gadgets at the same time.