Last updated: July 2026
The automatic migration to Forge is in progress. If your instance has not yet been automatically migrated, you have the option to do either of the following:
-
Perform a manual update
Review the expected changes on this page and assess any impacts to your workflows. If the impact is manageable, we recommend updating manually to control the timing of your instance’s migration. -
Wait for the automatic update
The automatic rollout is occurring gradually, so we are unable to confirm the exact date your instance will be updated. It will not be possible to schedule, delay, or opt out once started.
After your instance is updated, you will receive an in-app notification confirming the change. You can also verify if your instance has migrated to Forge by checking the app versions.
For DC customers:
If you are migrating from Data Center to Cloud, see recommendations here.
For more information:
Please see our Forge migration FAQ page and our recent Forge migration webinar.
Capacity Planner is moving from the legacy Atlassian Connect framework to Forge, Atlassian’s modern, secure, and scalable cloud app platform. This upgrade improves the security, reliability, and long‑term compatibility of Capacity Planner with Atlassian Cloud.
Throughout the migration process, all existing Tempo data — accounts, teams, configurations — is fully preserved. No data is lost or modified, and no backup or customer action is needed to protect data. The migration changes only the app framework, not the underlying data.
This document outlines the user experience and behavioral changes associated with this transition so users understand what to expect. If you encounter any interface or behavioral changes not covered on this page, please let us know.
New JQL Filter Syntax
Some JQL filters will require updated syntax after transitioning to Forge. Existing saved filters that use the old syntax, such as links and bookmarks, will no longer work. To easily locate any broken filters, you can use the Broken JQL Filter Finder.
Once your instance is on Forge, please update your filters to use the new syntax as soon as possible.
Account Syntax
The Account custom field must be changed to Account.name, as shown in the examples below. Note that because of these syntax changes, the = and != operators are not available in Basic Mode on Forge, as described here.
|
Operator |
Old syntax |
New syntax |
|
|
|
|
|
|
|
|
|
|
|
|
|
|
|
|
“Tempo Team” Syntax
The "Tempo Team" custom field must be changed to "Tempo Team.name" as shown in the examples below. Note that because of these syntax changes, the = and != operators are not available in Basic Mode on Forge, as described here.
|
Operator |
Old syntax |
New syntax |
|
|
|
|
|
|
|
|
|
|
|
|
|
|
|
|
Internal Issue Syntax
issue.internal has changed to issueInternal. However, both syntax versions are supported, so updating this JQL filter syntax is optional.
-
Old syntax:
issue.internal = 'TRUE' -
New syntax:
issueInternal = 'TRUE'
Contains (~) and Not Contains (!~) Operator Support for Account and “Tempo Team”
Account and "Tempo Team" now support contains (~) and not contains (!~) operators, as described in the table below.
|
Old behavior |
New behavior |
|
In Basic Mode, the equals ( 
In JQL Mode, the supported operators for 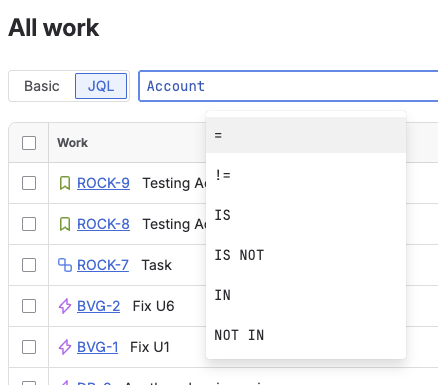
|
In Basic Mode, only the contains operator is supported for 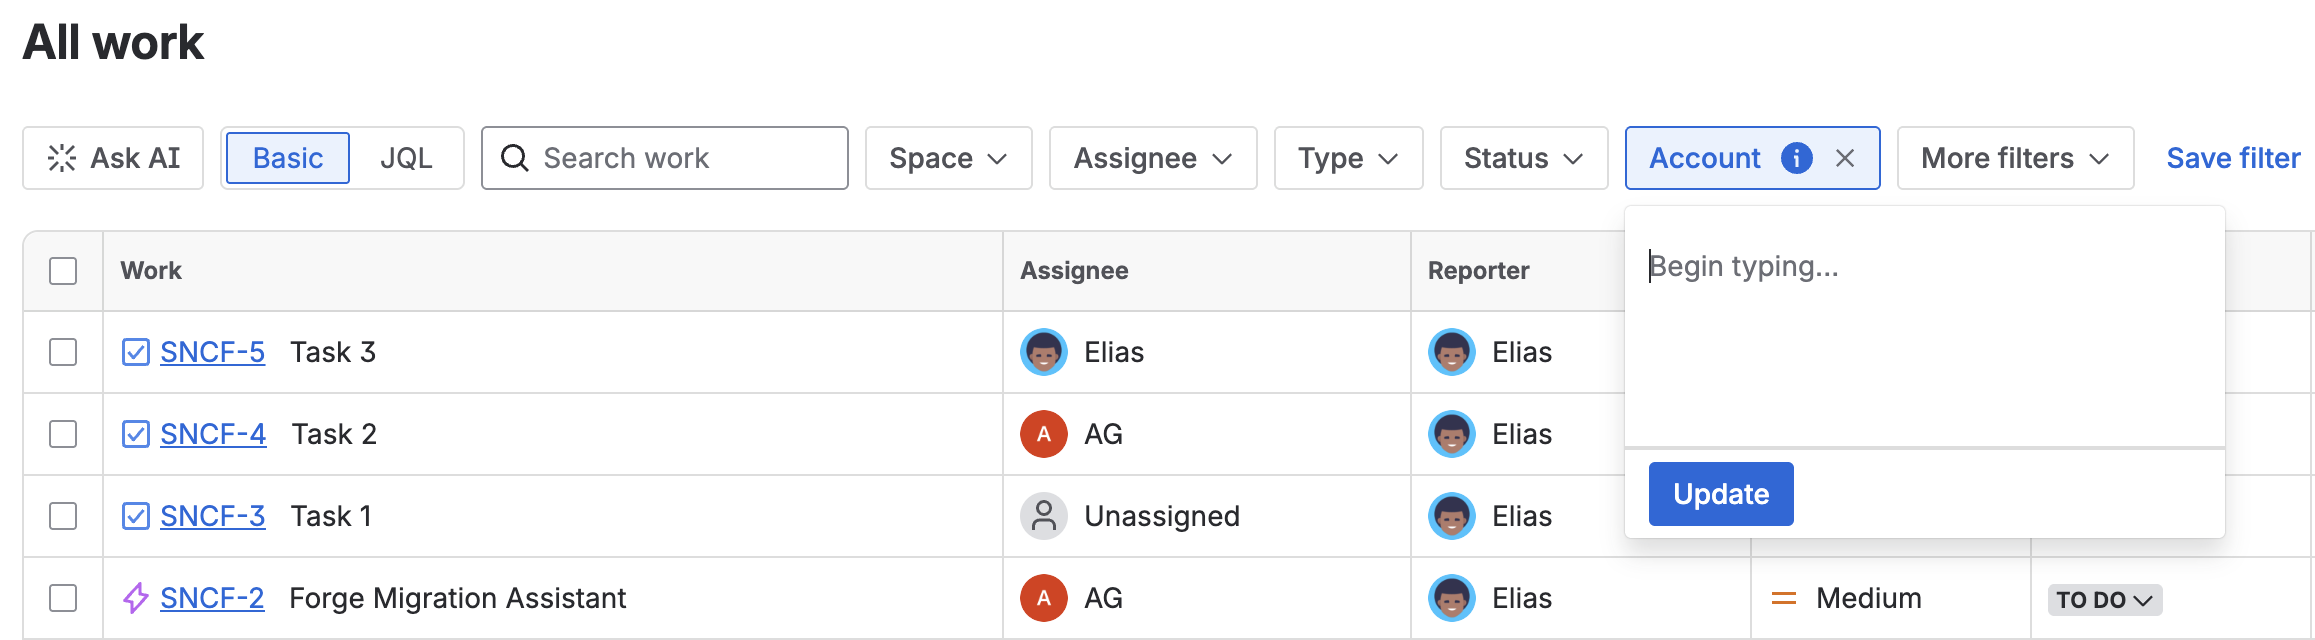
In JQL Mode, the supported operators for 
Example: There is an account called Maintenance with an Account Category of OPEX. 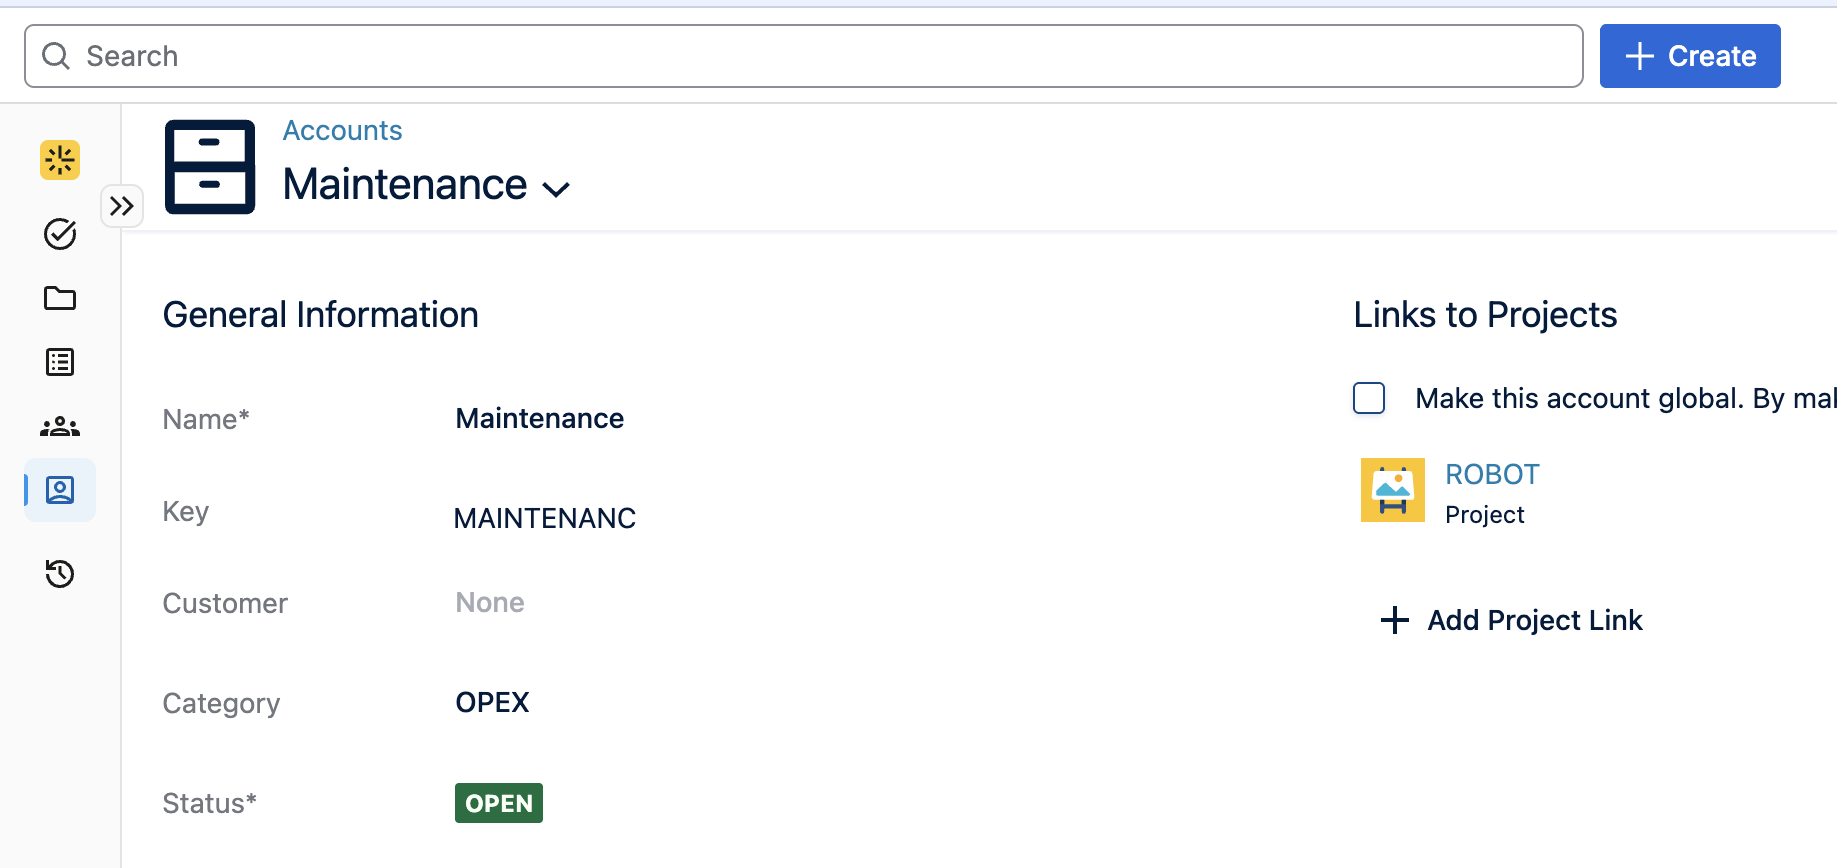
When using contains ( In the above example, when searching for Account ~ OPEX, the account Maintenance will appear, even though OPEX is an Account Category, a property of Account. 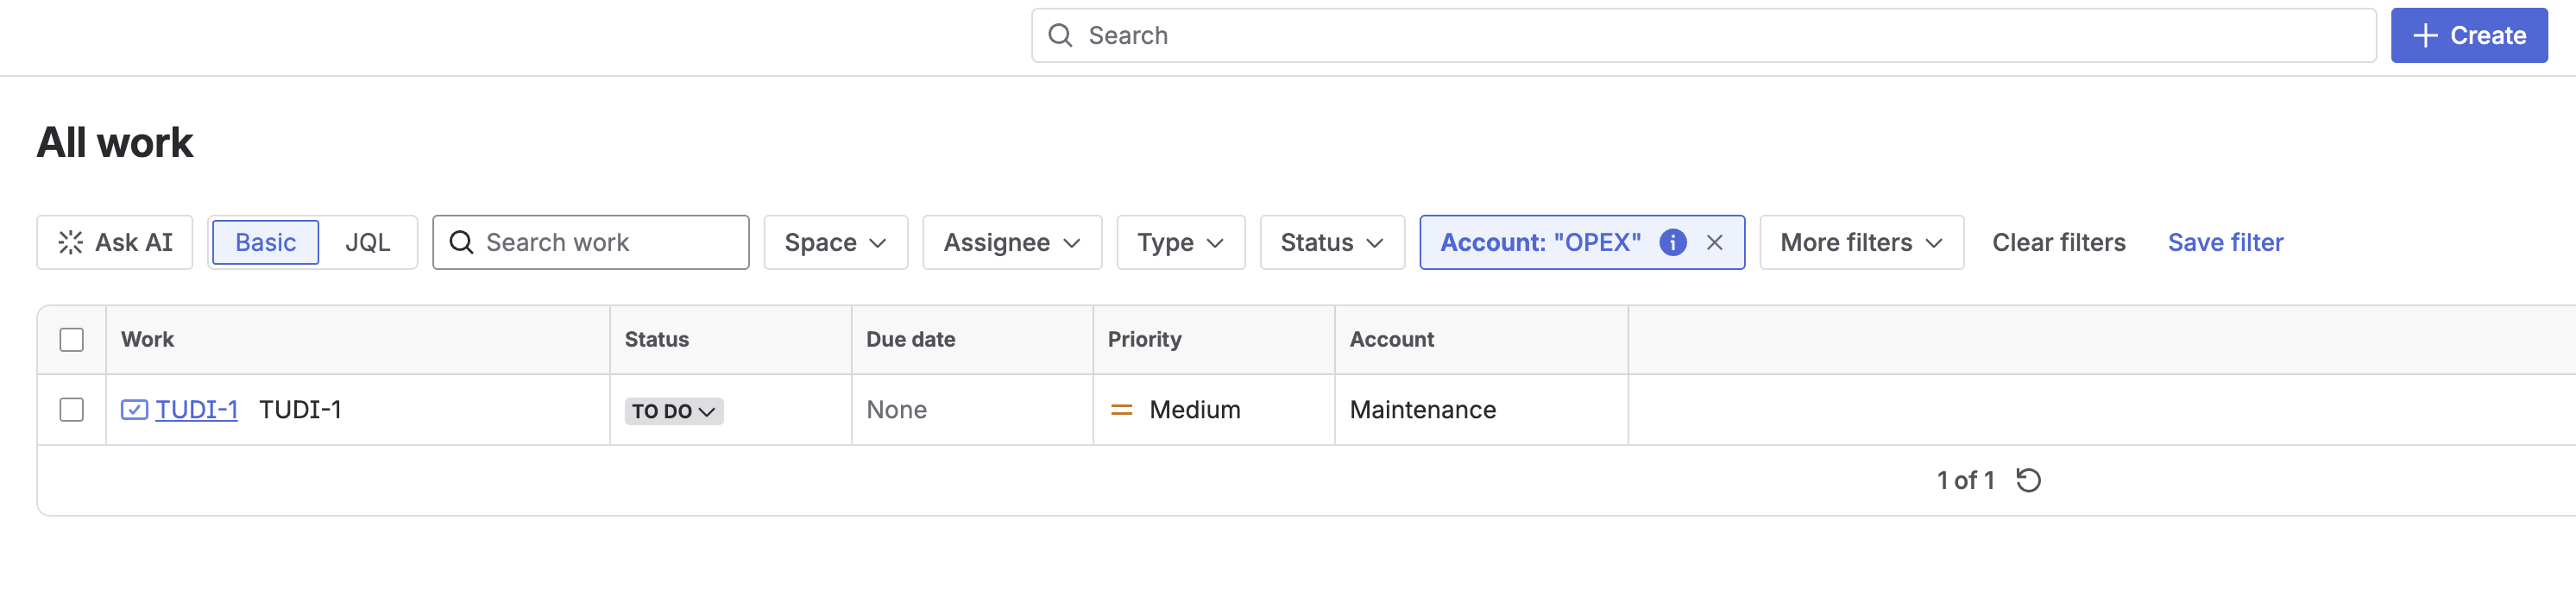
The JQL will find those properties because they are contained (or not contained) within the Account. Recommendation:
|
Changes to JQL custom field IDs
|
Old behavior |
New behavior |
|
JQL filters using custom field IDs used to work for these operators:
|
Only the contains operator (~) is supported. For example, All JQL filters using custom field IDs with other operators must be updated to the new syntax. Custom fields IDs never supported property fields. For example, c |
Changes to Keyboard Shortcuts Behavior and New Keywords
Previously, Tempo supported global keyboard shortcuts that worked anywhere in Jira and Tempo:
-
W: Opens the Log Time
-
G then T: Opens Tempo Capacity Planner in either Team Planning or Resource Planning view, depending on the user’s preference.
These shortcuts worked instantly without any setup or additional UI interaction.
Now on Forge Remote, keyboard shortcuts are no longer global. They are now implemented as Atlassian Command Palette actions, and you must open the command palette once before keyboard shortcuts work.
To use Tempo shortcuts in Jira views:
-
Open the Command Palette:
-
Cmd + K (Mac)
-
Ctrl + K (Windows)
-
The Command Palette must be opened on an Atlassian page or component (not a third-party app, vendor page, or component) to reliably trigger it.
-
Close the Command Palette and use the Tempo shortcuts as before.
Important: Command palette shortcuts are only fetched after the user opens the palette for the first time. This means shortcuts are not available immediately on page load. They only become active after opening the Command Palette once per session. Also note that keyboard shortcuts and Command Palette entries may take 20-30 seconds to populate after a first visit or page reload. We recommend that you reference tickets FRGE-2169, ECO-1606, and JIRACLOUD-96973 in your Atlassian support tickets to help expedite resolution.
To use Tempo shortcuts in Tempo views:
Keyboard shortcut behavior in Tempo views remains unchanged.
Changes to Automation for Account Field
If you want to add an Account condition or action to a new or existing rule, you must use a new method to complete this change.
Account “work item fields condition”
In the Rule details view for an existing automation setup, the Account field for the work item fields condition will now display text indicating (deleted field?). This is an expected artifact that will appear after migration, but it will not affect automation functionality.
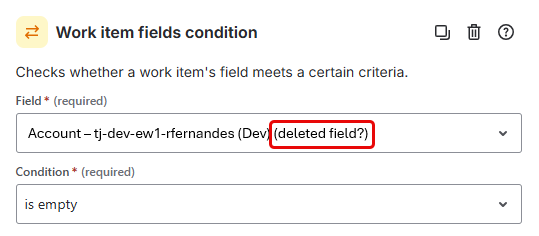
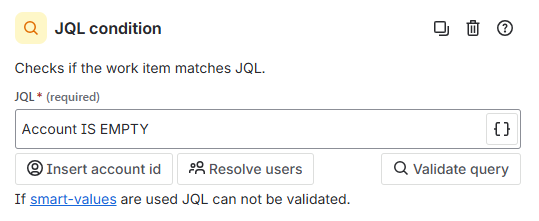
However, if you add a new condition, you will not be able to add Account to the work item fields condition because this option is no longer available. As an alternative, you can add a JQL condition to set the Account field (for example, Account IS EMPTY) and validate it.
Account “Then” Action
Previously, when adding a Then action, you could select Edit work item and choose Account from the list of AVAILABLE FIELDS.
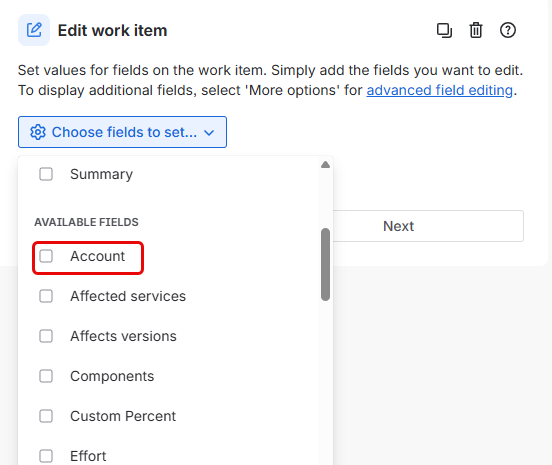
After migrating to Forge, when adding a new Then action, the Account option is no longer available in the list of AVAILABLE FIELDS. You will need to use an alternative method to set the Account.
To retrieve the Account name using smart values, use issue.Account.value to copy the Account name into a custom text field via automation.
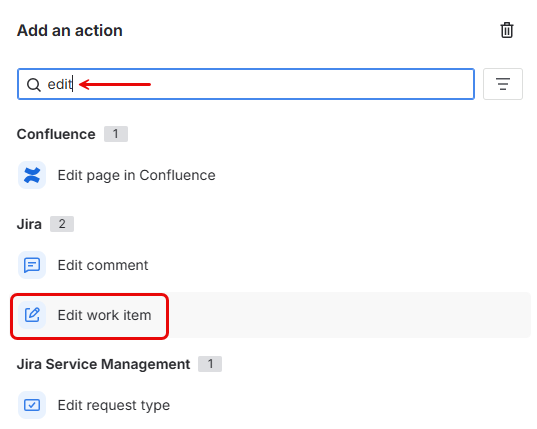
Alternative method:
-
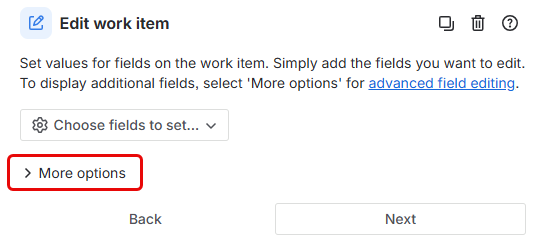
Search for and select Edit work item.
-
Select More options to use advanced field editing.
-
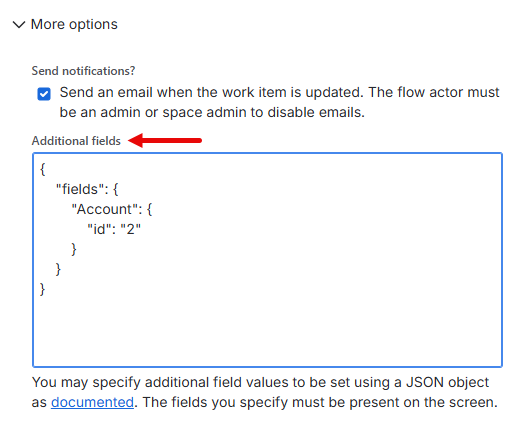
Set the Account using the Additional fields textbox, as shown in the example below.
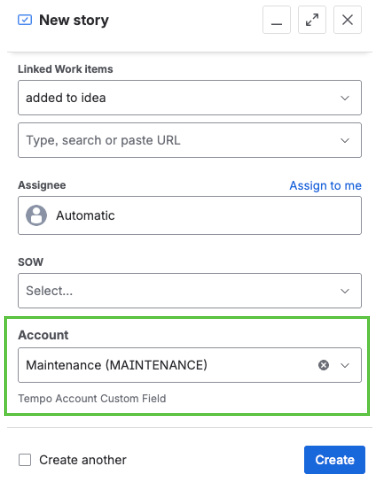
Account Field in Jira Work Item View
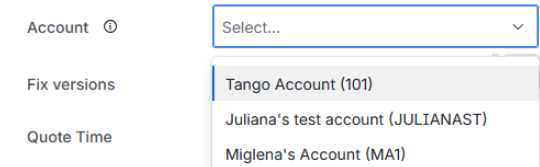
On Connect, the account field for Jira work items displayed only the Account Name.

On Forge, the account field displays the Account Name (Account Key).
Transitioning Work Items
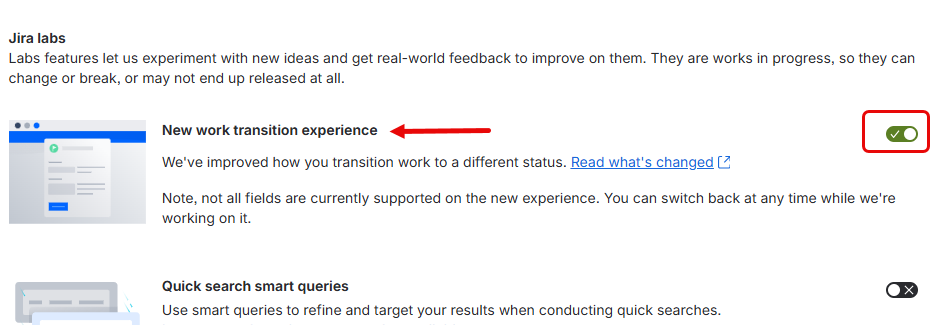
When transitioning a work item from one state to another (e.g. To Do → In Progress), the custom field (e.g., custom Account field) may display a textbox containing code instead of a dropdown list. If this occurs, follow the steps below.
-
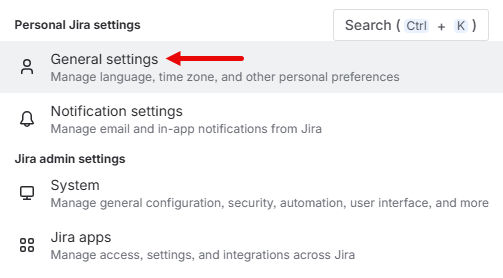
Go to the Personal Jira settings and select General settings.
-
In the Jira labs section, enable the New work transition experience feature.
Although individual users can perform this fix for their work items, we recommend that an administrator contact Atlassian to open a ticket and request that this fix be applied to all users in the organization.
Custom Field Bulk Edit
Bulk editing is currently not supported on Forge for custom fields configured with the object type (such as Account). This is due to a known limitation in Atlassian’s Forge framework, where the custom field editor is not invoked during Jira’s bulk edit process. As a result, bulk editing of these fields through the standard interface is not possible.
As an alternative, we suggest using Jira’s Edit issue API to update the issues. You can also use Jira automation to set the fields when updated.
We have raised this issue with Atlassian, and a public ticket is available for tracking progress. We encourage you to follow the ticket and add your feedback or vote, as this helps prioritize a resolution.
Forge Custom Fields in Jira JSPA Pages
Custom fields in Forge don't render correctly on legacy JSPA create-issue pages. For a workaround, use the blue Create button in the Jira header instead of a direct JSPA link.
Forge Object Type Custom Fields
When using the legacy (Connect) Create linked work item modal to create a linked work item in JSM, any Forge custom field included in the work item is rendered as a text area instead of its intended type. There is currently no workaround for this behavior. For updates, see JIRACLOUD-98454 on our Atlassian Tickets for Reference page.
Tempo Hidden Fields in JSM
In JSM, the default value setting for hidden Tempo fields in request types (Jira Service Management > Request Types) is not working correctly. As a result, default values can not be configured for fields that are set as hidden. In some cases, this may prevent issue creation entirely.
As a workaround, you can make the affected hidden Tempo fields visible on the screen to restore functionality.
Update: A fix for this issue has been implemented. See ECOHELP-122513 on our Atlassian Tickets for Reference page.
Default Account for New Jira Work Items
Previously, it was not required that the custom Account field be visible on the work item creation screen to use the default account value set in Space Settings > Accounts.
With the move to Forge, it is now required that the custom Account field be visible on the work item creation screen to perform any actions, including applying the default value. As a workaround, you must add the Account custom field to the work item creation screen.
Admins Cannot Impersonate Other Users
On the Forge platform, impersonating another user causes a permissions-exchange issue that prevents the application from opening. Avoid testing Tempo while impersonating another user. We recommend referencing ECO-244 in your Atlassian support tickets to help expedite a resolution.
OAuth Changes
-
The URL to authorize OAuth apps will change as indicated below.
|
Before |
|---|
|
This URL currently works for both Forge and Connect, but we cannot guarantee how long it will remain supported. To minimize the risk of disruption, we recommend updating to the new URL. |
|
After |
|
This URL will work for both Forge and Connect. |
-
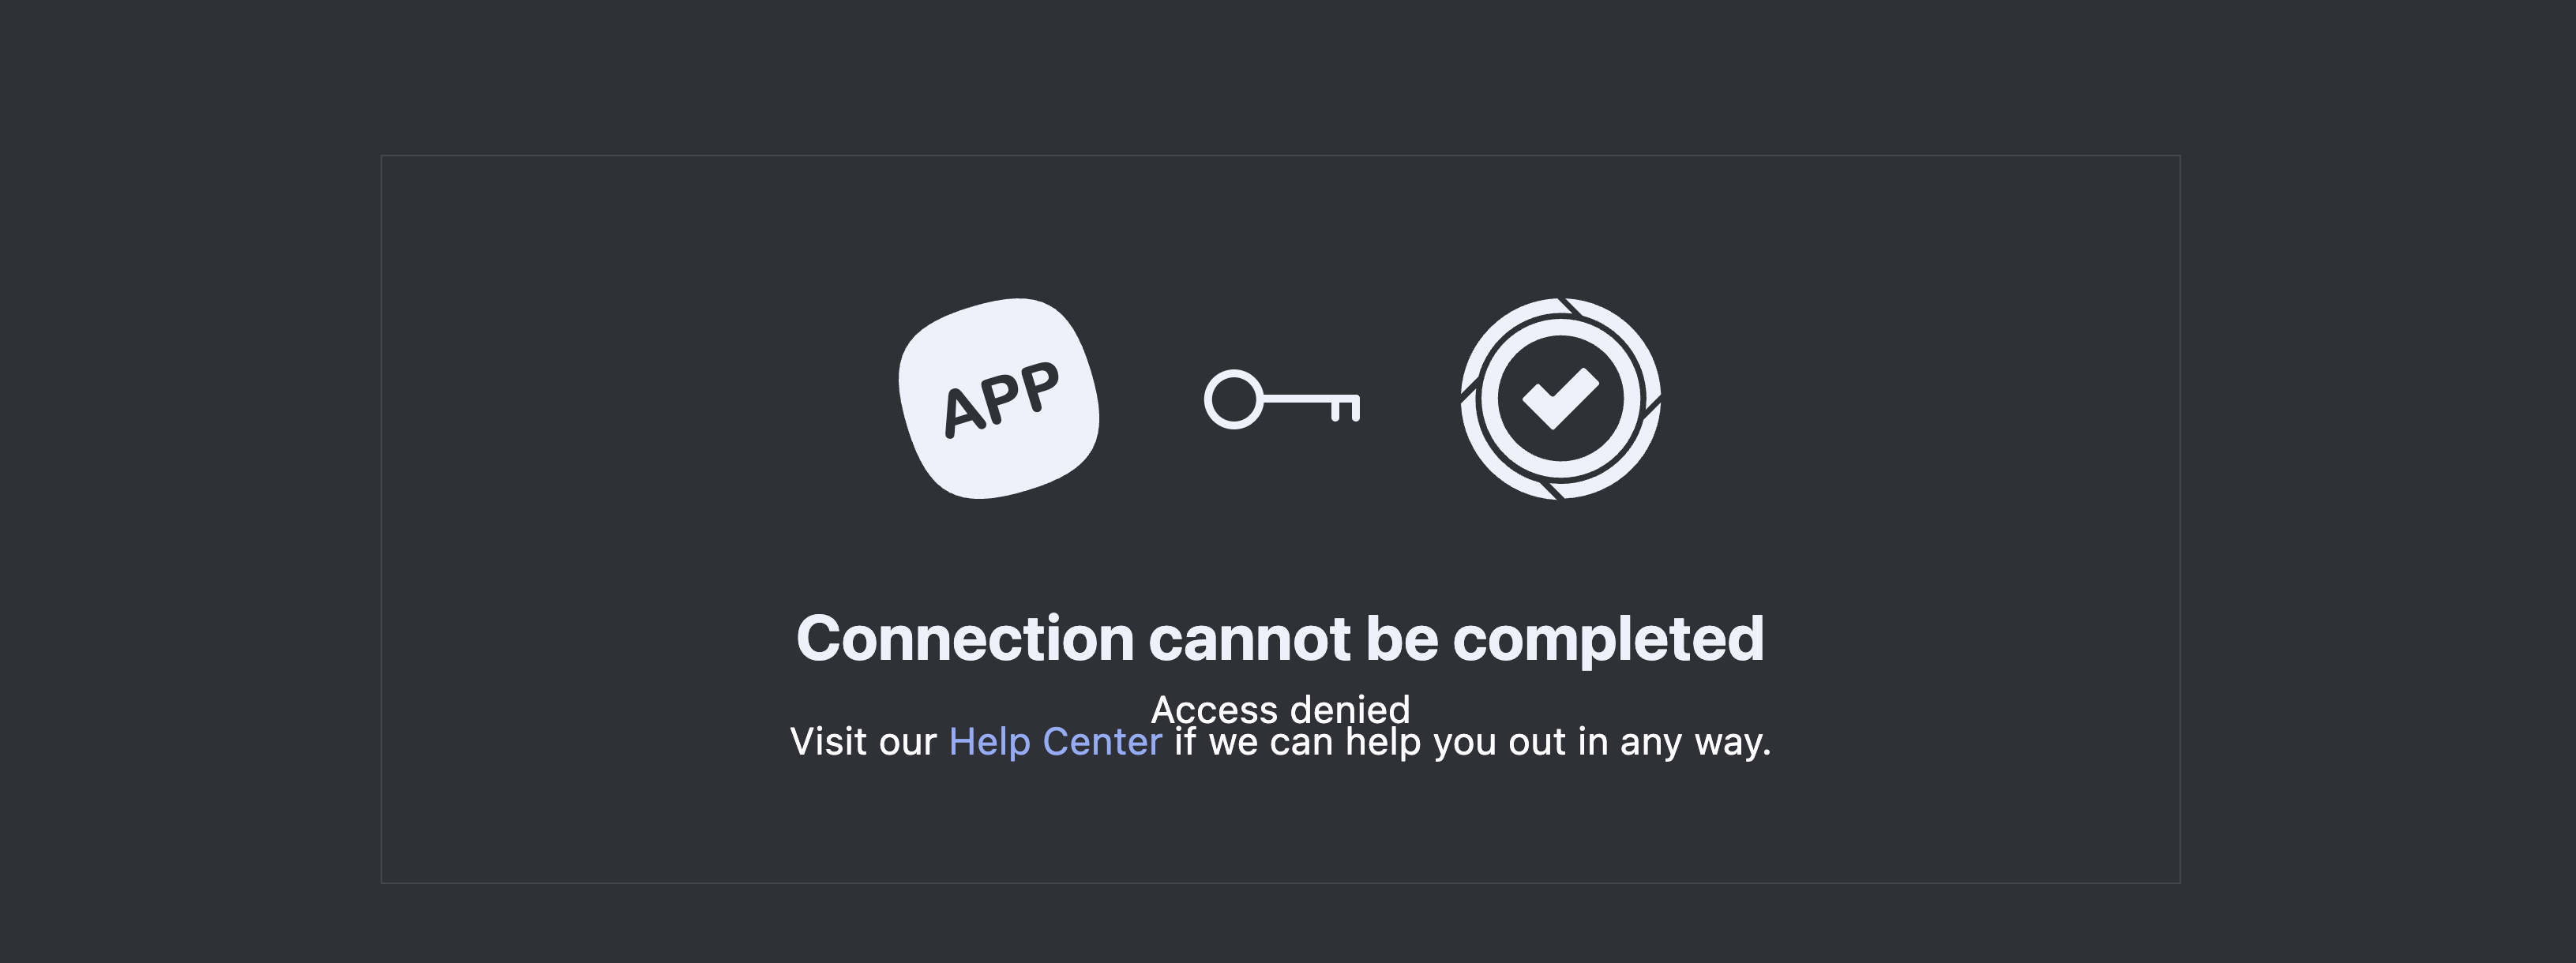
In Forge, an authorization page showing "Access denied" now displays if the user doesn’t have permission to access Timesheets, Planner, and/or Financial Manager.
Tempo Report Bookmarks
Tempo Reports that are saved as bookmarks will no longer work. To maintain report data, you can do either of the following:
Before Forge upgrade: open the URL and save the report
After Forge upgrade: recreate the report and re-bookmark it (or save it)
Firewall Configuration
If you are unable to access Tempo apps, your firewall may be blocking traffic from Atlassian's Forge platform and its CDN domains. Atlassian controls these domains and may update them at any time.
Allow the following Atlassian domains in your firewall to prevent these issues.
Other UX Changes
-
Bookmarks will be automatically redirected from the old URL to the new URL redirect provided by Atlassian.
-
After authorizing an OAuth App, upon clicking the Onwards! button, the redirect URI will now open in a new tab.
-
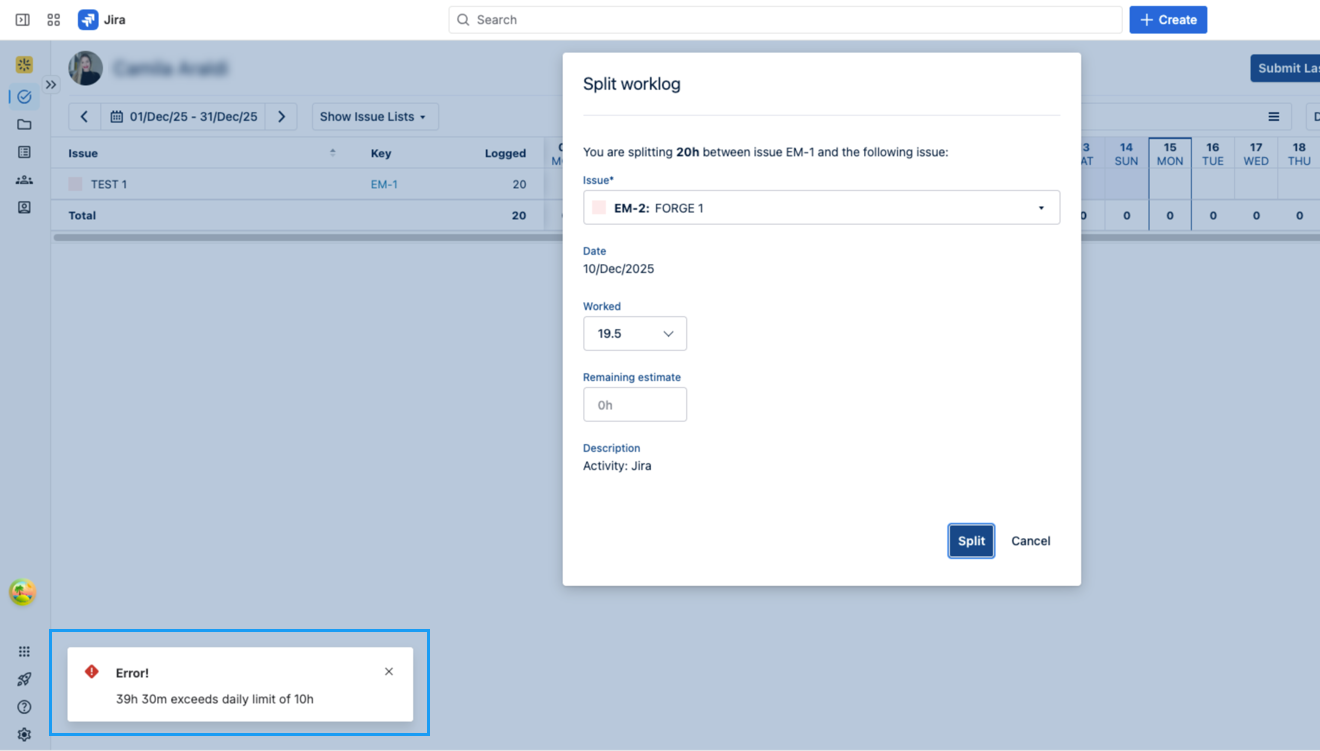
Notifications will now appear in the bottom-left corner instead of the upper-right-hand corner.
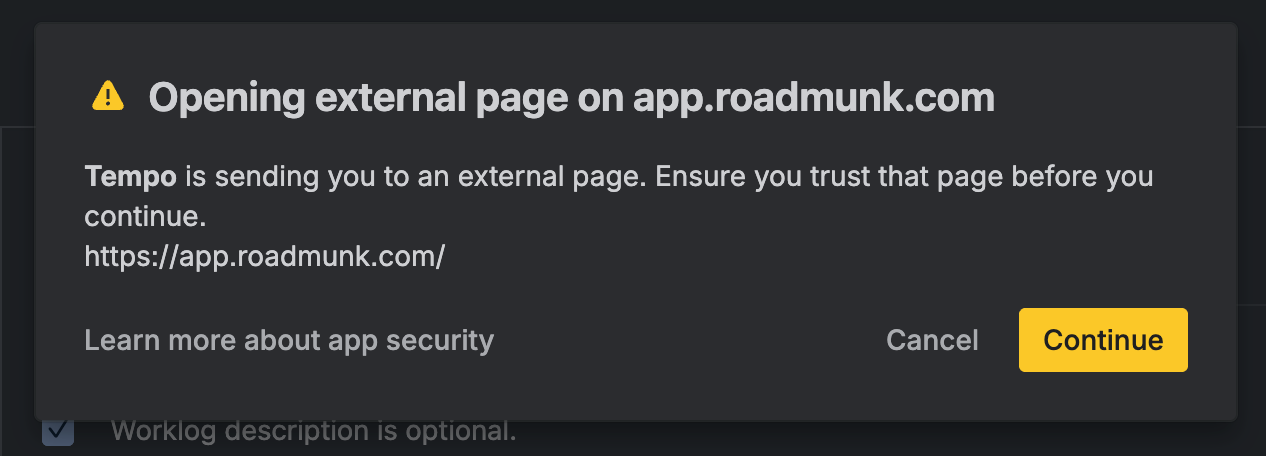
-
Left-clicking on an external link prompts you to confirm navigation to the external site.
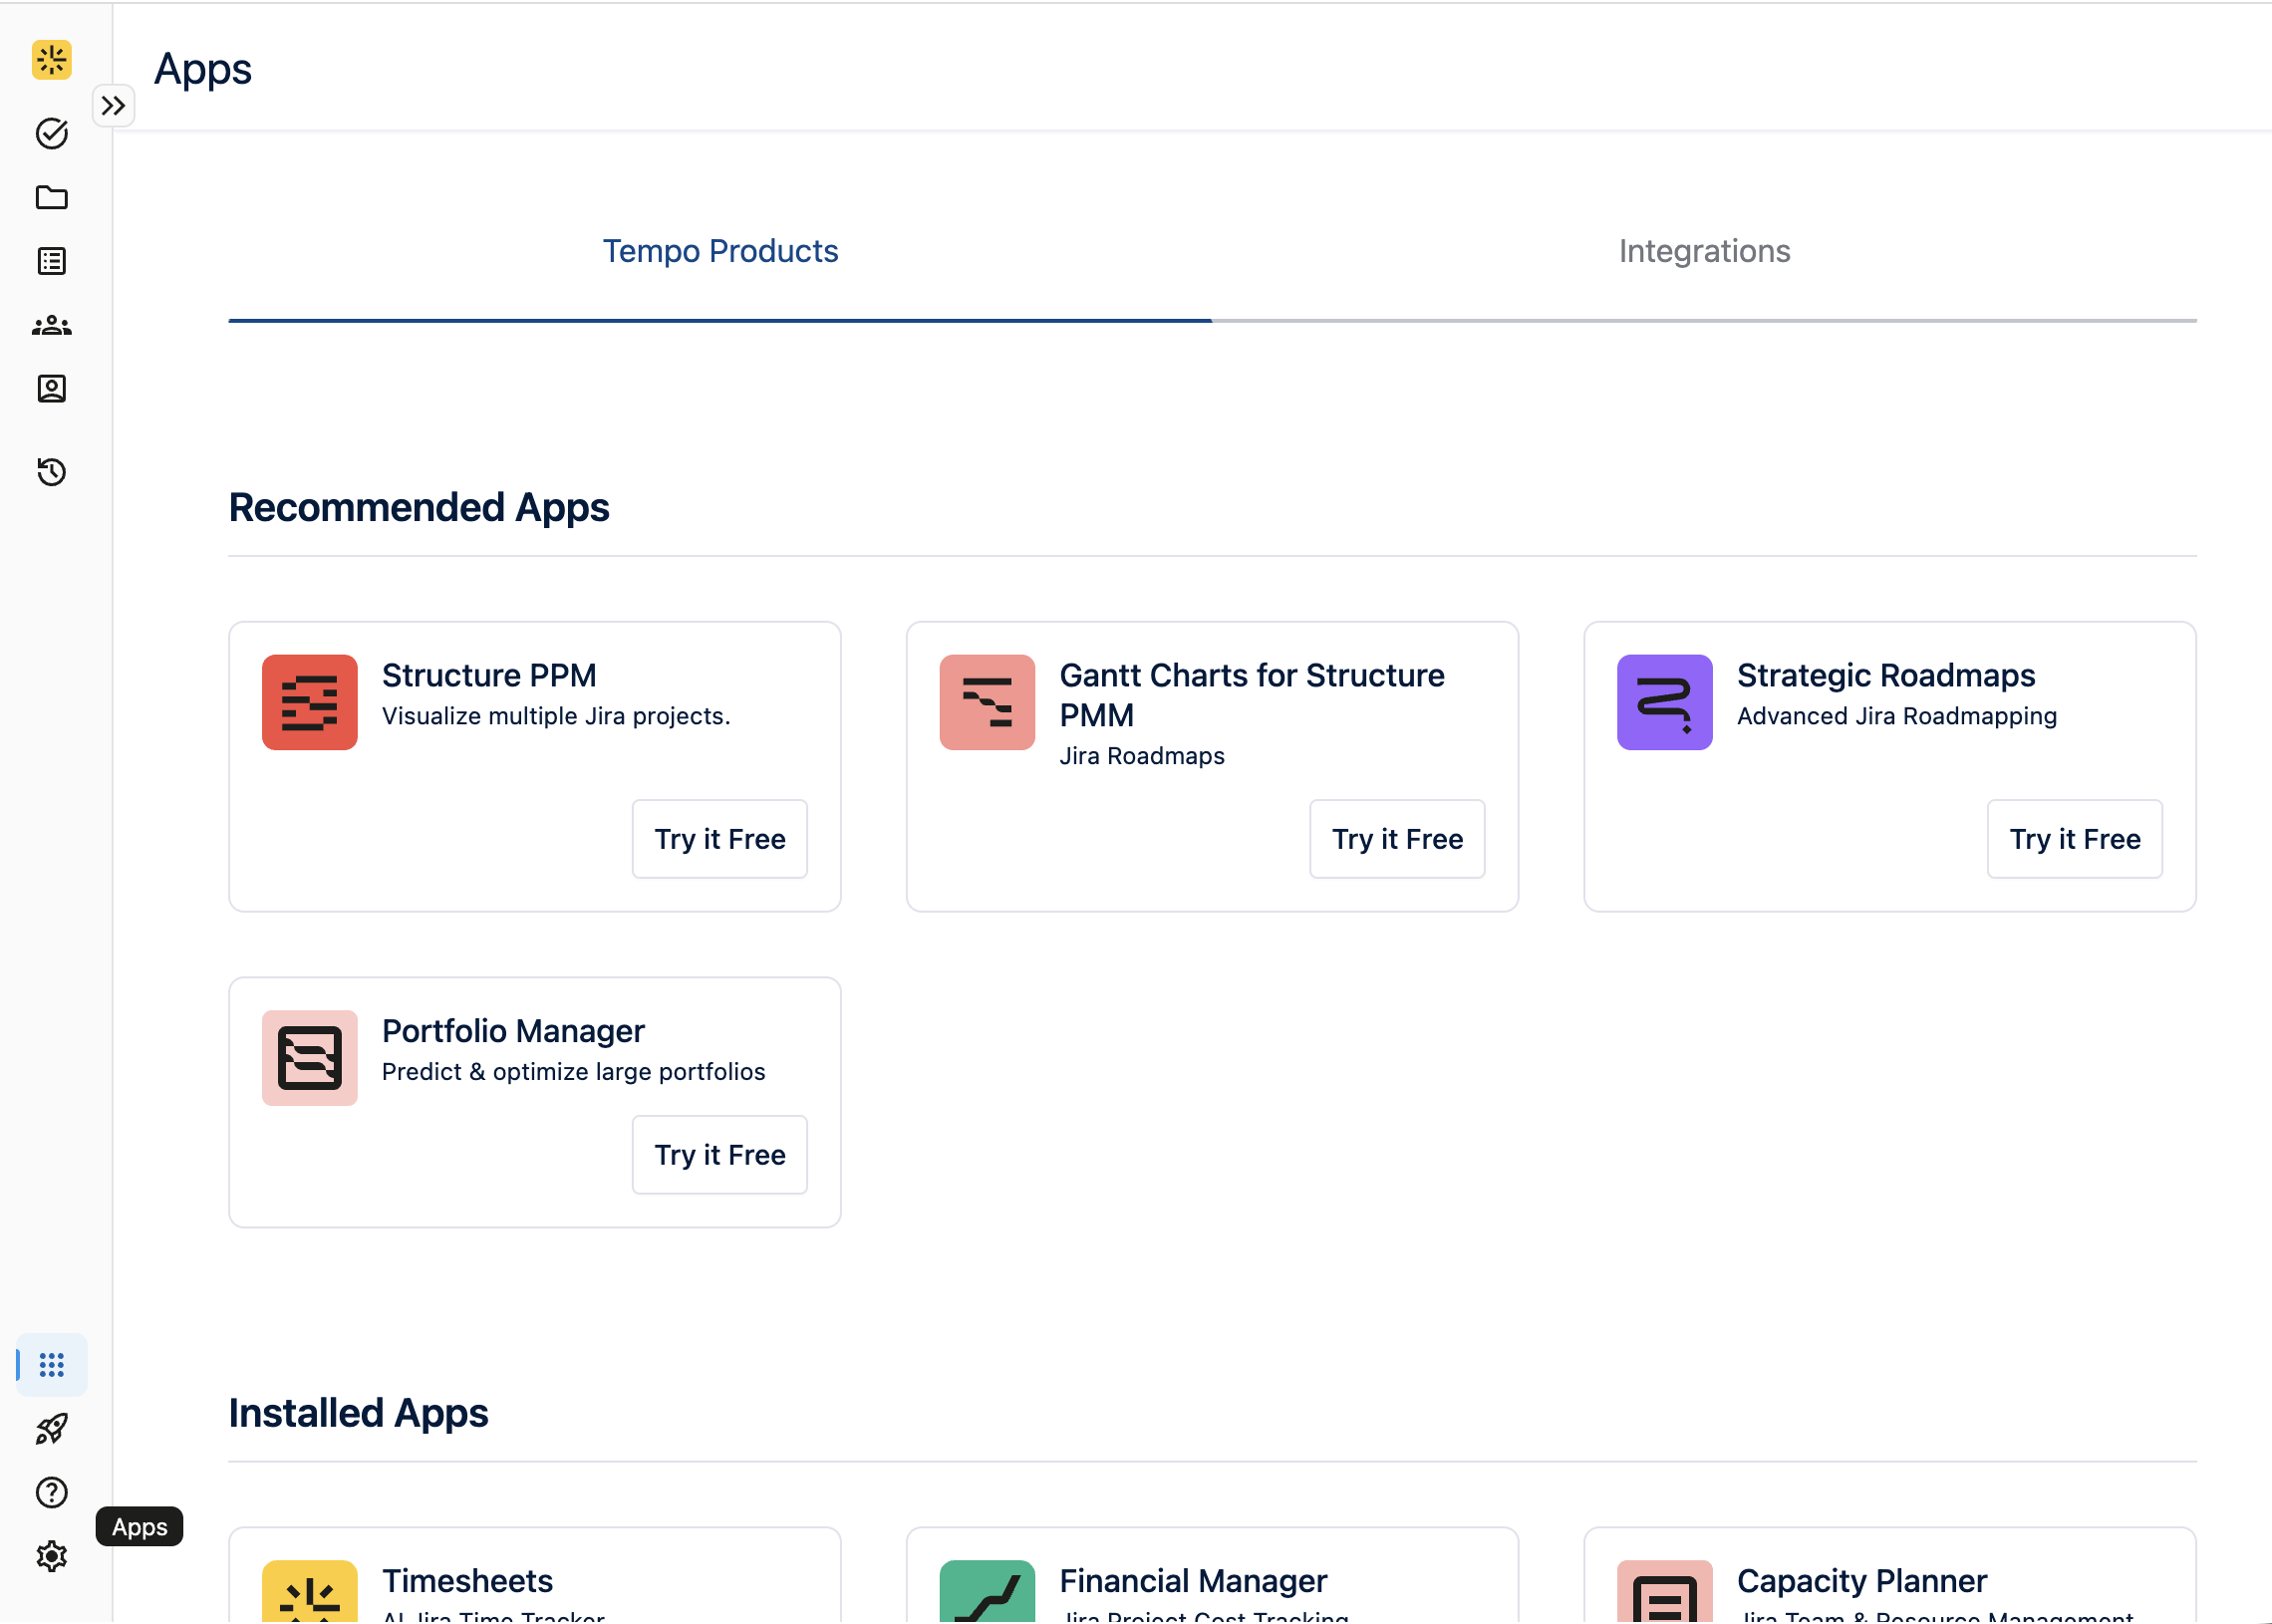
-
All links on the apps page (e.g. trial links, open app, instructions for integrations, installation of integrations, etc.) will open in new tab.
-
Spinners display across modals and iFrames to visually indicate that a loading action is in progress.