The Power BI Connector for Jira Cloud is designed to simplify data import into Microsoft Power BI.
Step 1: Grant Permissions
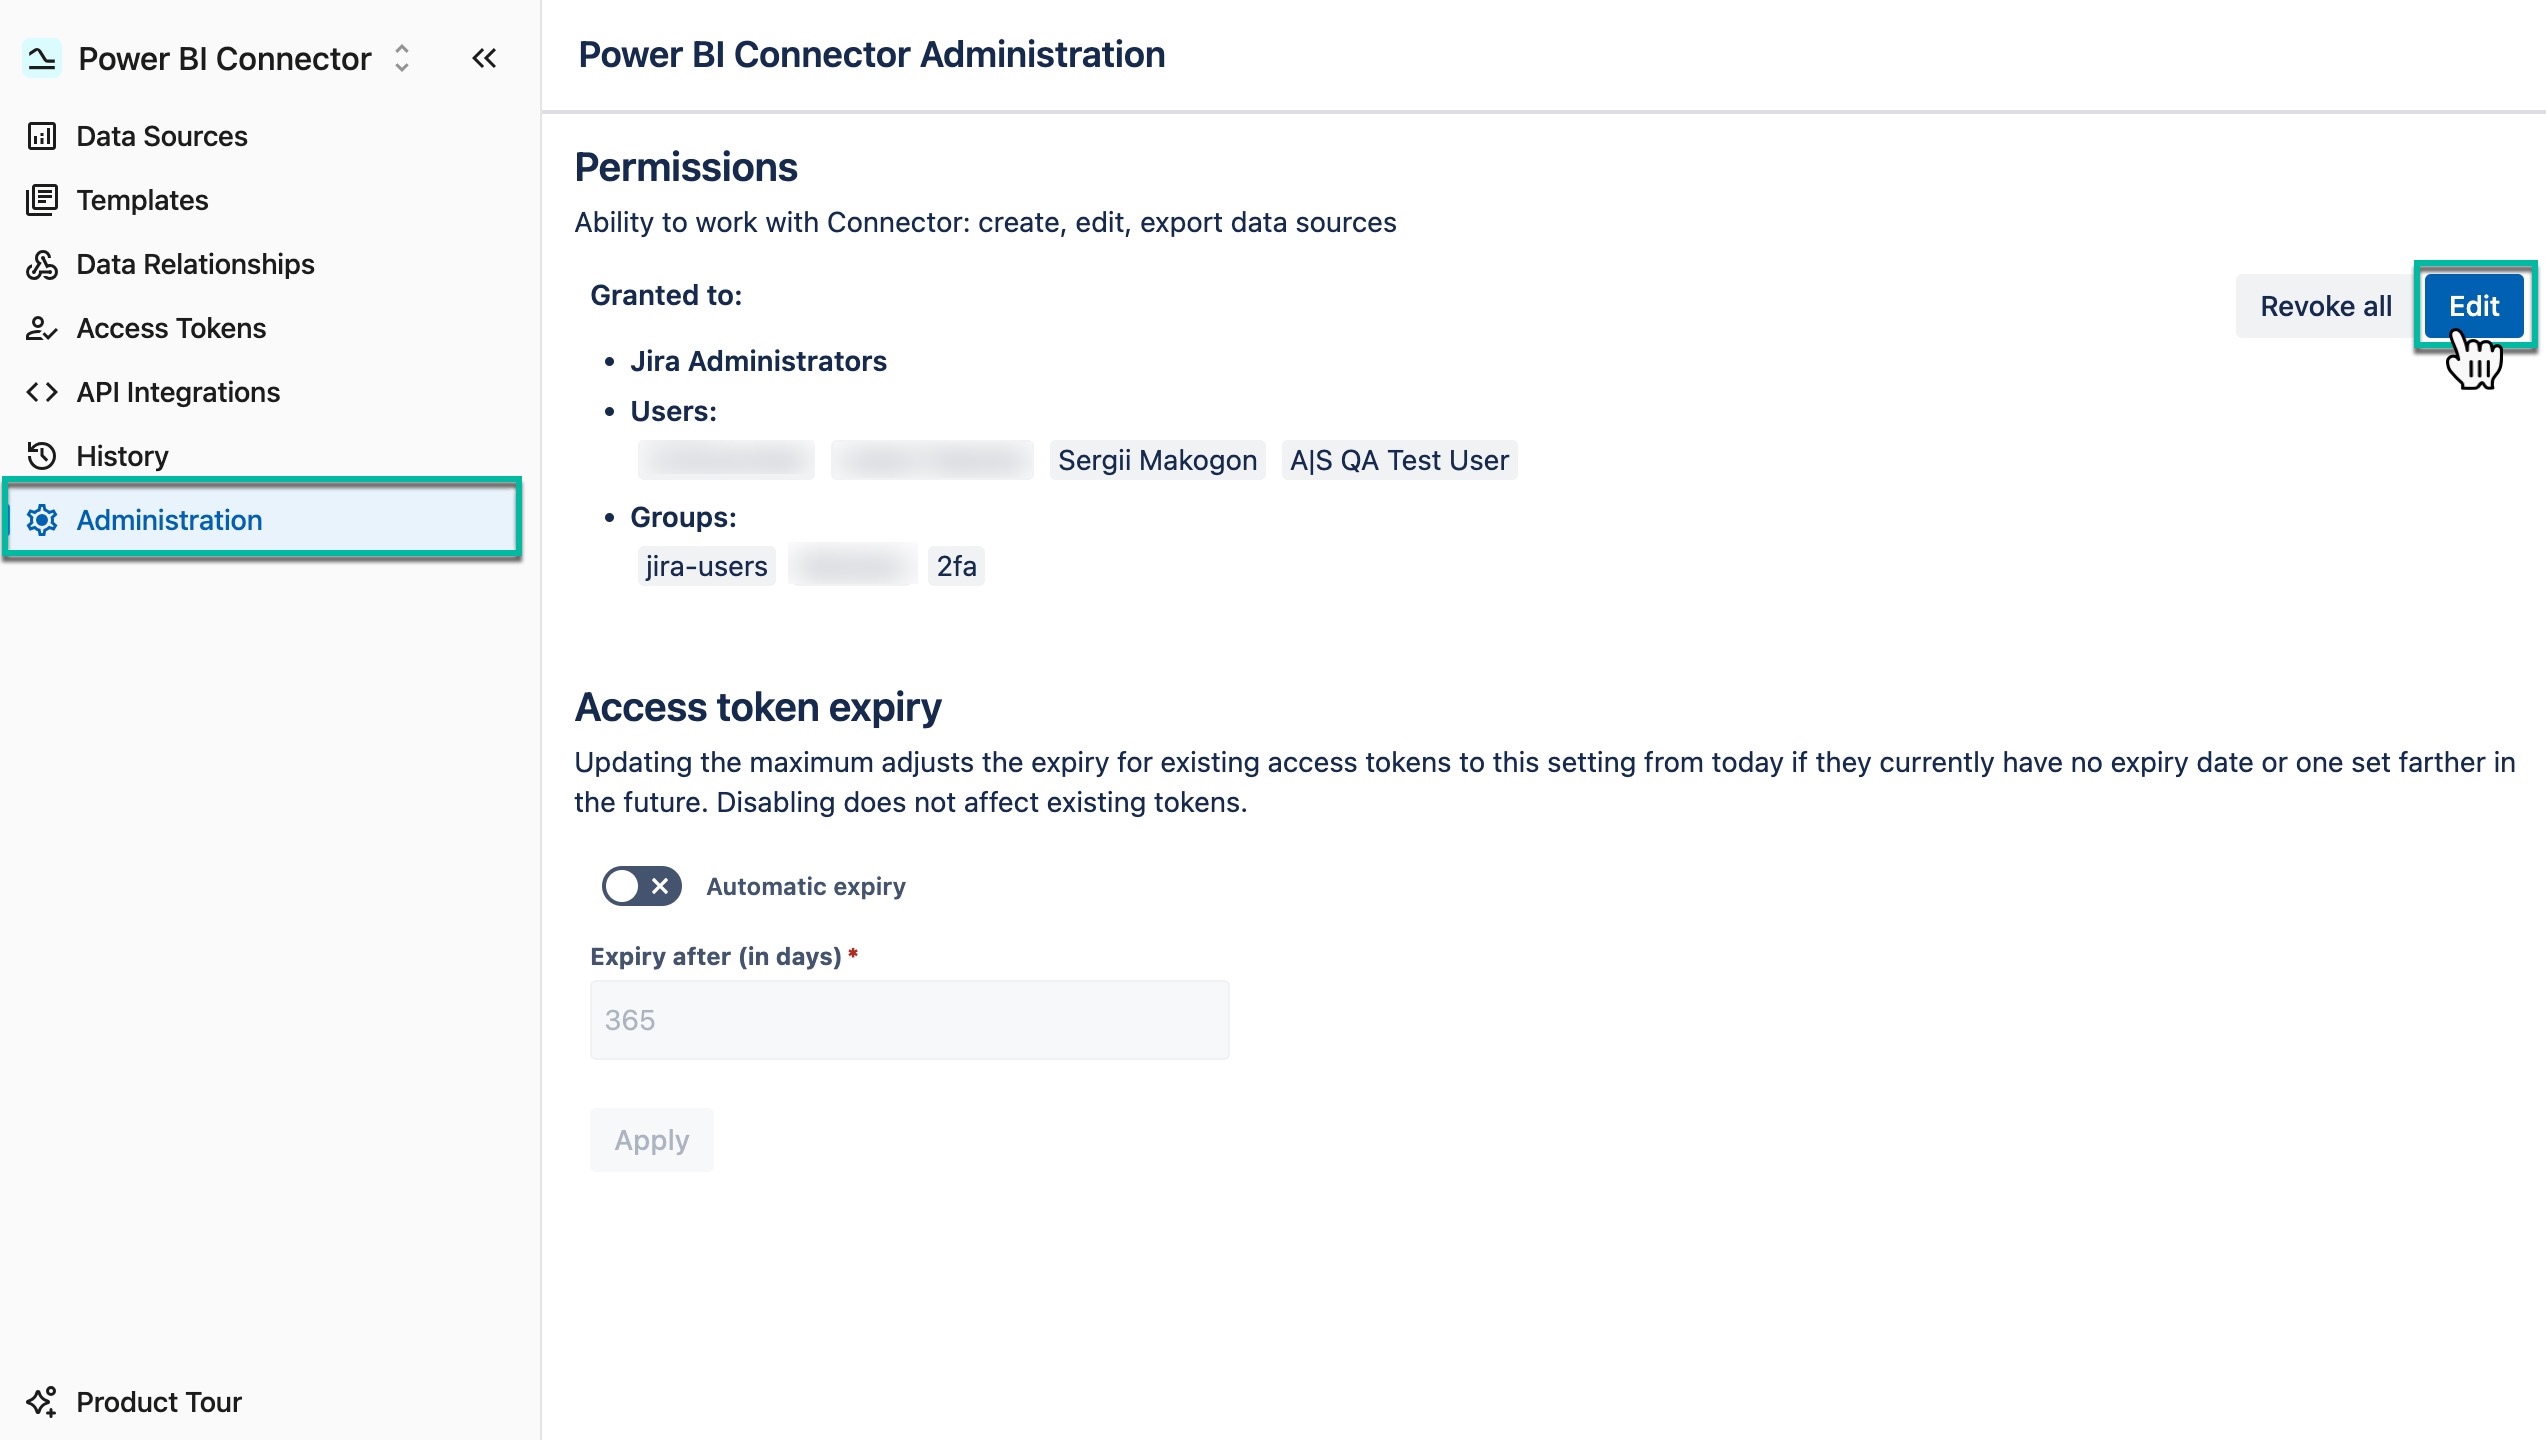
If you are a Jira Administrator
-
Grant permission to individual users or groups so they can create, edit, watch, and export data sources.
-
Administrators can work with the Power BI Connector by default.
🔗 Learn how to grant permission
If you are a Regular User
-
Ask your Jira Administrator to grant the required permission.
Step 2: Create an Access Token
-
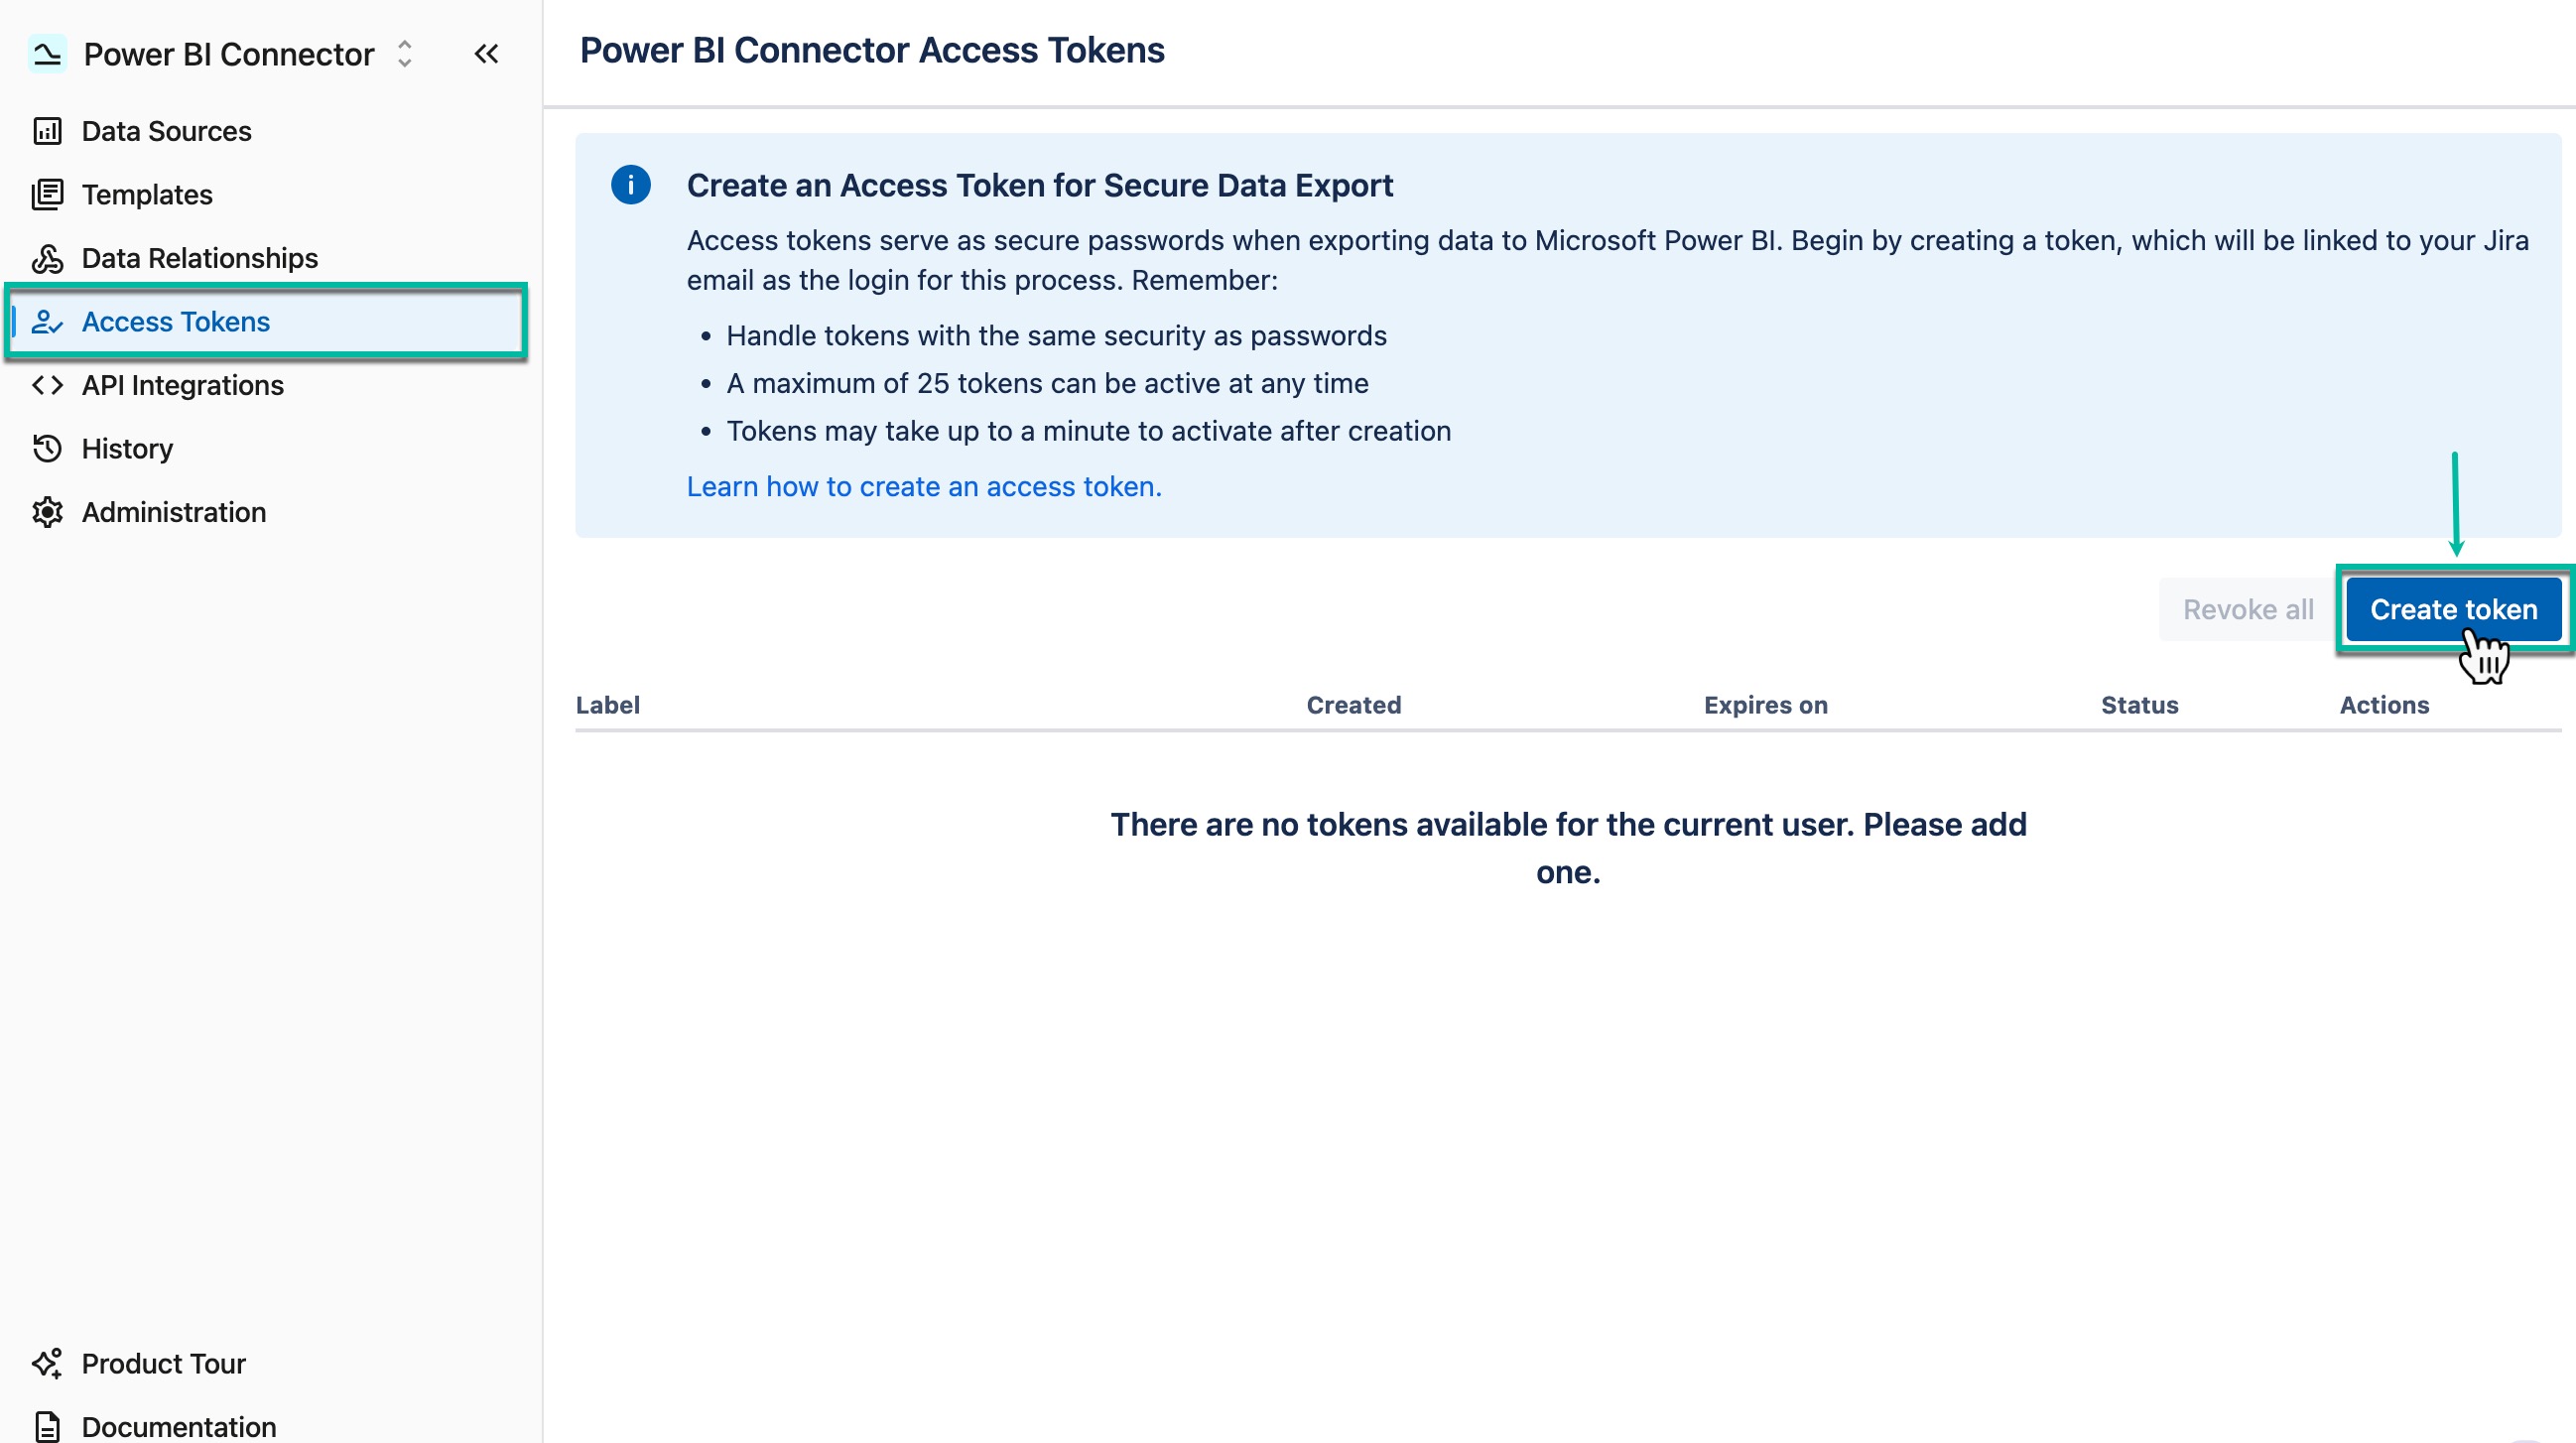
You’ll use this token as a password when connecting to Microsoft Power BI.
-
Important: Keep the token secure because it provides access to your Jira data.
-
If needed, configure separate tokens for supported apps to include their data in your Power BI export.
🔗 Learn how to create access token
Step 3: Create a Data Source
-
Think about the report you want to build or the analysis you want to run.
-
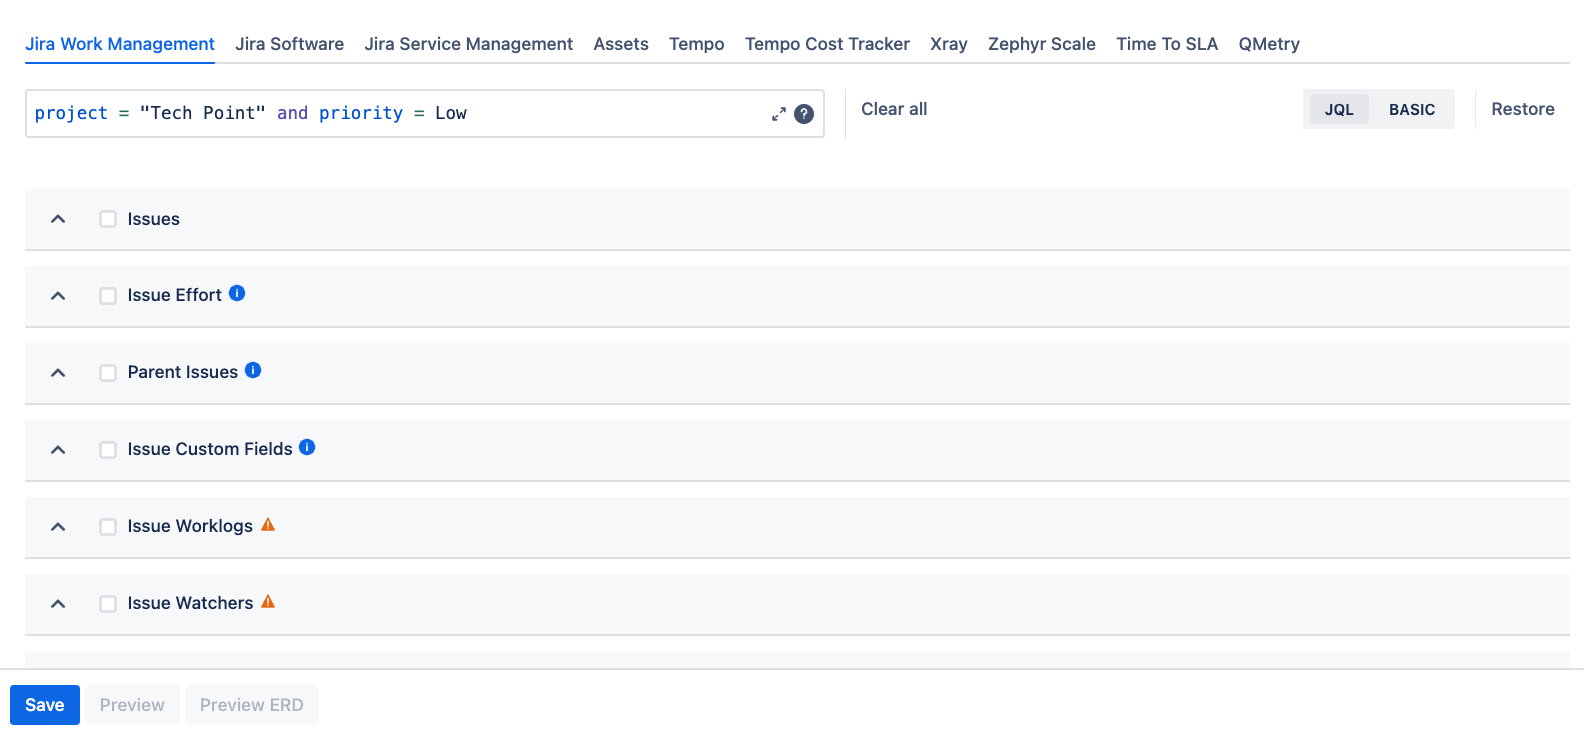
Select the corresponding Jira fields through the Power BI Connector. This set of fields is called a data source.
🔗 Learn on how to create data source
-
Apply filters (such as project, issue type, or other criteria) to include only relevant data.
-
Without filters, the Power BI Connector will export all data from your Jira instance.
-
🔗 Learn on how to apply filters
Step 4: Import Data to Power BI
-
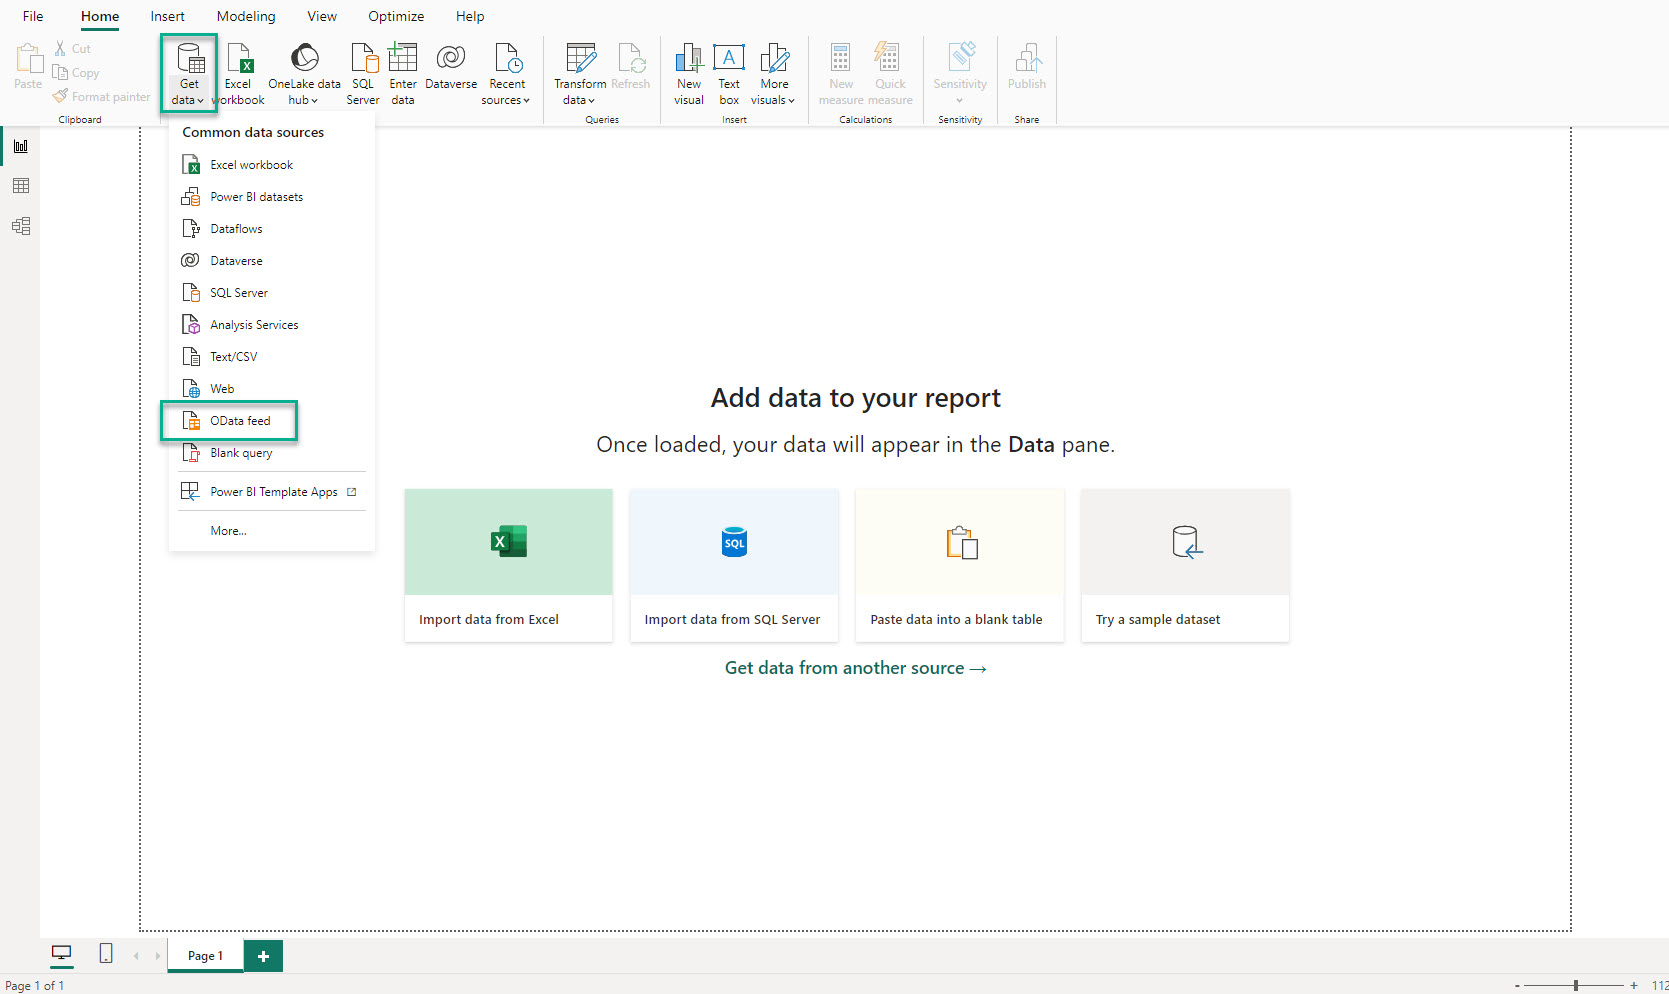
Open Microsoft Power BI Desktop.
-
Connect using the access token you created.
-
Import the datasets included in your data source.
🔗 Learn on how to import data to Power BI
Done! You’re ready to explore and visualize your Jira Cloud data in Microsoft Power BI.
App Navigation
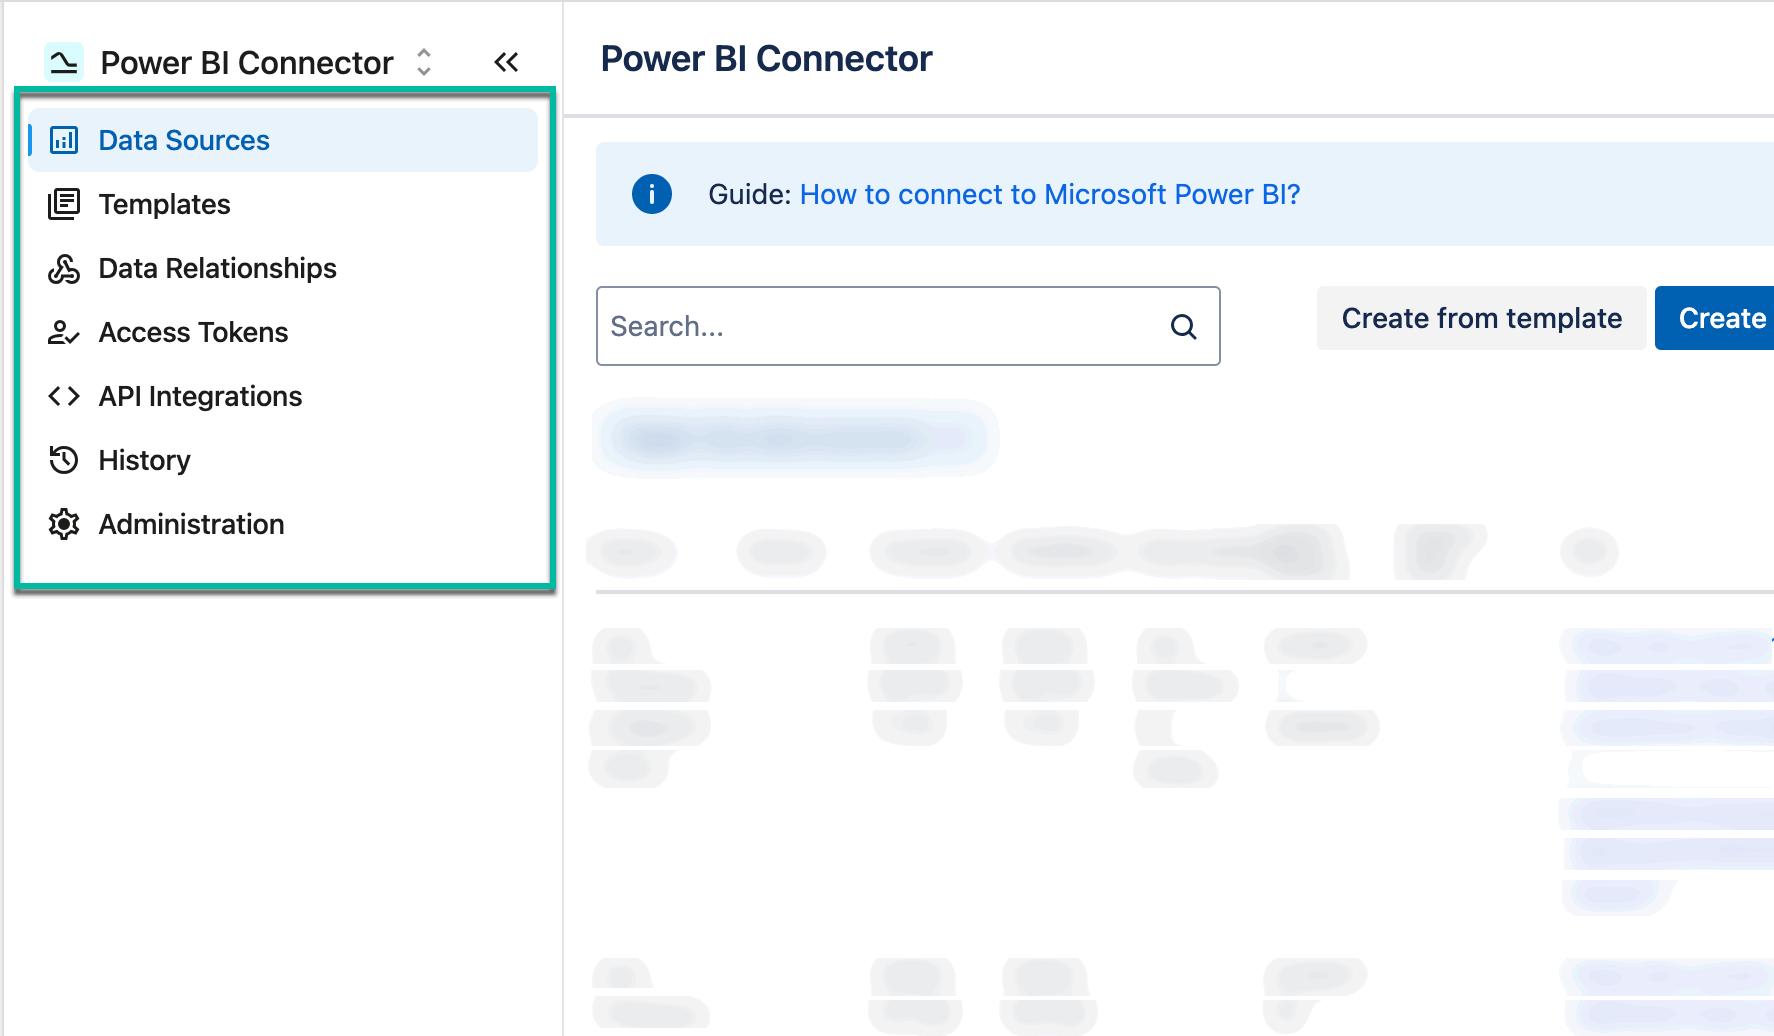
Use the app navigation to quickly switch between the following modules:
-
Data Sources
-
Templates
-
Data Relationships
-
Access Tokens
-
API Integrations
-
History
-
Administration
💬 Like using Power BI Connector for Jira? Leave us a quick review on the Marketplace!
Updated Power BI Connector for Jira Cloud: New Features and Enhanced Jira Reporting
