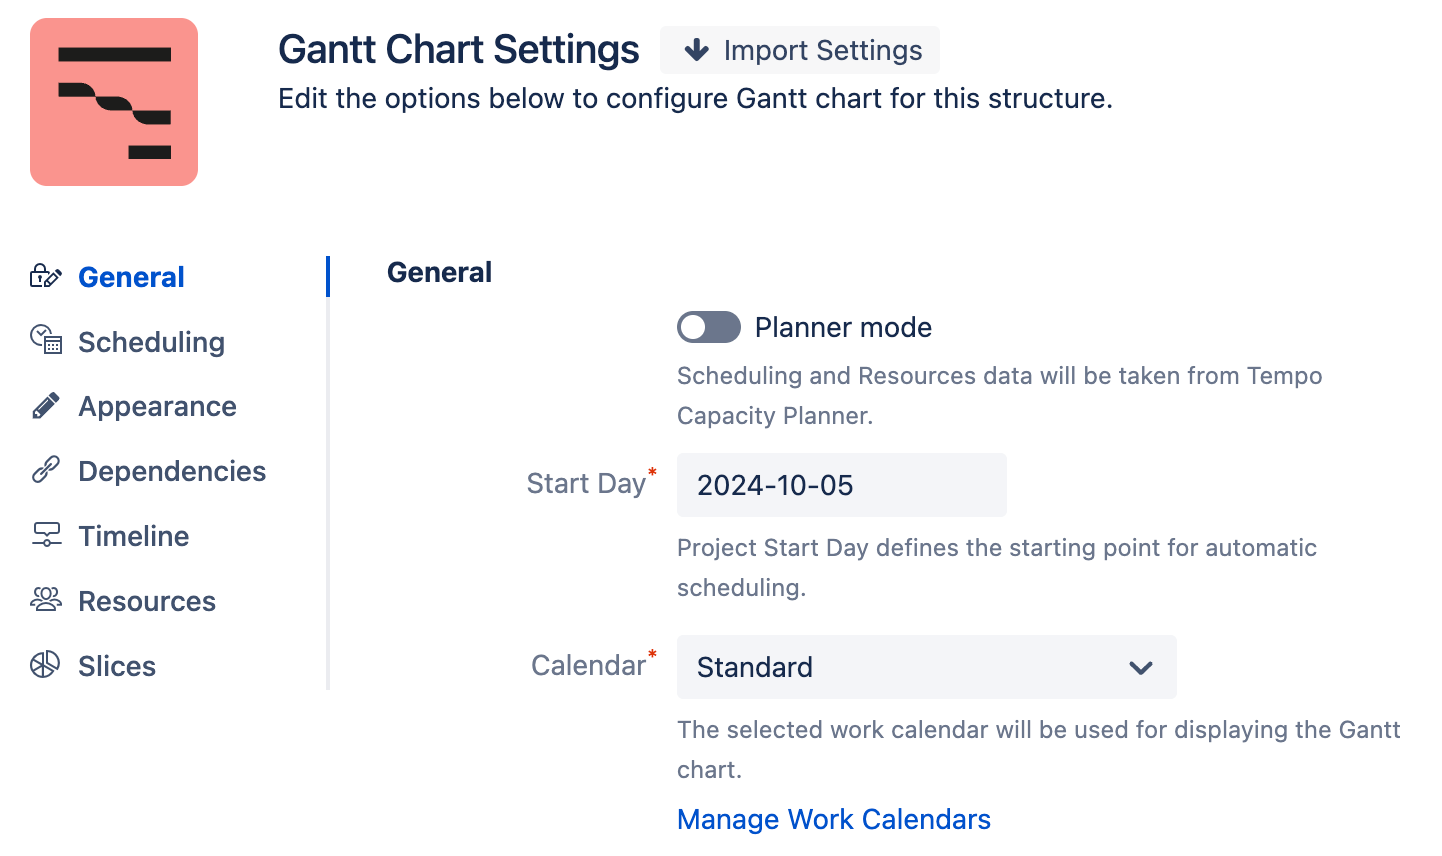
In the General tab, you define the basic elements of your Gantt chart configuration:
-
Planner mode - Select this option to use scheduling and resource data from Capacity Planner.
-
Start Day - The day the project begins. When automatic scheduling is applied, the earliest work ites will begin on this date. Later work ites will be scheduled based on a combination of this date, work estimates, and dependencies.
-
Calendar - Scheduling within the chart will be based on the selected work calendar.
-
Import Settings (top of the screen) - Import the Gantt configuration from another structure. See Import Settings.

Planner Mode
To use scheduling and resource data from Capacity Planner:
-
Open Gantt Settings
-
Enable Planner mode
-
Select whether you want to schedule based individuals or Tempo Teams

When Planner mode is enabled, many of the options on the Scheduling and Resources screen will be grayed out, as this information will be pulled from Capacity Planner instead.
In order to use Tempo data for resource availability, the Jira admin must first connect Structure and Capacity Planner.
If you receive a 'Jira feature is switched OFF on Capacity Planner side' message, ask your Jira Admin to go to Apps | Tempo | Settings | Planning Time and enable Sync plans with Jira work items. Once this is enabled, return to the Gantt configuration and select Use scheduling and resource data from Capacity Planner again.
Individuals vs. Team
When using Planner mode, you can visualize and schedule work based on individual users or Tempo Teams.
Individuals
When planning for individuals:
-
The Resources panel displays all users that have work assigned to them in the structure
-
The Resource Usage panel displays different information, depending on whether you’re using Planner data or Gantt data:
-
Planner data (the Tempo icon is highlighted) - displays the total amount of work planned for individuals, across all projects, even for work items not in the chart
-
Gantt data - displays the total amount of work assigned to individuals within the Gantt chart
-

Teams
Team Planning mode allows you to visualize time for your teams, as well as each member within a team. When using Team Planning and Tempo data, the resource usage is rolled up. In the example below:
-
Team members (ex. “Evi Steele”) - displays individual allocations from Capacity Planner
-
Team (“Android Team”) - shows epic-level work allocated to the team in Capacity Planner
-
Overall group (“Temp Team: Android Team”) - shows the combined allocation for the team and its team members

Don’t see allocations in the Resource Usage panel?
-
Click the Tempo icon
-
Make sure you have permission to view the plan data
If the structure is grouped by Tempo users or teams (either by a Group generator or quick group), the Gantt chart will not show Planner allocations for group items in the following places:
-
Dashboard gadget
-
Confluence macro
-
Exported Gantt chart
Gantt allocations will be displayed for the groups in these locations.
To learn more about using Capacity Planner and Gantt Charts for Structure together, see Capacity Planner Integration.
