You can choose which Planner features are enabled and configure how Planner and Jira interact in the Planning Time settings.
Before You Begin
-
You need Tempo Administrator permissions to set the Planning Time options.
Navigate to the Planning Time Settings
The Planning Time settings are available in the Tempo Settings under Configuration, but you can also navigate to the page through shortcuts in the Team or Resource Planning view.
-
Select Settings in the Tempo sidebar, and then select Planning Time.
-
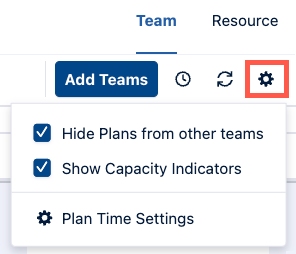
Use the Settings shortcut in Planner, and then select Plan Time Settings
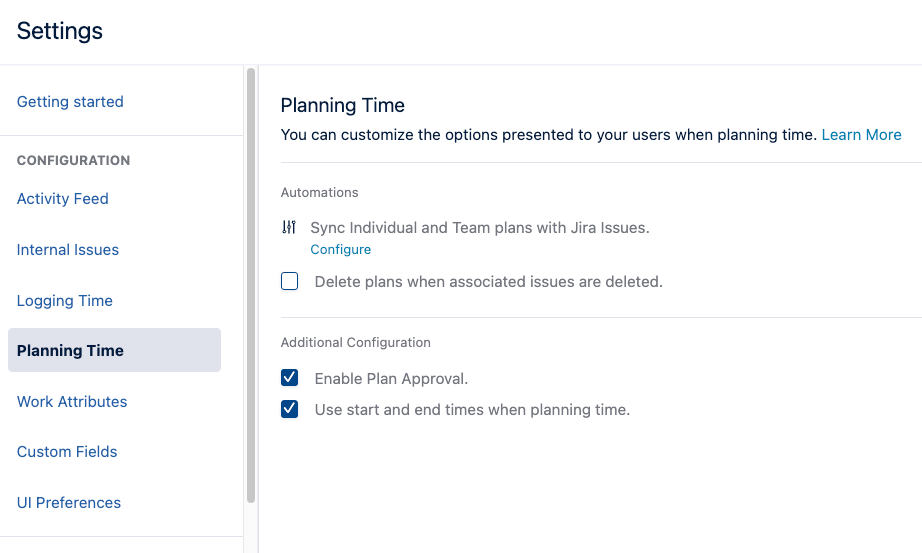
You can then choose the options you want to enable.
Configure Automations
You can modify how Jira and Planner by Tempo interact in the Automations section.
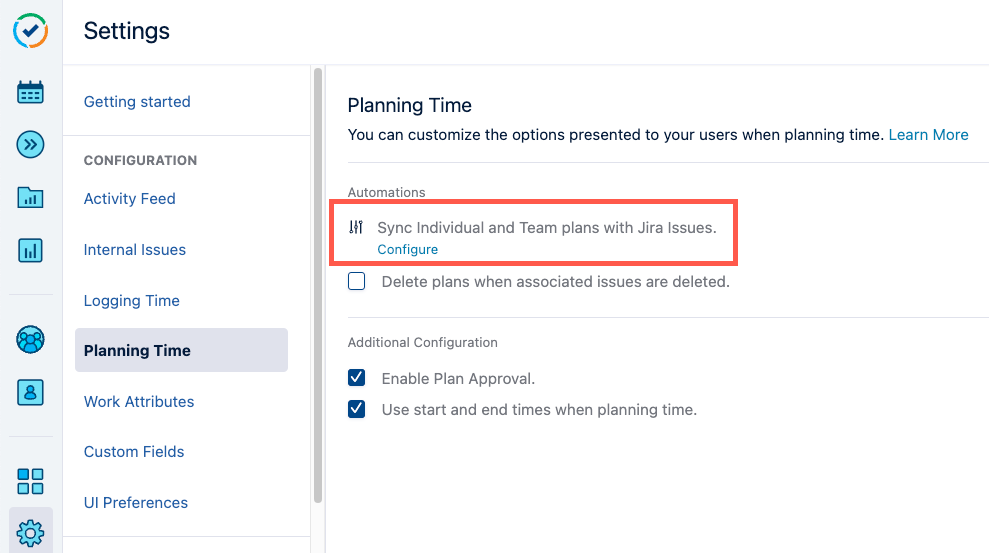
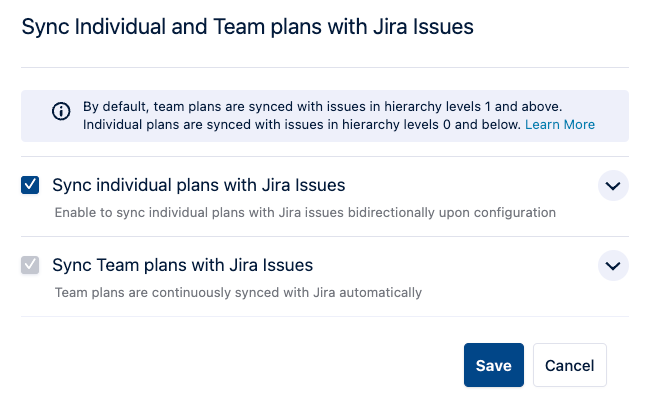
Sync Individual and Team plans with Jira work items
This creates a two-way link between Jira work items and Tempo plans by mapping Jira fields to Tempo attributes. A Tempo plan is created when a Jira work item is created with an entry in the mapped fields. Changing synced Tempo plans updates their related Jira work items, and changing Jira work items updates Tempo plans.
See Sync Plans with Jira work items for more information.
By default, individual plans are created from stories (hierarchy level 0 and below), and Team plans are created from epics (hierarchy level 1 and above). If you have changed the default hierarchy levels in Jira, the work item types used for plans are based on their hierarchy level.
You must include the Tempo Team custom field in Jira to sync Team plans.
To sync Individual or Team plans with Jira work items:
-
Click Configure in Planning Time.
-
Enable which plans you want to keep synced between Jira and Tempo, then choose which Jira fields represent which Tempo plan attribute.
-
Save your changes.
Delete plans when associated work items are deleted
This option removes plans from Tempo Planner when the related Jira work items or Jira spaces are deleted. Those plans no longer appear in the Team or Resource Planning view.
This option is not applied to plans with previously deleted work items and only works for any delete actions taken after the option is applied. By default, plans remain in Tempo Planner and are displayed in the Planning view even when the associated work items are deleted.
Configure Additional Planner Options
Use the Additional Configuration section to change how your team members plan time. These changes impact the Plan Time form.
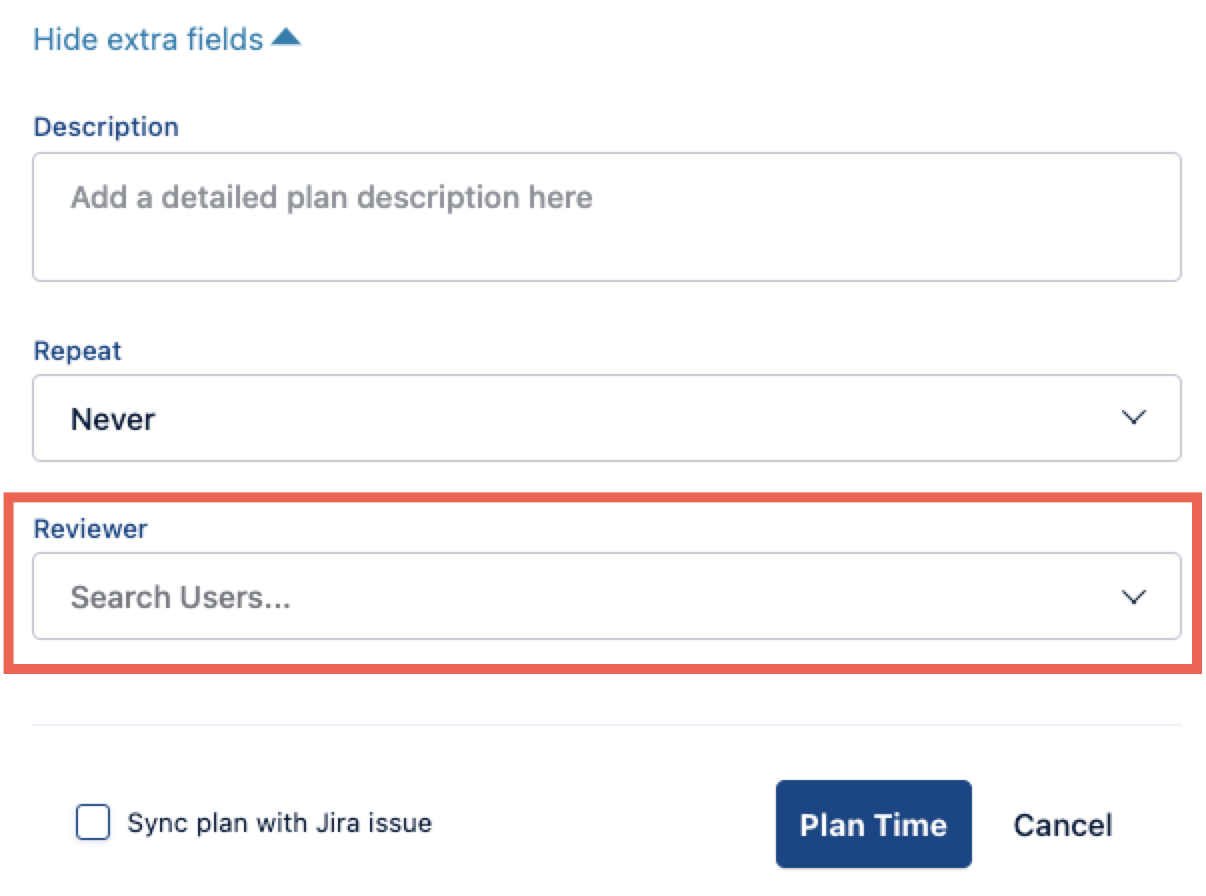
Enable Plan Approval
This option allows users to submit their plans to a reviewer for approval. The user must be part of a team and can only select a reviewer who is a lead in the teams in which they’re included. See Approving Plans for more information.
When selected, the Reviewer field is available in the Plan Time form.
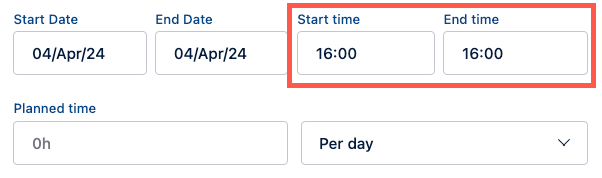
Use start and end times when planning time
This option adds the Start time and End time fields to the Plan Time form. These fields allow users to select specific hours of the day for their planned time. If this option is disabled, the planned time starts at midnight (00:00) each day.