Team members can plan time for themselves to work on issues. Planning time for other team members requires the View Team Plans and Manage Team Plans permissions for the teams you're planning for.
By default, Resource Planning shows a list of your resources with the availability and plans for each resource. Learn how to customize and filter the Resource Planning view.
To access Resource Planning, select Planning in the Tempo sidebar.
The view shows how many hours have been planned for the resource on each day, and by clicking the triangle to the left of a team member, you can see the plan broken down into issues. To the right of the resource name, you see how many hours are available for that resource in the selected period.
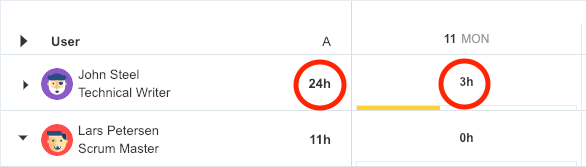
Available and planned hours in the Days and Weeks view
There are two simple ways to create a plan:
-
Click on one day in the schedule or the Plan Time button at the top-right.
-
Drag issues from the Issues side panel at the right onto the schedule.
Planning Directly from the Schedule
You can add a plan right from the schedule. This allows you to quickly create a single-day plan, or you can specify a period in the Plan Time dialog box to create a plan that spans multiple days.
To plan time by clicking a day:
-
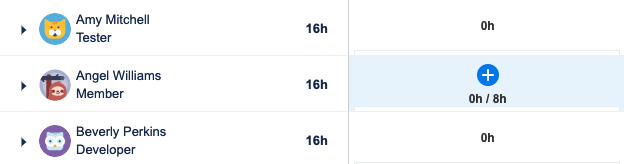
Scroll to the person/resource you want to plan for.
-
Move the mouse pointer over the day you want the plan to start, and then click the plus icon that appears.
-
Fill in the Plan Time dialog box. For more information, see The Plan Time Dialog Box below.
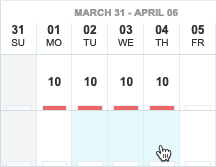
Multi-day Plans in the Weeks View
To create plans that span multiple days in the Weeks view, you can simply click and drag across the days that you want to plan for. The Plan Time dialog box will be pre-populated with the dates you selected.
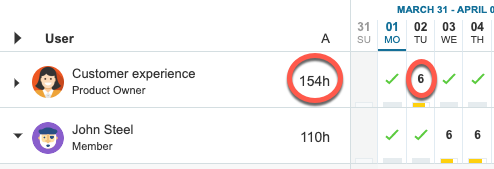
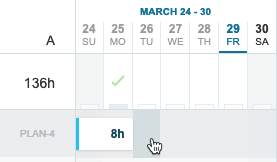
Single Day Plan in the Weeks View
You can quickly add a single-day plan for a task that has already been allocated to a team member, as long as the individual is not fully booked for the selected day.
-
Click the triangle to the left of the team member you want to plan for to expand a list of all of their planned tasks.
-
Find the issue for which you want to add a single plan, and click the day desired day for that issue. The background darkens for the dates that are not fully booked. If the individual is fully booked for a date, you can’t click the cell.
-
A plan for that issue is added and the planned hours will be the total available hours on that day. If nothing has been planned for the individual for the selected date, a full-day plan is added for the selected issue.
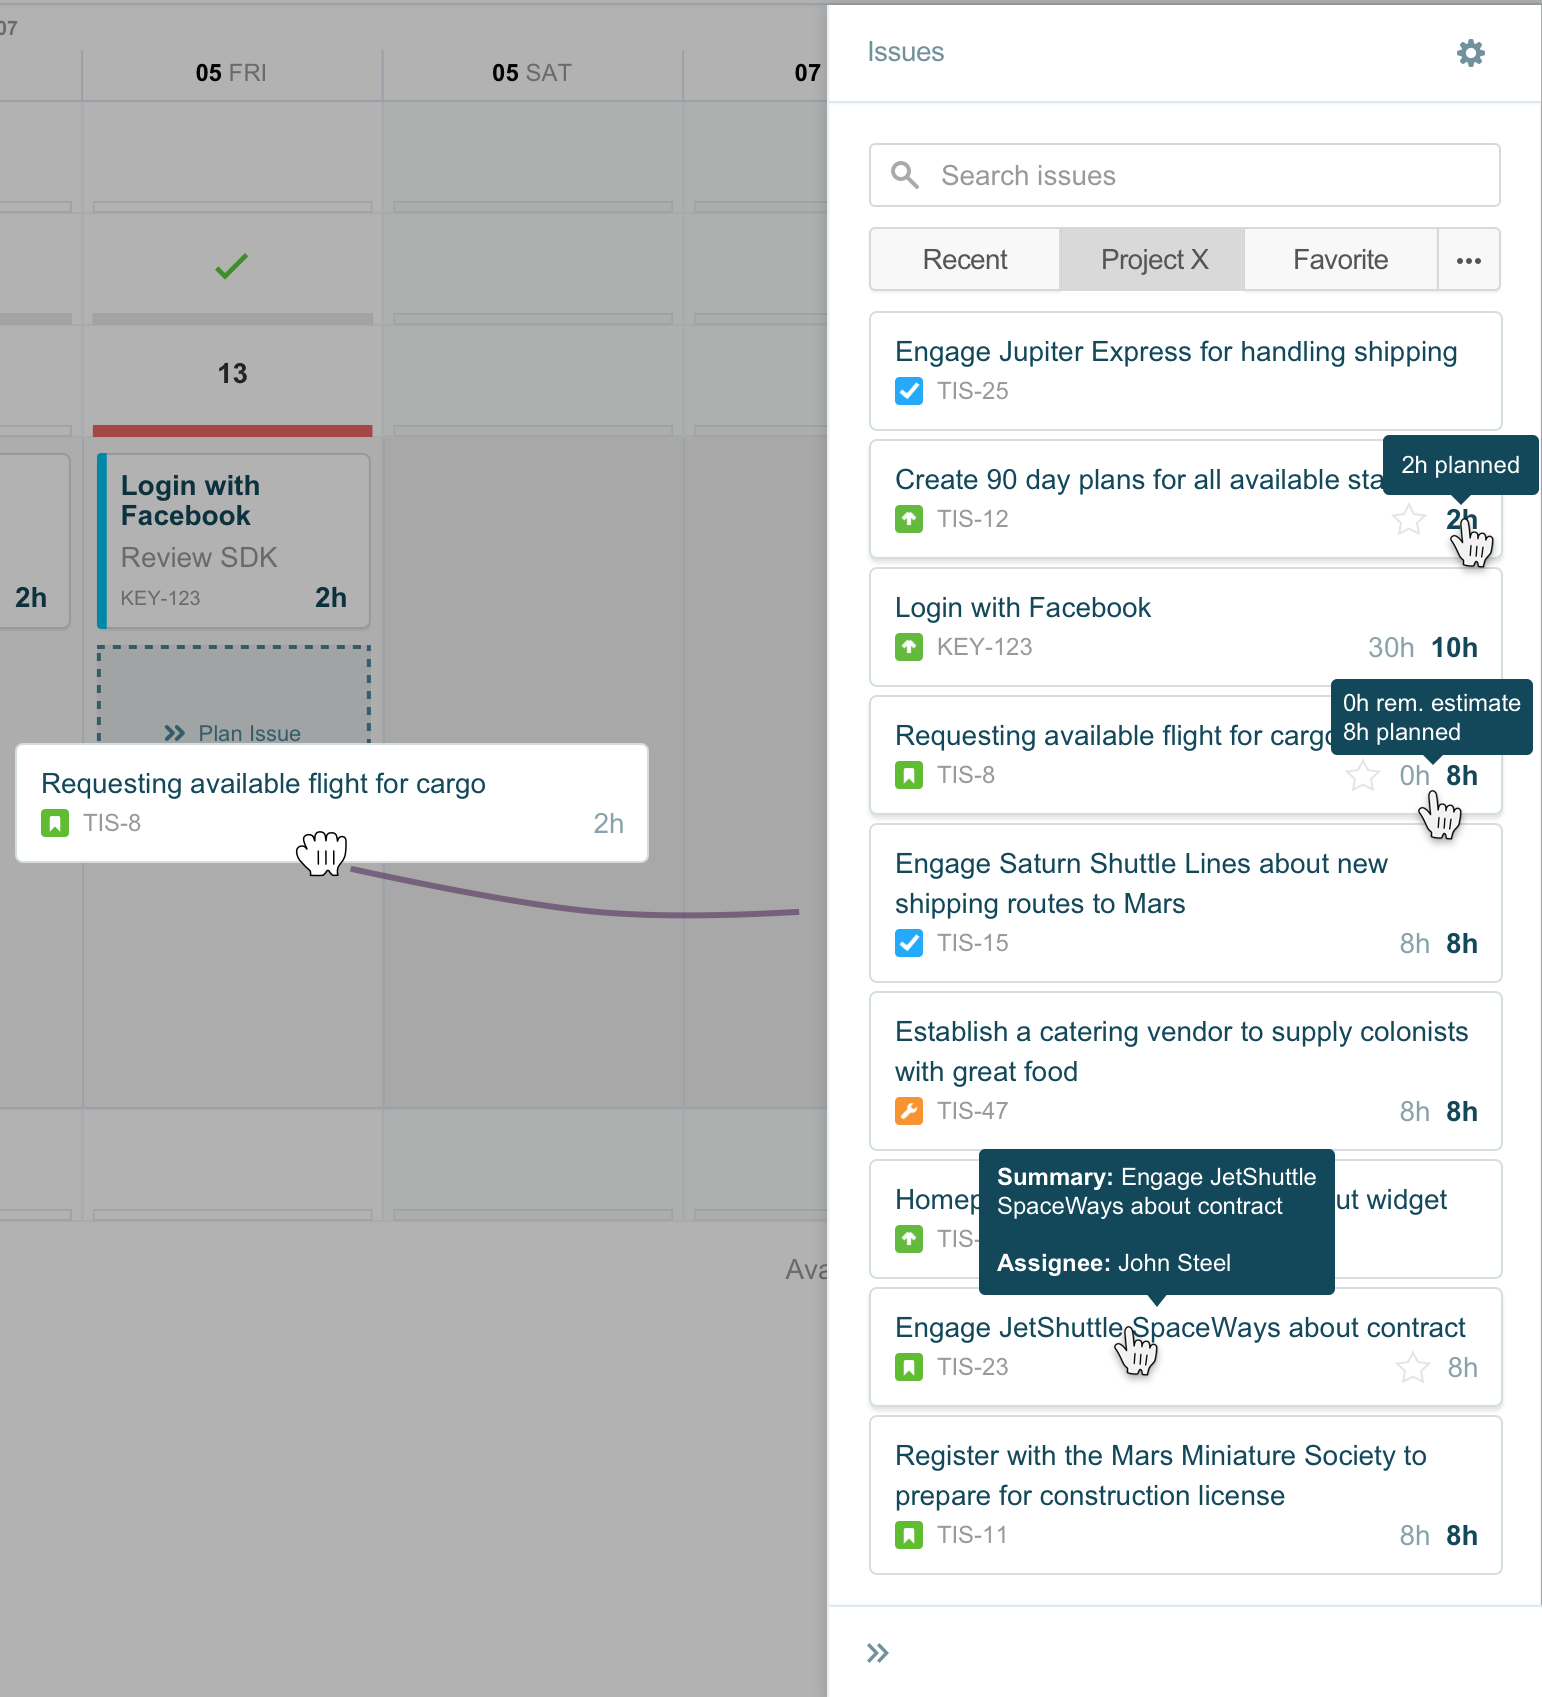
Planning by Dragging Issues from the Issues Side Panel
The Issues side panel at the right contains issues organized by type (from predefined JQL searches). You can drag issues from the side panel onto the schedule which will minimize the time it takes to find the issues that need to be scheduled. You can configure the Issues side panel to show the issues most relevant to you. By default, the Issues side panel is collapsed, but Tempo remembers the last state and will display it as it was stored with your preferences. To expand or collapse the Issues side panel, click the expand/collapse button at the bottom right.
When planning time by dragging issues from the Issues side panel, the remaining estimate and available hours are used to suggest hours planned. If the remaining estimate exceeds the availability of the target person/resource on that day, the suggested plan is the remaining available time for that person/resource.
When you drag issues without remaining estimates to the schedule, the time available for the day is also used to suggest the planned hours. For example, if an issue has 0 hours remaining, but you drag it to a empty day in your schedule, a plan is created for 8 hours.
The plan cards in the Issues side panel show how much time has been planned on the issue and how many hours remain.

4 hours have been planned on this epic, 27 hours remain
Example:
-
Issue has 100h remaining. John Doe has 6h available on a given day. When you drag the issue from the side panel onto that day, a plan is created for 6 hours.
To plan by dragging issues from the side panel:
-
If the Issues side panel is not open, click the arrow at the right to expand it.
-
Use the tabs to select what you want to view in the panel. You can also use the search box to search for the issue. For more information, see Using and Configuring the Issues Side Panel.
-
When you have found the issue on which you want to plan time, drag it to the date it should start for the relevant individual.
If the remaining time estimate in the issue is greater than the time available on the day, the unused hours in the day are allotted to the issue and the day is fully booked.
The Plan Time Dialog Box
To fill in the Plan Time dialog box:
-
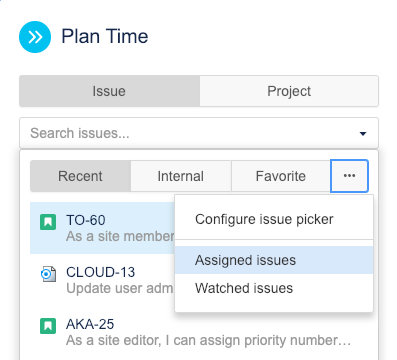
Click Issue or Project, depending on whether you want to plan time on an issue or a project. Type the name or number of the issue or project in the search box, and select the issue from the matching results. If you are planning time on an issue, you can also click inside the search box to use the issue lists to help you browse for the issue. By default, Recent, Assigned, and Favorite are displayed, but you can click the ellipsis (...) to see more options. If you want to show different issue tabs in the side panel, click the ellipsis, and then select Configure issue picker. For more information, see Using and Configuring the Issues Side Panel.
-
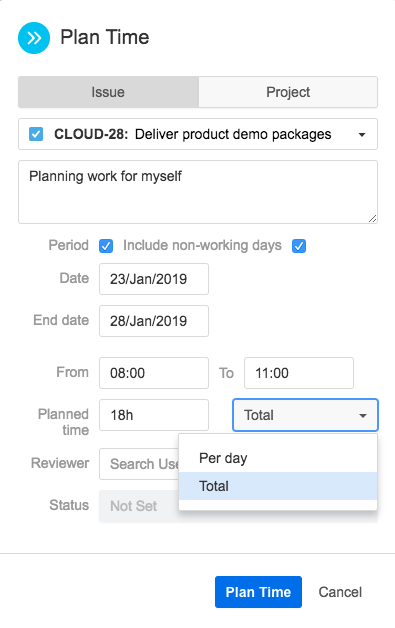
The date you clicked on is selected in the Date field, but you can select a different date. You can also use the Period checkbox to plan work for a period that you define. When planning for a period, you can opt to Include non-working days in your plan. This option appears when you specify a date range that includes non-working days.
-
You can plan time in hours per day, or based on a total number of hours. When you choose Total hours, the total is divided equally among the planned days. See Planned Time for 0-Hour Days and Days with Different Available Hours below for additional details.
-
c. If enabled by your administrator, you can also specify start and end times for your planned time. This is especially useful for time-sensitive tasks or for planning out your day in detail.
d. Select a reviewer if you need to have your plan approved, for example, when requesting time off from work. Tempo sends an email notification to the reviewer.
-
Fill in the remaining details for the plan, and then click Plan Time.
Planned Time for 0-Hour Days and Days with Different Available Hours
In the Plan Time dialog, when the planned period is set to Total hours, the system includes all days with available hours (greater than zero) in the distribution and divides the total hours evenly among them. Days with zero available hours (such as full-day holidays or days with 0-hour workload schemes) are excluded unless the Include non-working days checkbox is enabled. Refer to the table below for examples of planned time distribution based on 0-hour days vs days with different available hours.
All included days receive the same planned hours, regardless of their available capacity. For example, a day with 4h available and a day with 8h available will both receive the same planned hours, which may result in over-allocation.
|
Days Excluded (0h available) |
Days Included (>0h available) |
|---|---|
|
Example: Plan 32h across Mon-Fri, where Monday is a full holiday Total planned hours allocated per day = 8 (32h ÷ 4 days)
|
Example: Plan 36h across Mon-Fri, where Friday has a 4h workload (Mon-Thu have 8h) Total planned hours allocated per day = 7.2 (36h ÷ 5 days)
Friday gets over-allocated by 3.2h, as 36h is distributed evenly across the planned period. |
Related Topics