Before you begin
-
If you want to save your reports before you migrate, visit Save and Share Reports.
-
Projects, Time Tracking, and Issues data will remain intact and are unaffected by migration because they reside in the Jira Database.
-
This migration imports all data unrelated to work logs from Time Tracker Lite and includes:
-
Configurations
-
Audit logs
-
User preferences
-
Saved reports
-
-
Dashboard Gadgets are not imported and must be recreated.
-
Hourly Rates are not migrated and must be recreated.
-
To perform the migration, you must have Jira administrator access.
The following steps will help you migrate to Time Tracker DC from Time Tracker Lite DC:
-
Download and install Time Tracker Data Center (DC).
-
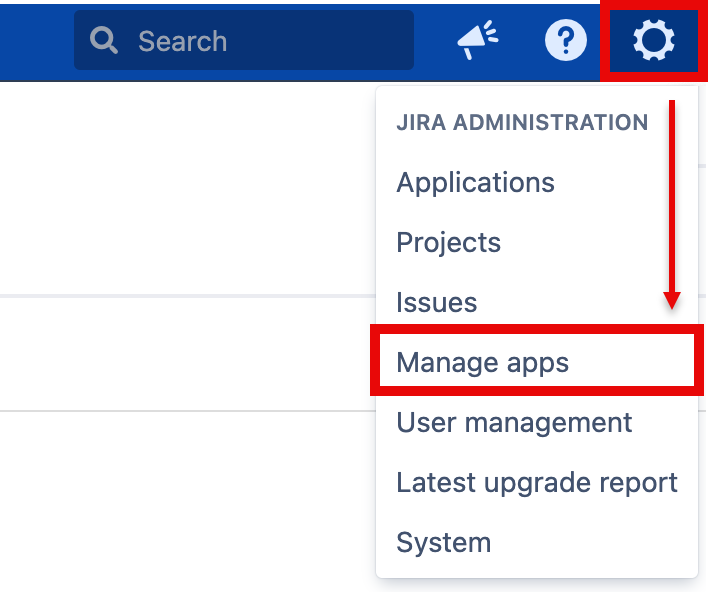
In Jira Server, select the Settings menu to open Manage apps.

-
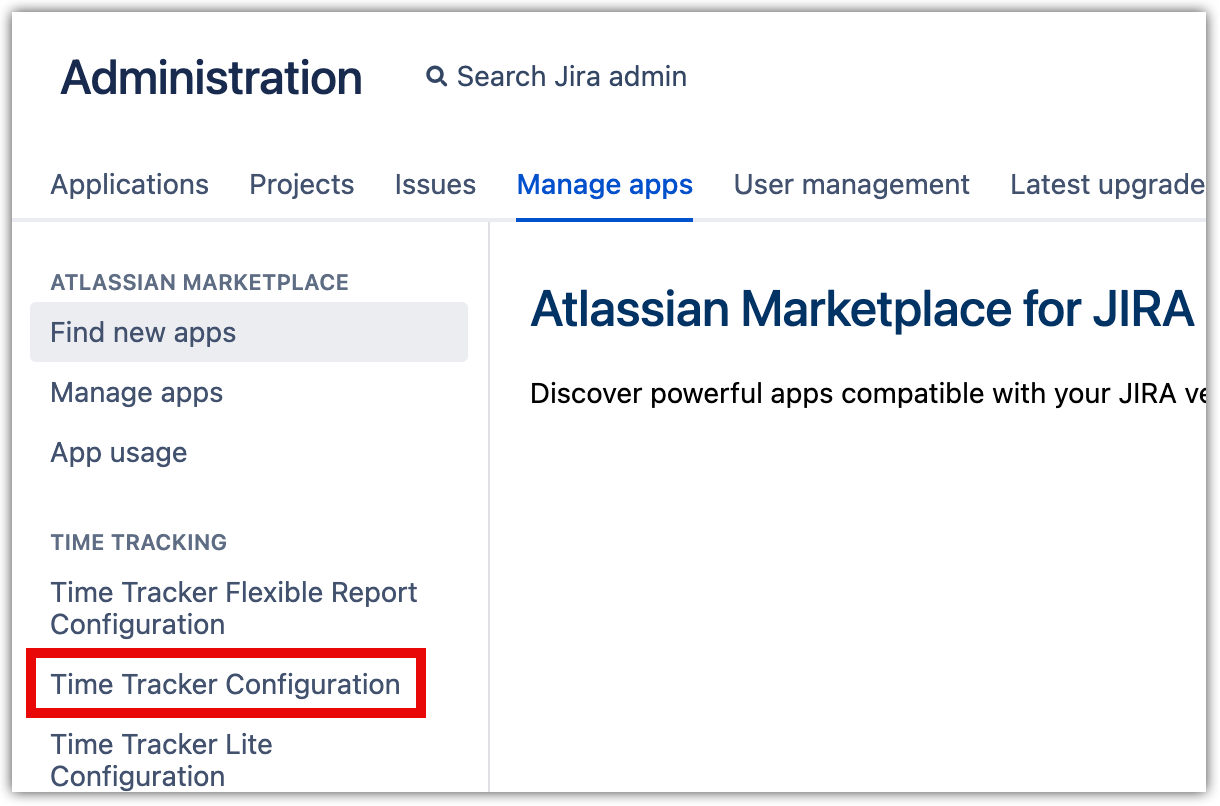
If you have successfully installed Time Tracker DC, Time Tracker Configuration displays in the sidebar. If it does not display, try to download and install Time Tracker Data Center (DC) again. Select Time Tracker Configuration if you want to access the configuration settings.

-
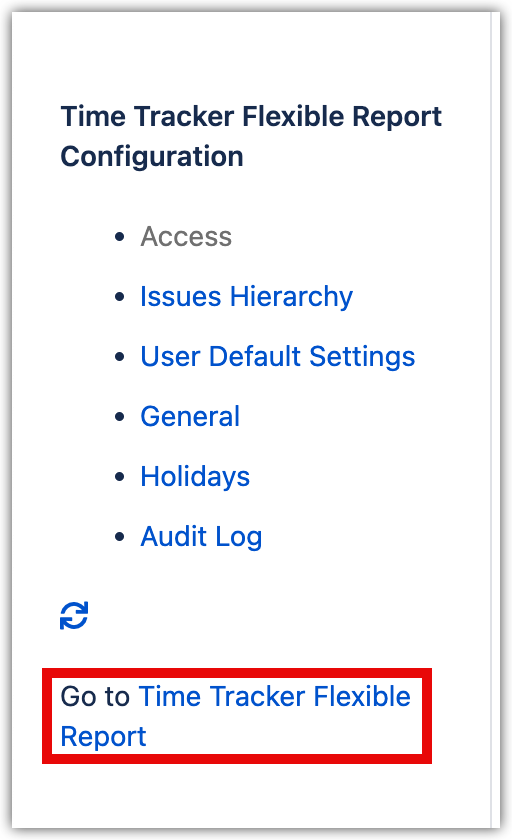
To access the application and view reports, select Time Tracker Flexible Report Configuration in the sidebar. Alternatively, you can select Projects from the Jira menu, choose your project, and scroll to Other reports.

