Adding and removing team members requires the Tempo Team Administrator or the Manage Team permission for the relevant team.
When you add members to a Tempo team, you can assign their role and time commitment for every team they are members of, as well as the dates when they join or leave the team. You can add as many people to your team as you want.
If you add a new member to a team or update their team membership so that their total commitment exceeds 100%, a warning shows how much they are overcommitted across all their teams.
To add a member to a Tempo team:
-
Select Teams in the Tempo sidebar.
-
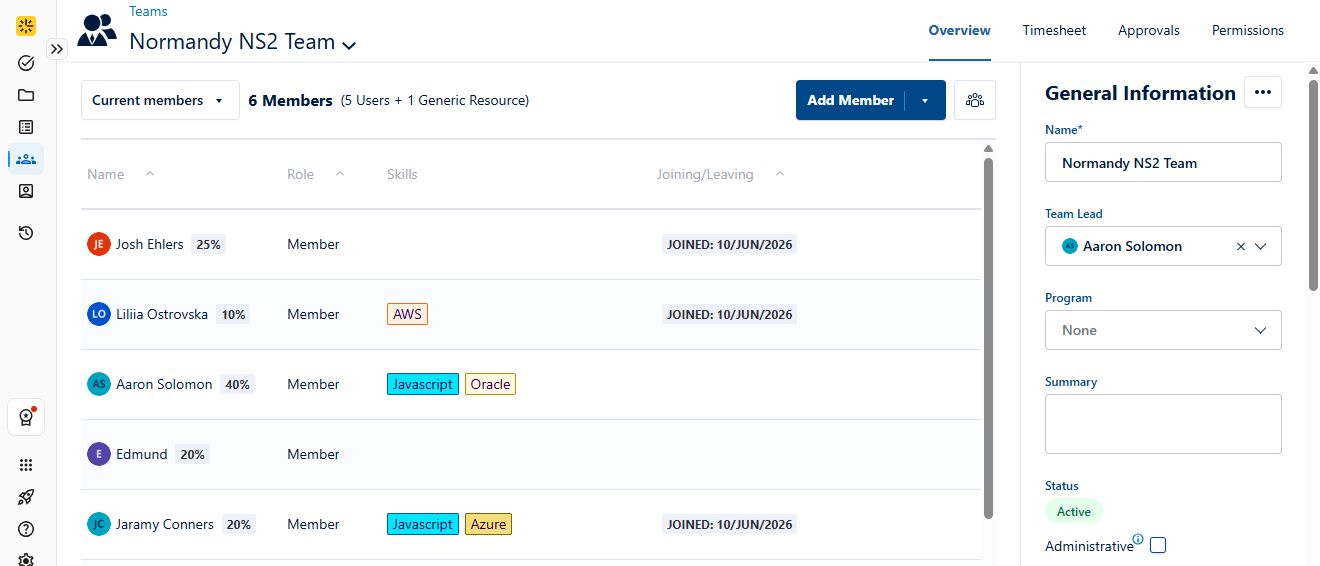
Select the team to which you want to add members from the list on the Teams page. The team's overview is displayed.
-
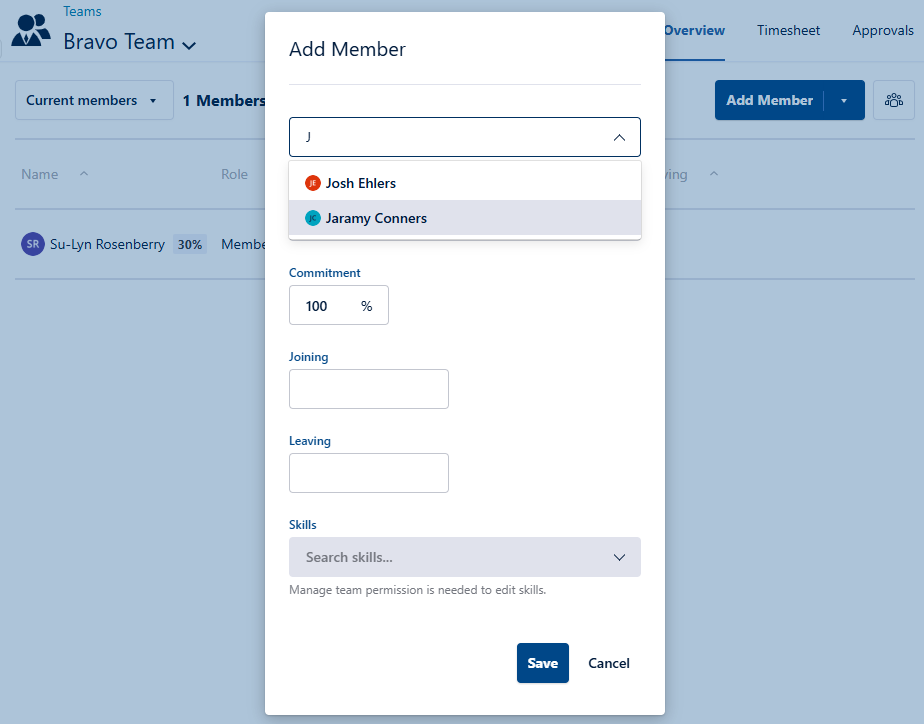
Click the Add Member button to open the Add Member form.
-
Start typing the name of the person you want to add to the team, and then select their name from the matching results.
-
Complete the Add Member form with the following information:
-
Role - Select the role that the user will serve on the team. By default, member is selected. Tempo Team administrators can add new roles to this list.
-
Commitment - The percentage of the user's time allocated to this team. The default is 100%.
-
Joining - Optional. Select the date the user will be joining this team.
-
Leaving - Optional. Select the date the user will be leaving this team.
-
Skills - Optional. Select from a list of skills. Only available for Capacity Planner.
-
-
Select Save to add the new team member.
You can edit the role, availability, and dates of team membership later by clicking the team member in the People section on the team's overview.
-
You can have users with multiple start/end dates and/or roles in the same team. The team's overview will always show the current member status so that if a team member is added to the same team for different dates, only the team member's current member status is shown in the list of team members.
-
When a user is deactivated in Jira, it’s best to leave the user in their Tempo team(s) and then set an appropriate Leaving date for them. Visit Inactive or Deleted Jira Users and Tempo Timesheets for more information.
Bulk Adding Members to a Tempo Team
To add a number of members to your team at once, you can use Jira user groups. This is a quick way of creating teams. The group members are added individually so you can edit their role, commitment, skills, and joining and leaving dates afterwards.
-
In the Teams view, select the team to which you want to add a Jira group.
-
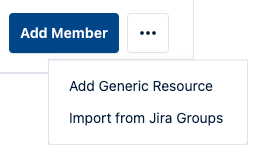
In the team overview, open the … menu.
-
Select Import from Jira Groups. Here, you can add Jira user groups. You also can add active directory groups.
-
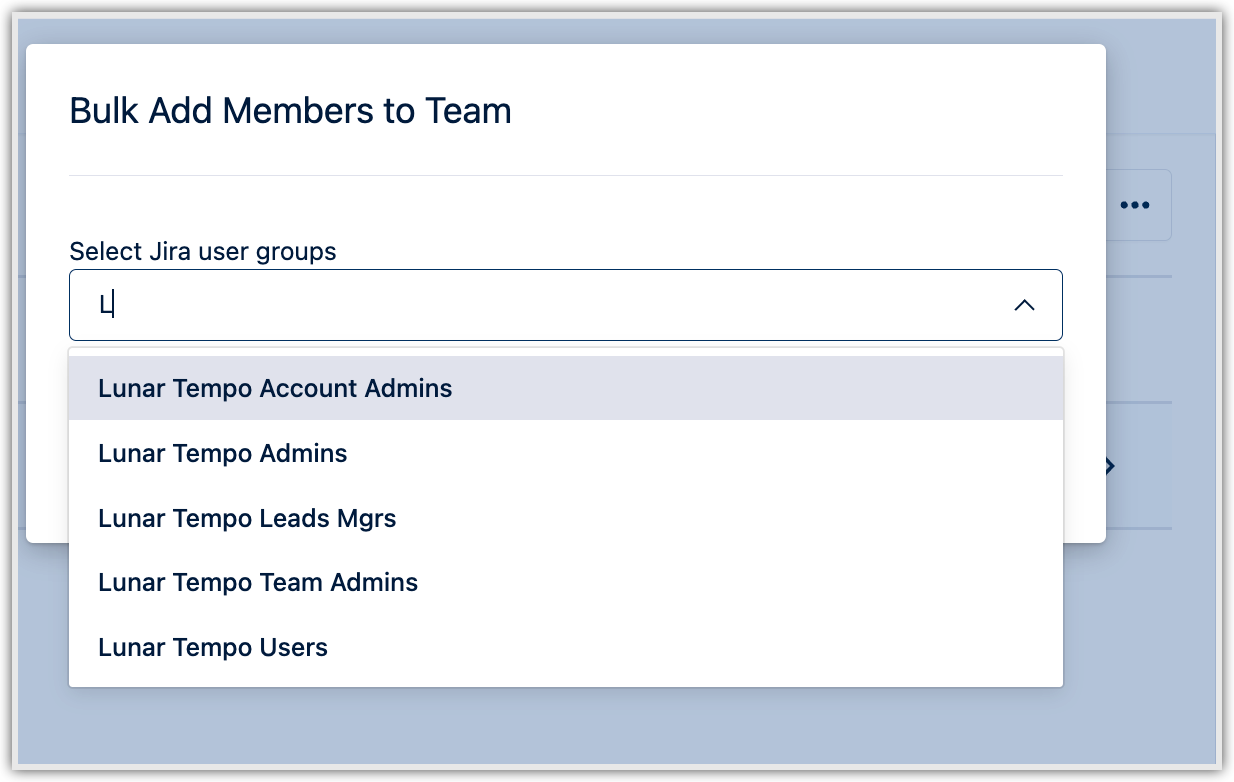
Start typing the name of the user group you want to add to the team, and then select it from the matching results.
-
When you have selected all the groups you want to add to the team, select Next.
-
The dialog box will show how many users will be added to the team. Select Confirm to add these members to the team.
You can select each member and assign them a role, define their time commitment to the team, assign skills, and add when they will join and leave the team.
Membership changes (such as adding a new member) to the Jira user group are not automatically updated in the Tempo team after you've bulk-added the members. You need to re-add this Jira group to the Tempo team so new members appear here.
Removing Members from a Tempo Team
If a team member is no longer working on the team's projects, you may want to remove them from the team.
-
In the Teams view, select the team from which you want to remove members.
-
Select the trash icon next to the name of the member that you want to remove.

-
You are prompted to choose how you want to remove the team member from the team.
-
End membership today - This option sets the Leave date to the current date but still lists the person in the team. This provides historical records for the team member and doesn’t impact reporting. For example, work items they’ve worked on are still included in team reports.
If you choose this method, you can choose to remove the team member later. -
I want to remove the membership completely - This option removes the team member and can impact reporting because contributions made by this team member are no longer attributed to the team. For example, work items they’ve worked on aren’t included in team reports.
-
Team Memberships Page
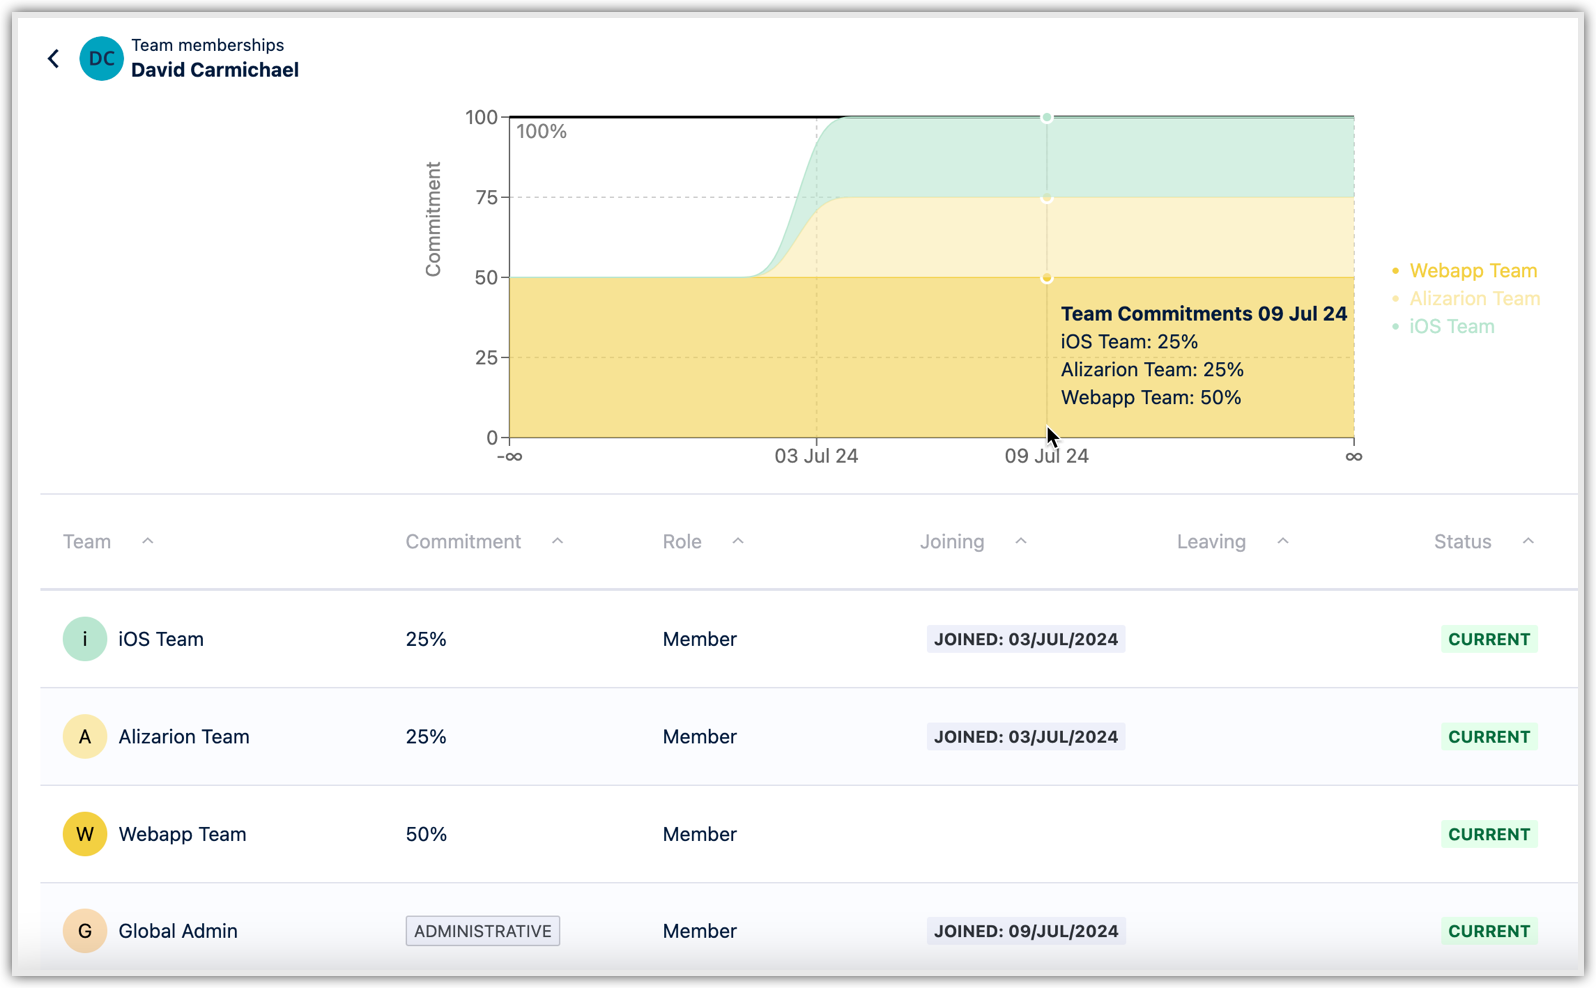
When you select the arrow icon next to a member on the Overview page, the Team Memberships page displays.
Manage Memberships
You can view and manage all of a user’s memberships from the Team Memberships page. You can sort the list according to the Team, Availability, Role, Joining, Leaving, and Status columns. You can also hover over each team to display a pencil icon that lets you edit the member’s details and a trash icon that lets you remove the member from a specific team. Details include Role, Commitment, Joining/Leaving Dates, and Skills. To return to the Team Configuration Overview page, select the back arrow next to the user’s name.
Team Commitment Graph
On a user’s Team Memberships page, you can also view a graph that helps to visualize a user’s commitment to all the teams they are a member of. If you edit a user’s commitment, the graph adjusts to visualize your changes in real-time. Hover along the graph to view team commitment information during specific dates.