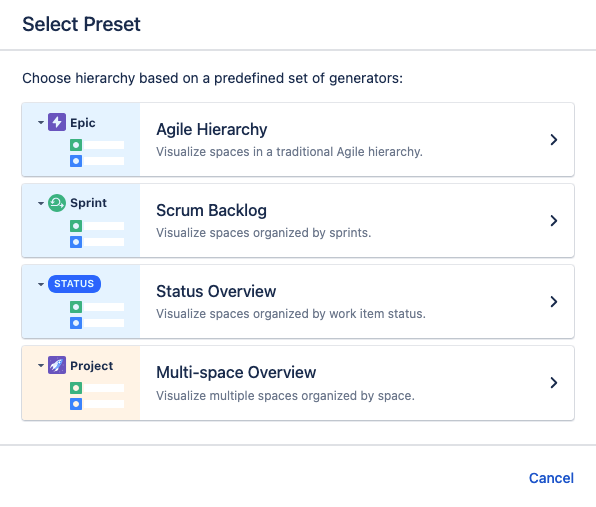
Creating a structure in Power mode lets you take advantage of the Preset generator. With this generator you can populate your structure using the following predefined hierarchy templates:
-
Agile Hierarchy Preset: Visualize spaces using a traditional Agile hierarchy: Epics -> Stories and Tasks -> Sub-tasks.
-
Multi-space Overview Preset: Visualize multiple spaces with separate sections for each space.
-
Scrum Backlog Preset: Visualize spaces with sections organized by sprints.
-
Status Overview Preset: Visualize spaces with sections organized by the status of work items.
Presets work best when added to a blank structure or beneath a flex item.
Adding a Preset generator
-
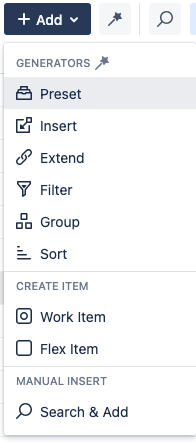
Open the Add menu and select Preset.

-
Select the Preset you want to use based on which one best suits your needs.

-
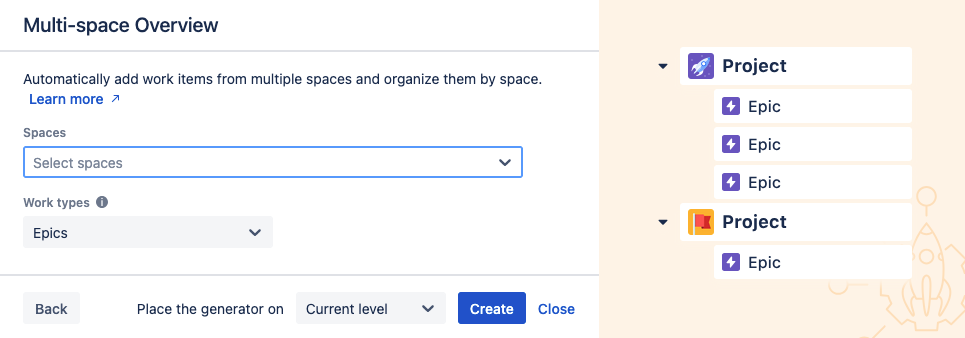
Select the boards or spaces you want to include in the structure. You can add as many as you want, but you cannot include boards and spaces in one preset.
-
Some presets have additional options, like which work item types to include or how to group the work items. For more information, see our article about Presets.

-
-
Click Create. The generator will automatically add your work items and organize them into the appropriate hierarchy. It will also update the hierarchy when work items change.

Using other Generators
While the Preset generator can cover many common use cases, you can create fully custom, powerful, and dynamic structures using Structure’s other generators. See our article on building a Structure with Generators for more information.
