There are different ways to plan time in the Resource Planning view, depending on the type of planning you're doing, and whether you're working in the Days or Weeks view:
-
If Sync Plans with Jira Work Items is enabled, plans are created automatically whenever a new work item is created, provided the required synced fields are filled in.
-
For medium or longer-term planning, such as the upcoming several weeks or months, you can create plans in the Weeks view. This gives you a "big picture" of how time is planned for your resources, making it easy to create period plans, or to shift planned work to other dates or even to other resources. This view is useful for resource managers and others who need to do high-level planning.
-
For short-term planning, such as for the current week or sprint, you can create plans in the Days view. This allows you to see more plan details, and easily focus on specific work items or resources. This view is useful for team leads and managers who need to manage their team’s current workload.
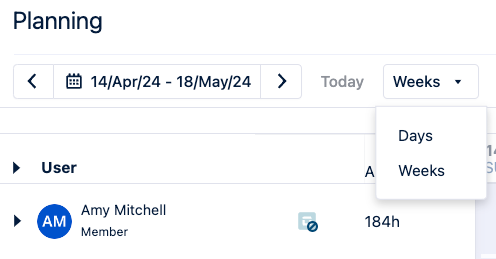
To access the Resource Planning view, select Planning in the Tempo sidebar. The Resource Planning view opens with the Weeks views displayed by default. Use the dropdown menu to switch views.
There are two types of plans you can create from Jira work items:
-
Synced plans - these plans sync with Jira work items and changes made to one automatically changes the other.
-
Non-synced plans - these plans are stored only in Capacity Planner, and changes to them do not affect Jira.
-
Planning time through the Resource Planning view for other team members requires the View Plans and Manage Plans permissions for those teams.
-
Team members can plan time for themselves, whether it's work or personal time off.
-
Remember that the available working hours are defined in the Workload scheme to which the team member belongs.
Creating Synced Plans Automatically
If Sync Plans with Jira Work Items is enabled, a new plan is automatically created when a new work item is created, provided the synced fields used for plan start date, plan end date, total planned time, and assignee are filled in.
For work items that do not have those fields filled in, or that were created before Sync Plans with Jira Work Items was enabled, a new plan can be created in one of the following ways:
-
If a work item is missing any of the synced fields listed above, add data to those fields - once there is data in all synced fields, a plan will automatically be created.
-
If all synced fields already have data, temporarily remove the data from a field, and then add it again.
-
Create new plans in Capacity Planner using one of the methods below.
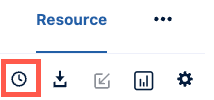
Creating Plans with the Plan Time Icon
Use the Plan Time icon to open the Plan Time form. This is a quick way to create a plan for any resource on any work item or project.
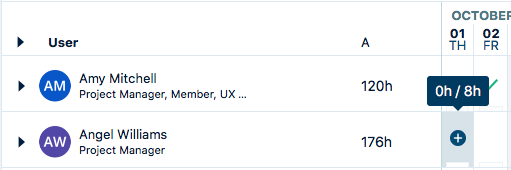
Creating Plans in the Weeks View
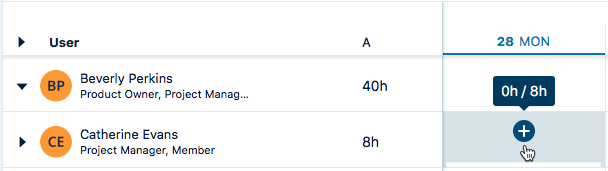
Click the plus sign + on a day in the resource's timeline, where you want the plan to start.
This is a way to add a plan for a work item that's not listed yet for the resource. This is also a quick way to create a single-day plan, but you can update the plan period in the Plan Time form to create a plan that spans multiple days.
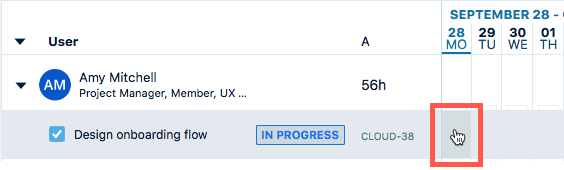
Click on a day for a Jira work item: expand a resource in the resource list on the left (see Viewing Resources and Their Plans) to see the plans per Jira work item, then click on a day for a work item.
-
Clicking on a day for a work item is a quick way to fill up the remaining hours in a day: the unused hours are planned for this work item and the day is fully booked. If a day is already booked, you can't add more hours this way.
-
The Start time for the plan is midnight when you create a plan this way, but you can edit the plan to change the start and end times for it.
Creating Plans in the Days View
Click the plus sign + on a day when you want the plan to start.
This is a way to add a plan for a work item that is not listed yet for the resource. This is also a quick way to create a single-day plan, but you can also specify a period in the Plan Time form to create a plan that spans multiple days.
Creating Period Plans
In the Weeks view:
Click and drag across multiple days in a resource's timeline to create a period plan. The dates you selected are filled in the Plan Time form.
In the Days view:
Click and drag across multiple days in the calendar to create a period plan. The dates you selected are filled in the Plan Time form.

Creating period plans from the Plan Time form:
Create a plan in any way you like in either the Days or Weeks view.
In the Plan Time form, the values you need to enter will depend on whether this is a synced plan or not.
-
For synced plans:
-
Select the work item to sync the plan with.
-
Enter any missing data from the required sync fields.
-
-
For non-synced plans:
-
Select the Period checkbox.
-
Add an End Date for when you want the period plan to end.
-
Enter the number of hours in the Planned Time field:
- Total hours to have them spread evenly over the number of days in the period plan. See Planned Time for 0-Hour Days and Days with Different Available Hours below for additional details.
- Per day to plan this number of hours per day over the period.
-
When you delete a plan that's part of a period plan, you can choose to delete the plan for just that day or delete the whole period plan.
-
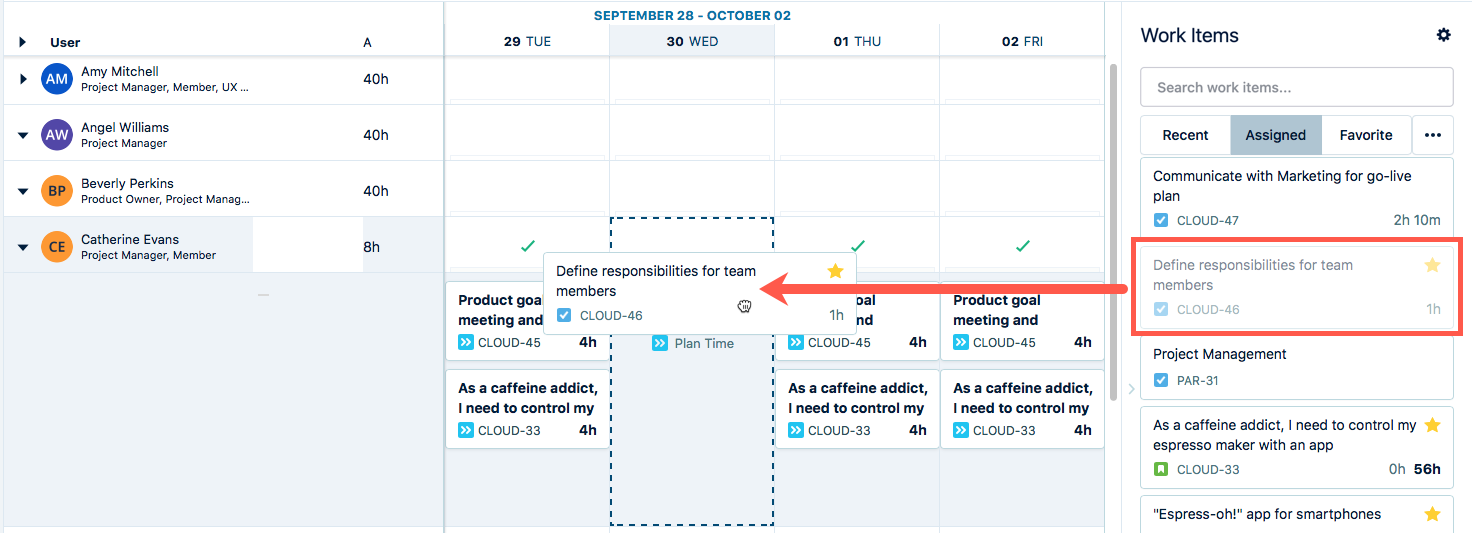
Creating Plans by Dragging Work Items
The Work Items side panel on the right contains Jira work items organized by type (from predefined JQL searches). You can drag work items from the side panel to the Resource Planning view in either the Days or Weeks view, which is a quick way to create plans. See Finding Work Items with the Work Item Picker for more information.
To create plans by dragging work items from the side panel:
-
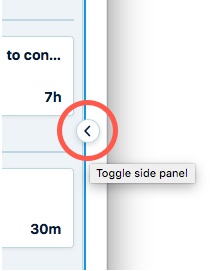
Click the arrow on the right side of the window to open the Work Items side panel.
-
Use the tabs at the top to find the work items you want to view in the panel, or use the Search box to find a work item.
-
Drag the work item to the resource's timeline for whom you're planning, on the date when you want the plan to start:
-
In the Weeks view, do either to create a plan that fills up the available hours in a day:
- Drag a work item to a day in a resource's timeline. This is useful if there are no plans yet, or there aren't plans for that work item yet.
- Expand a resource on the left to see the plans per Jira work item, then drag a work item from the panel onto the matching work item timeline.
Dragging a work item to a day in the Weeks view is a quick way to fill up the remaining hours in a day: the unused hours are planned for this work item and the day is fully booked. If a day is already booked, you can't add more hours this way.
The Start time for the plan is midnight when you create a plan this way, but you can edit the plan to change the start and end times for it.
-
In the Days view:
Drag the work item onto a day.
If a day is fully booked the Plan Time form opens. Enter the number of hours you plan to spend on the work item during that day in the Total plan time field.
When you create plans by dragging work items from the Work Items side panel, the number of remaining estimated hours and the number of hours that are planned on the work item are displayed and used to suggest hours planned.
If the remaining estimate exceeds the availability of the target resource on that day, the suggested plan is the remaining available time for that person/resource.
Work Items without remaining estimates do not have any suggested hours.
Planned Time for 0-Hour Days and Days with Different Available Hours
In the Plan Time dialog, when the planned period is set to Total hours, the system includes all days with available hours (greater than zero) in the distribution and divides the total hours evenly among them. Days with zero available hours (such as full-day holidays or days with 0-hour workload schemes) are excluded unless the Include non-working days checkbox is enabled. Please take a look at the table below for examples of planned time distribution based on 0-hour days vs days with different available hours.
All included days receive the same planned hours, regardless of their available capacity. For example, a day with 4h available and a day with 8h available will both receive the same planned hours, which may result in over-allocation.
|
Days Excluded (0h available) |
Days Included (>0h available) |
|---|---|
|
Example: Plan 32h across Mon-Fri, where Monday is a full holiday Total planned hours allocated per day = 8 (32h ÷ 4 days)
|
Example: Plan 36h across Mon-Fri, where Friday has a 4h workload (Mon-Thu have 8h) Total planned hours allocated per day = 7.2 (36h ÷ 5 days)
Friday gets over-allocated by 3.2h, as 36h is distributed evenly across the planned period. |