Vault Password Manager allows you to import data:
-
From another password manager app/file (e.g 1Password)
-
From Vault app, meaning if you need to migrate your vault data from one Jira instance to another. To do it, first export the vaults.
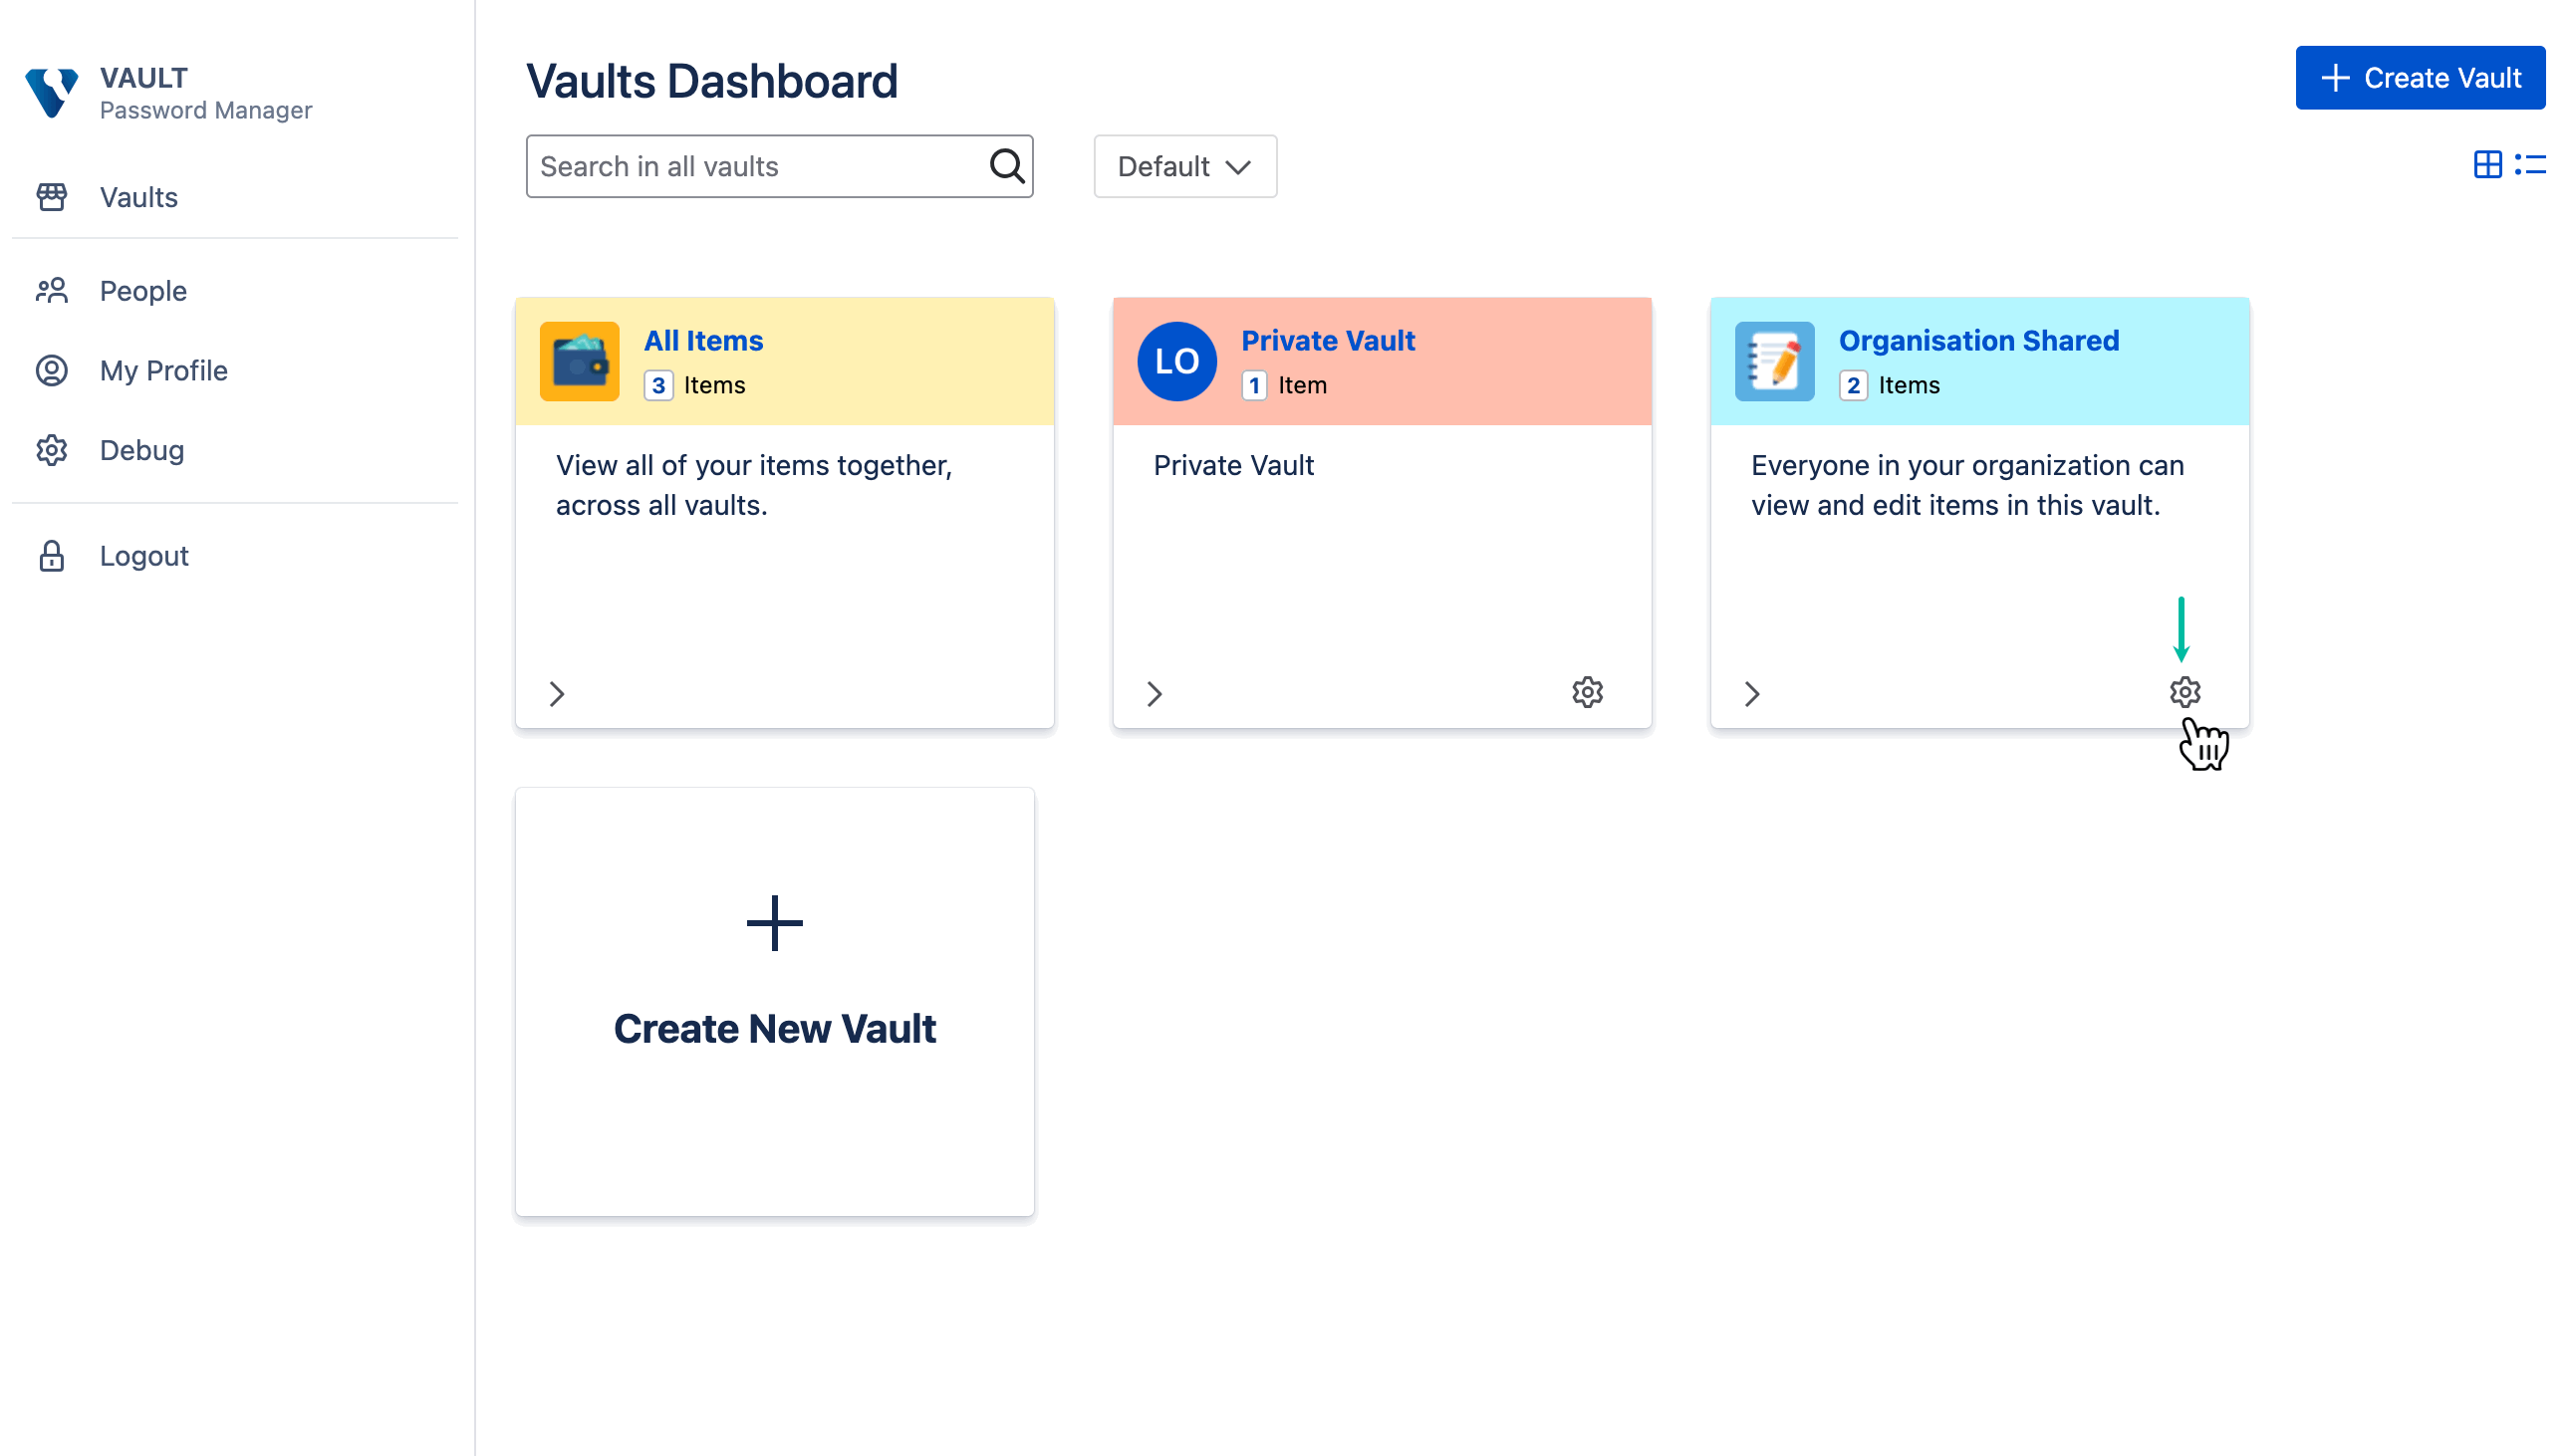
Data for each vault is exported independently. Users can import records to their private vault and any vaults for which they have the Allow Managing permission. Only admins can import data to the organization vault.
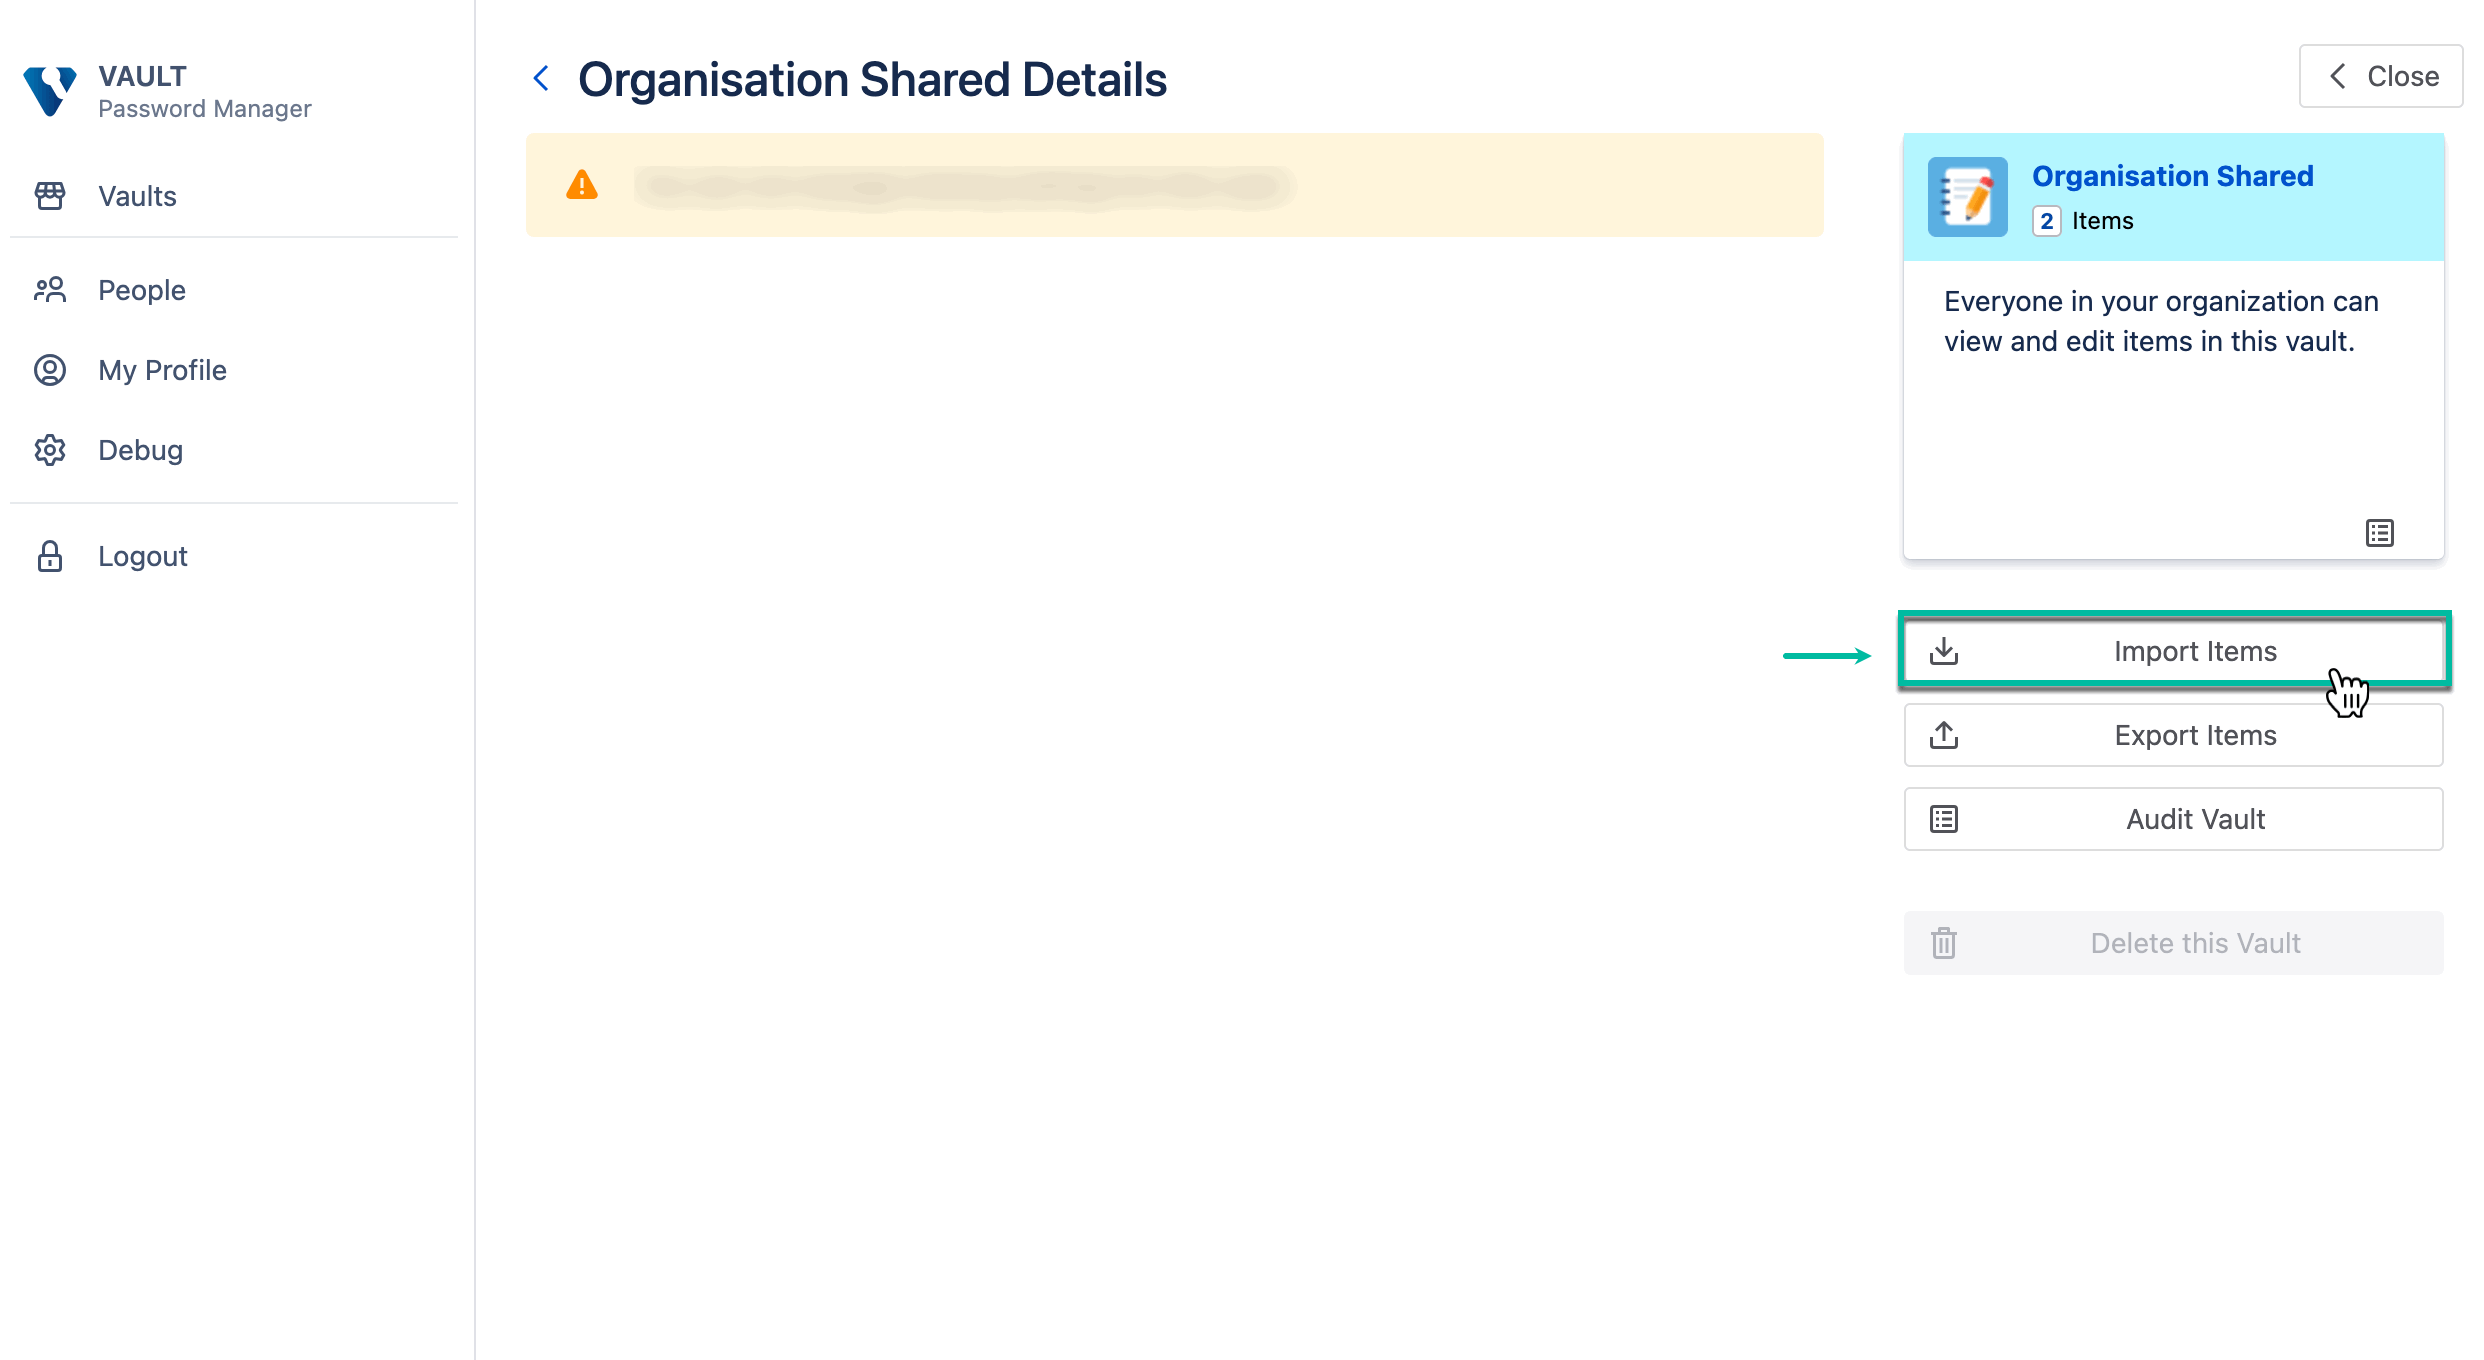
To import a vault:
-
Being signed in to the Vault Password Manager, select Settings.
-
Select Import Items.
-
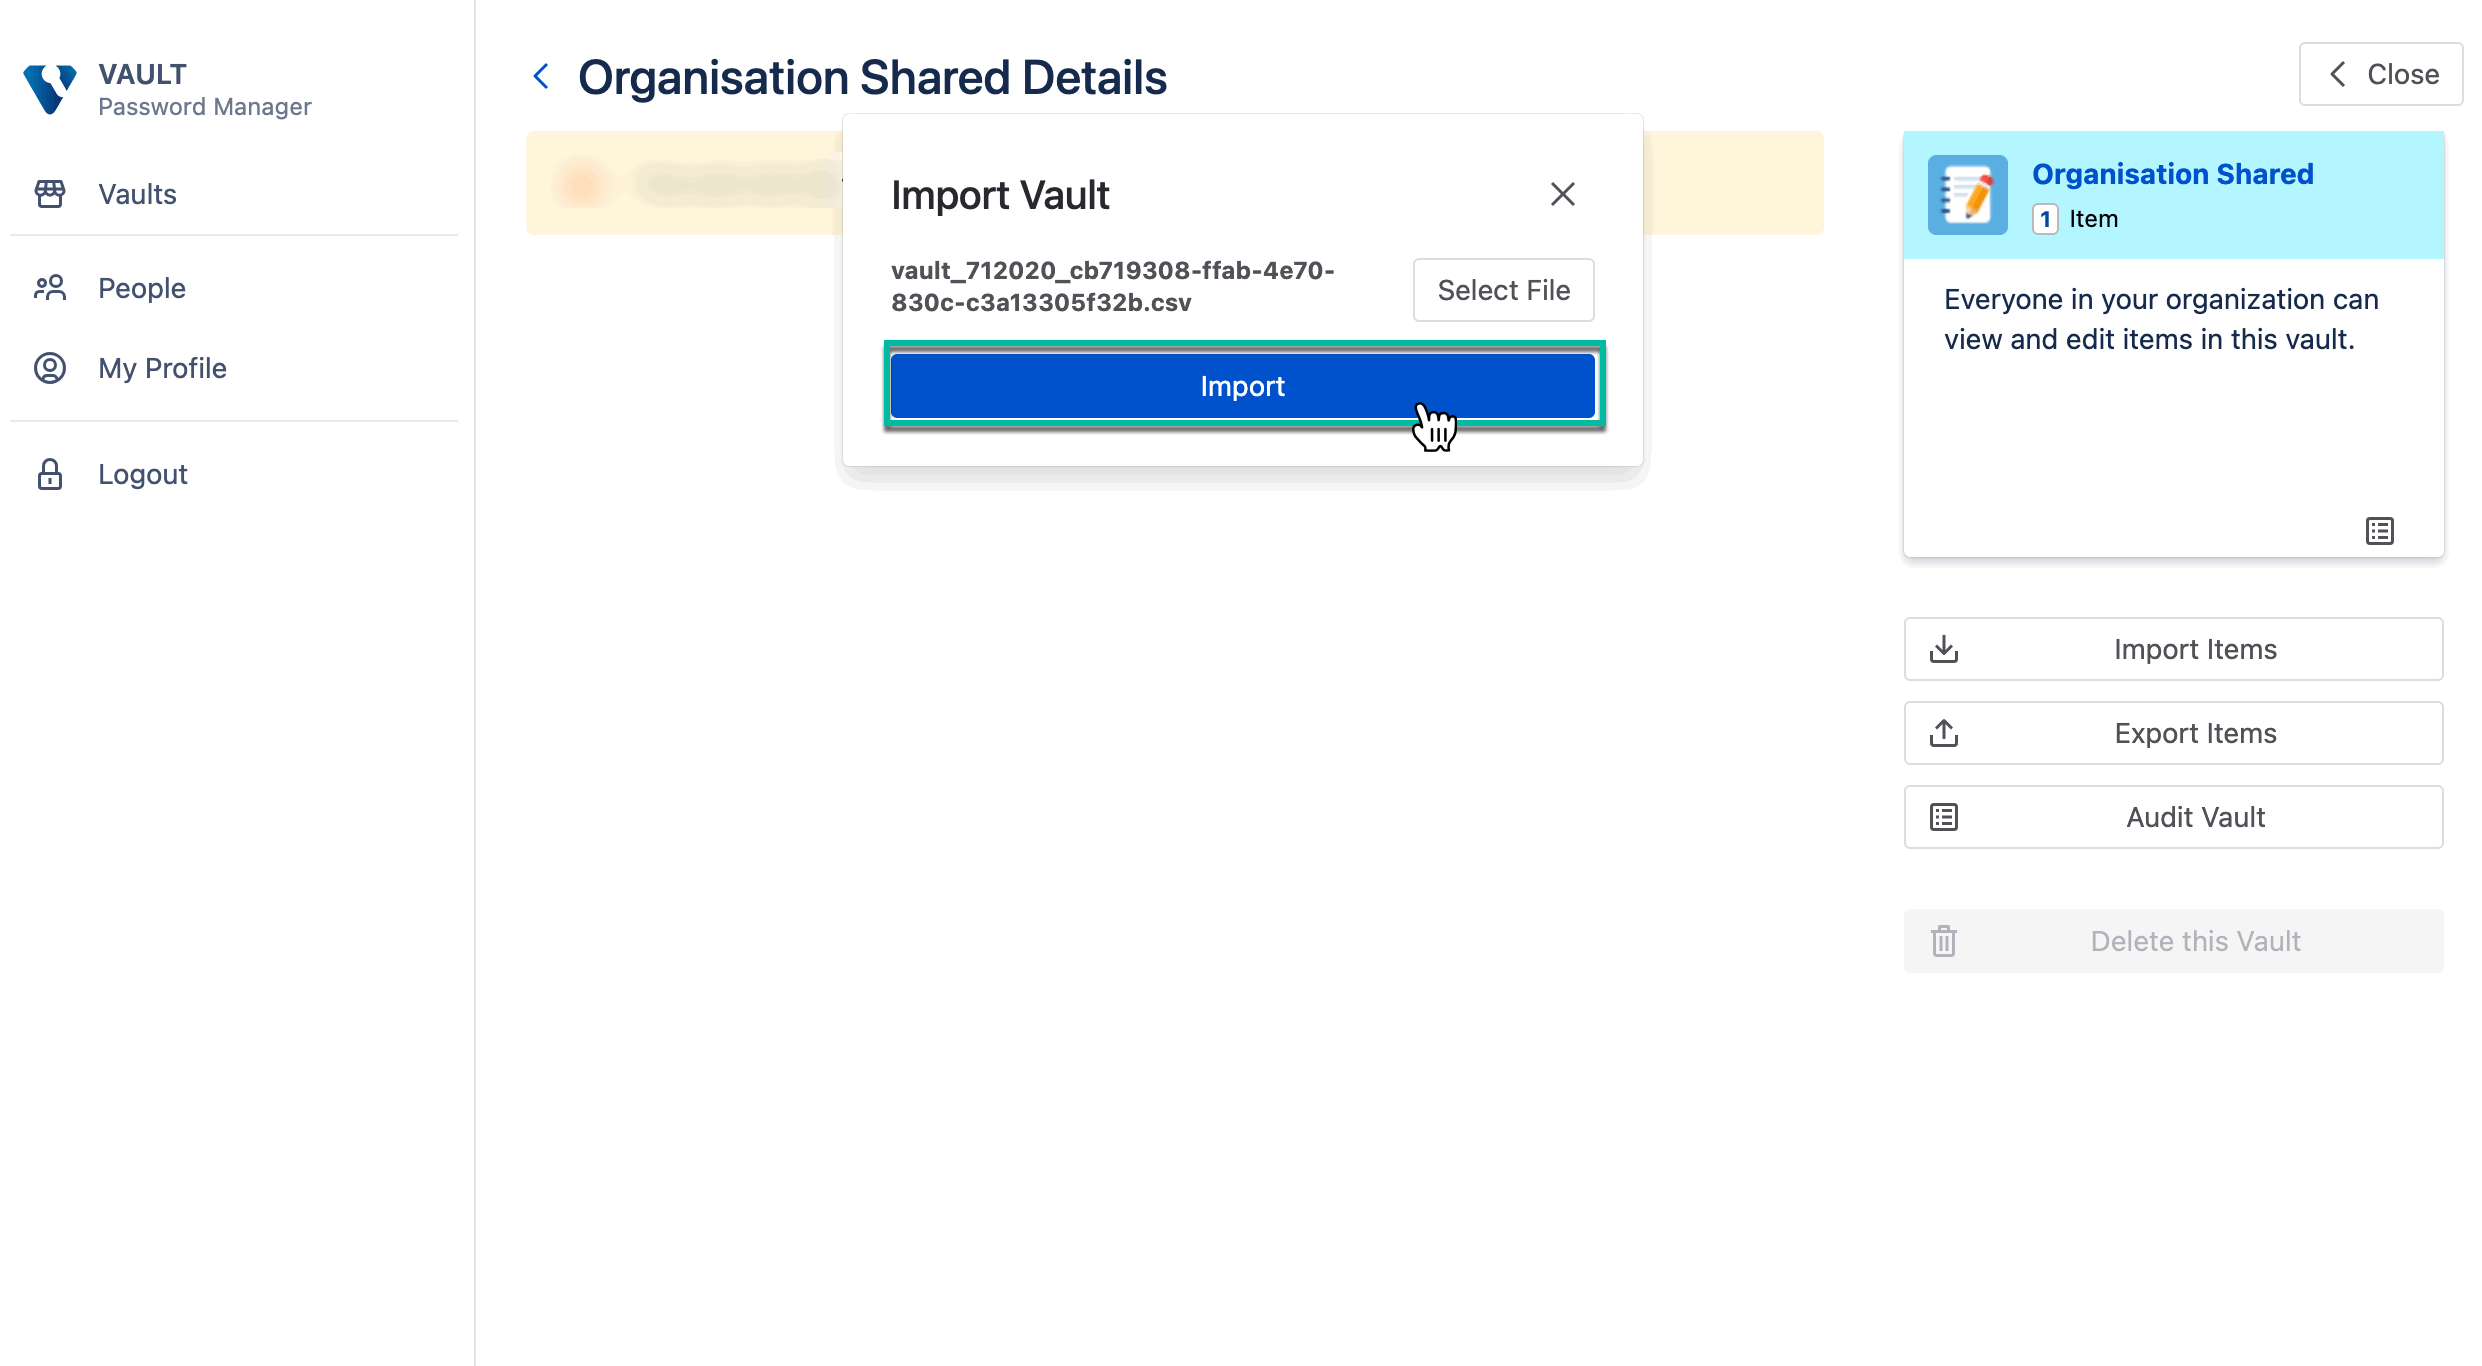
Select file, and then select Import.
-
If you import a
.vault.bakfile, you're prompted to enter the backup password. -
If you import a
.csvfile, no password is required.
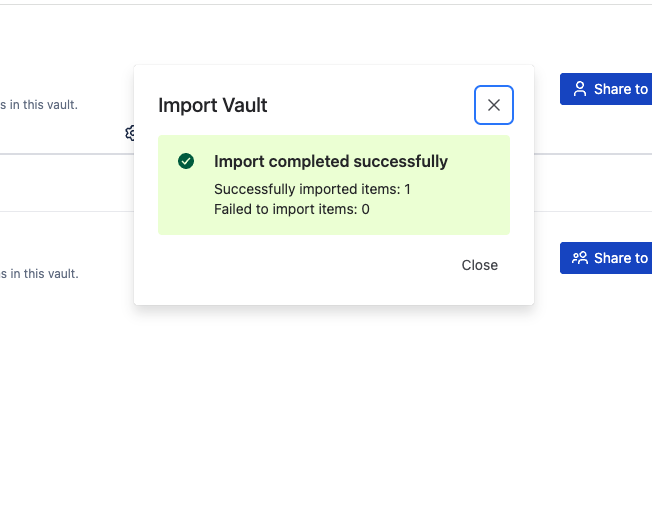
Import completed successfully
Import from a CSV File
You can use CSV import when transferring data from another application or when preparing records manually.
Each row in your CSV becomes one record in the vault (like “Login”, “Card”, “Note”, etc.).
How the system determines the record type
Step 1: Review column names and values
For every row, the system reviews all filled columns and evaluates:
-
Whether the column name corresponds to a known field of a supported record type.
-
Whether the value appears valid for that field (if the field allows only specific values).
Some column names are treated as equivalent. For example:
-
Username → User Name, Login
-
Website → URL, Link, Web Address
-
Notes → Note, Comments, Description
-
Title → Name, Record Name
-
Tags → Labels, Categories
If your CSV contains a column named URL, it is treated the same as Website.
Step 2: Select the best match
The system compares the row against all supported record types.
-
Each matching field increases that record type’s score.
-
The record type with the highest score is selected.
If no suitable match is found, the row is imported as a Note.
Step 3: Populate fields
After the record type is selected:
-
Recognized fields are mapped to their corresponding record fields.
-
Tags (Tags, Label, Categories) are split by commas or semicolons.
-
Notes-like fields are appended to the record notes.
-
Unrecognized columns are preserved in the notes as
key: valueentries.
Step 4: Assign a title
If a Title-like column is present, its value becomes the record title.
If not, a default title based on the record type is used.
Vault size limit
After import, the system verifies the vault size. If the encrypted vault exceeds the allowed limit, the import is rejected. This restriction is defined by the Atlassian platform.
Audit log
All import actions are recorded in the vault audit log.