Use these direct links to find the Time Tracker and Time Tracker Lite apps, or follow the procedure below.
To install the application:
-
Log into your Jira instance.
-
From the Apps drop-down menu, select Find new apps.
-
Search for Time Tracker or Time Tracker Lite and click on the app tile.
Make sure that Cloud is selected in the Hosting Options drop-down menu.
-
Click Try it free to install your app.
-
Click Close.
Configure Time-Tracking Provider
You need to have Jira Administrator Permissions to be able to configure your time-tracking provider.
While not required, set Timesheet or Time Tracker Lite as the Jira time-tracking provider, so that you always use the Time Tracker Log Work Done window when logging time in Jira.
When Time Tracker is set as the Time Tracking provider, Jira’s “Time Tracking” field is repurposed as a “Time Remaining” field.
To configure the time-tracking provider:
-
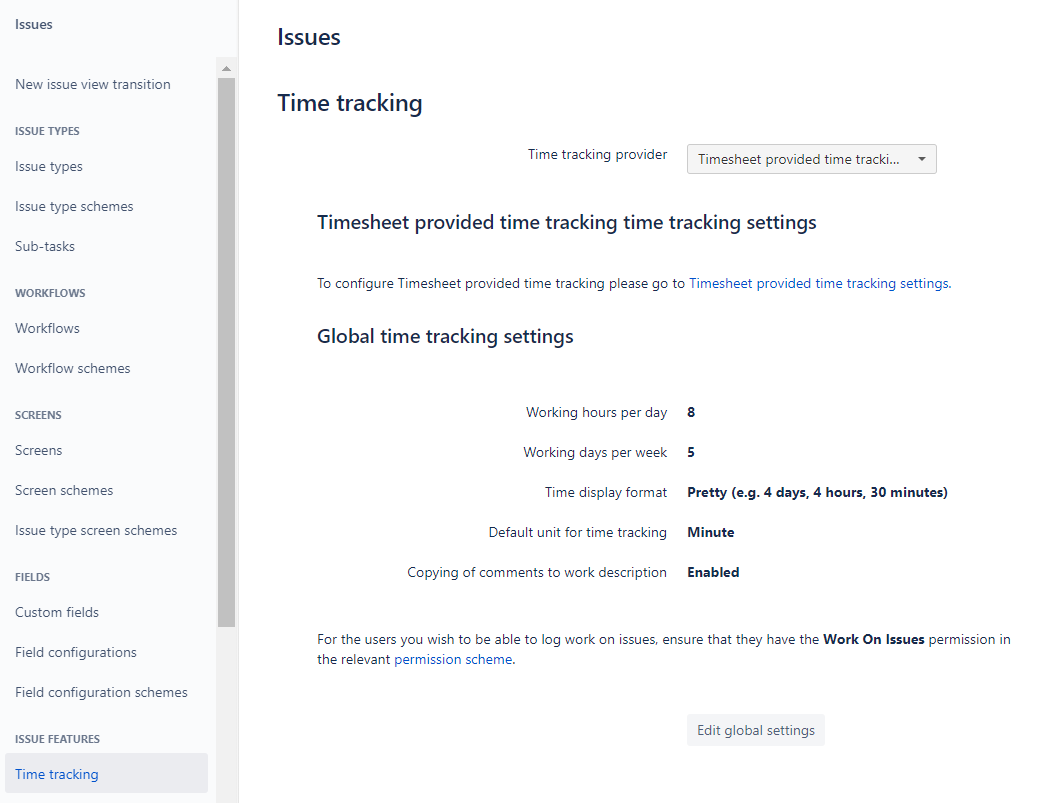
On the Jira main menu, select Jira settings and then select Issues.
-
Under Issue Features, select Time tracking.
-
From the Time tracking provider drop-down menu, select Timesheet or Time Tracker Lite provided time tracking.
-
To configure time tracking settings, click the link for Timesheet or Time Tracker Lite provided time tracking settings and make the necessary updates.
These configuration settings can also be found in the Configure menu on the main Time Tracker page.