
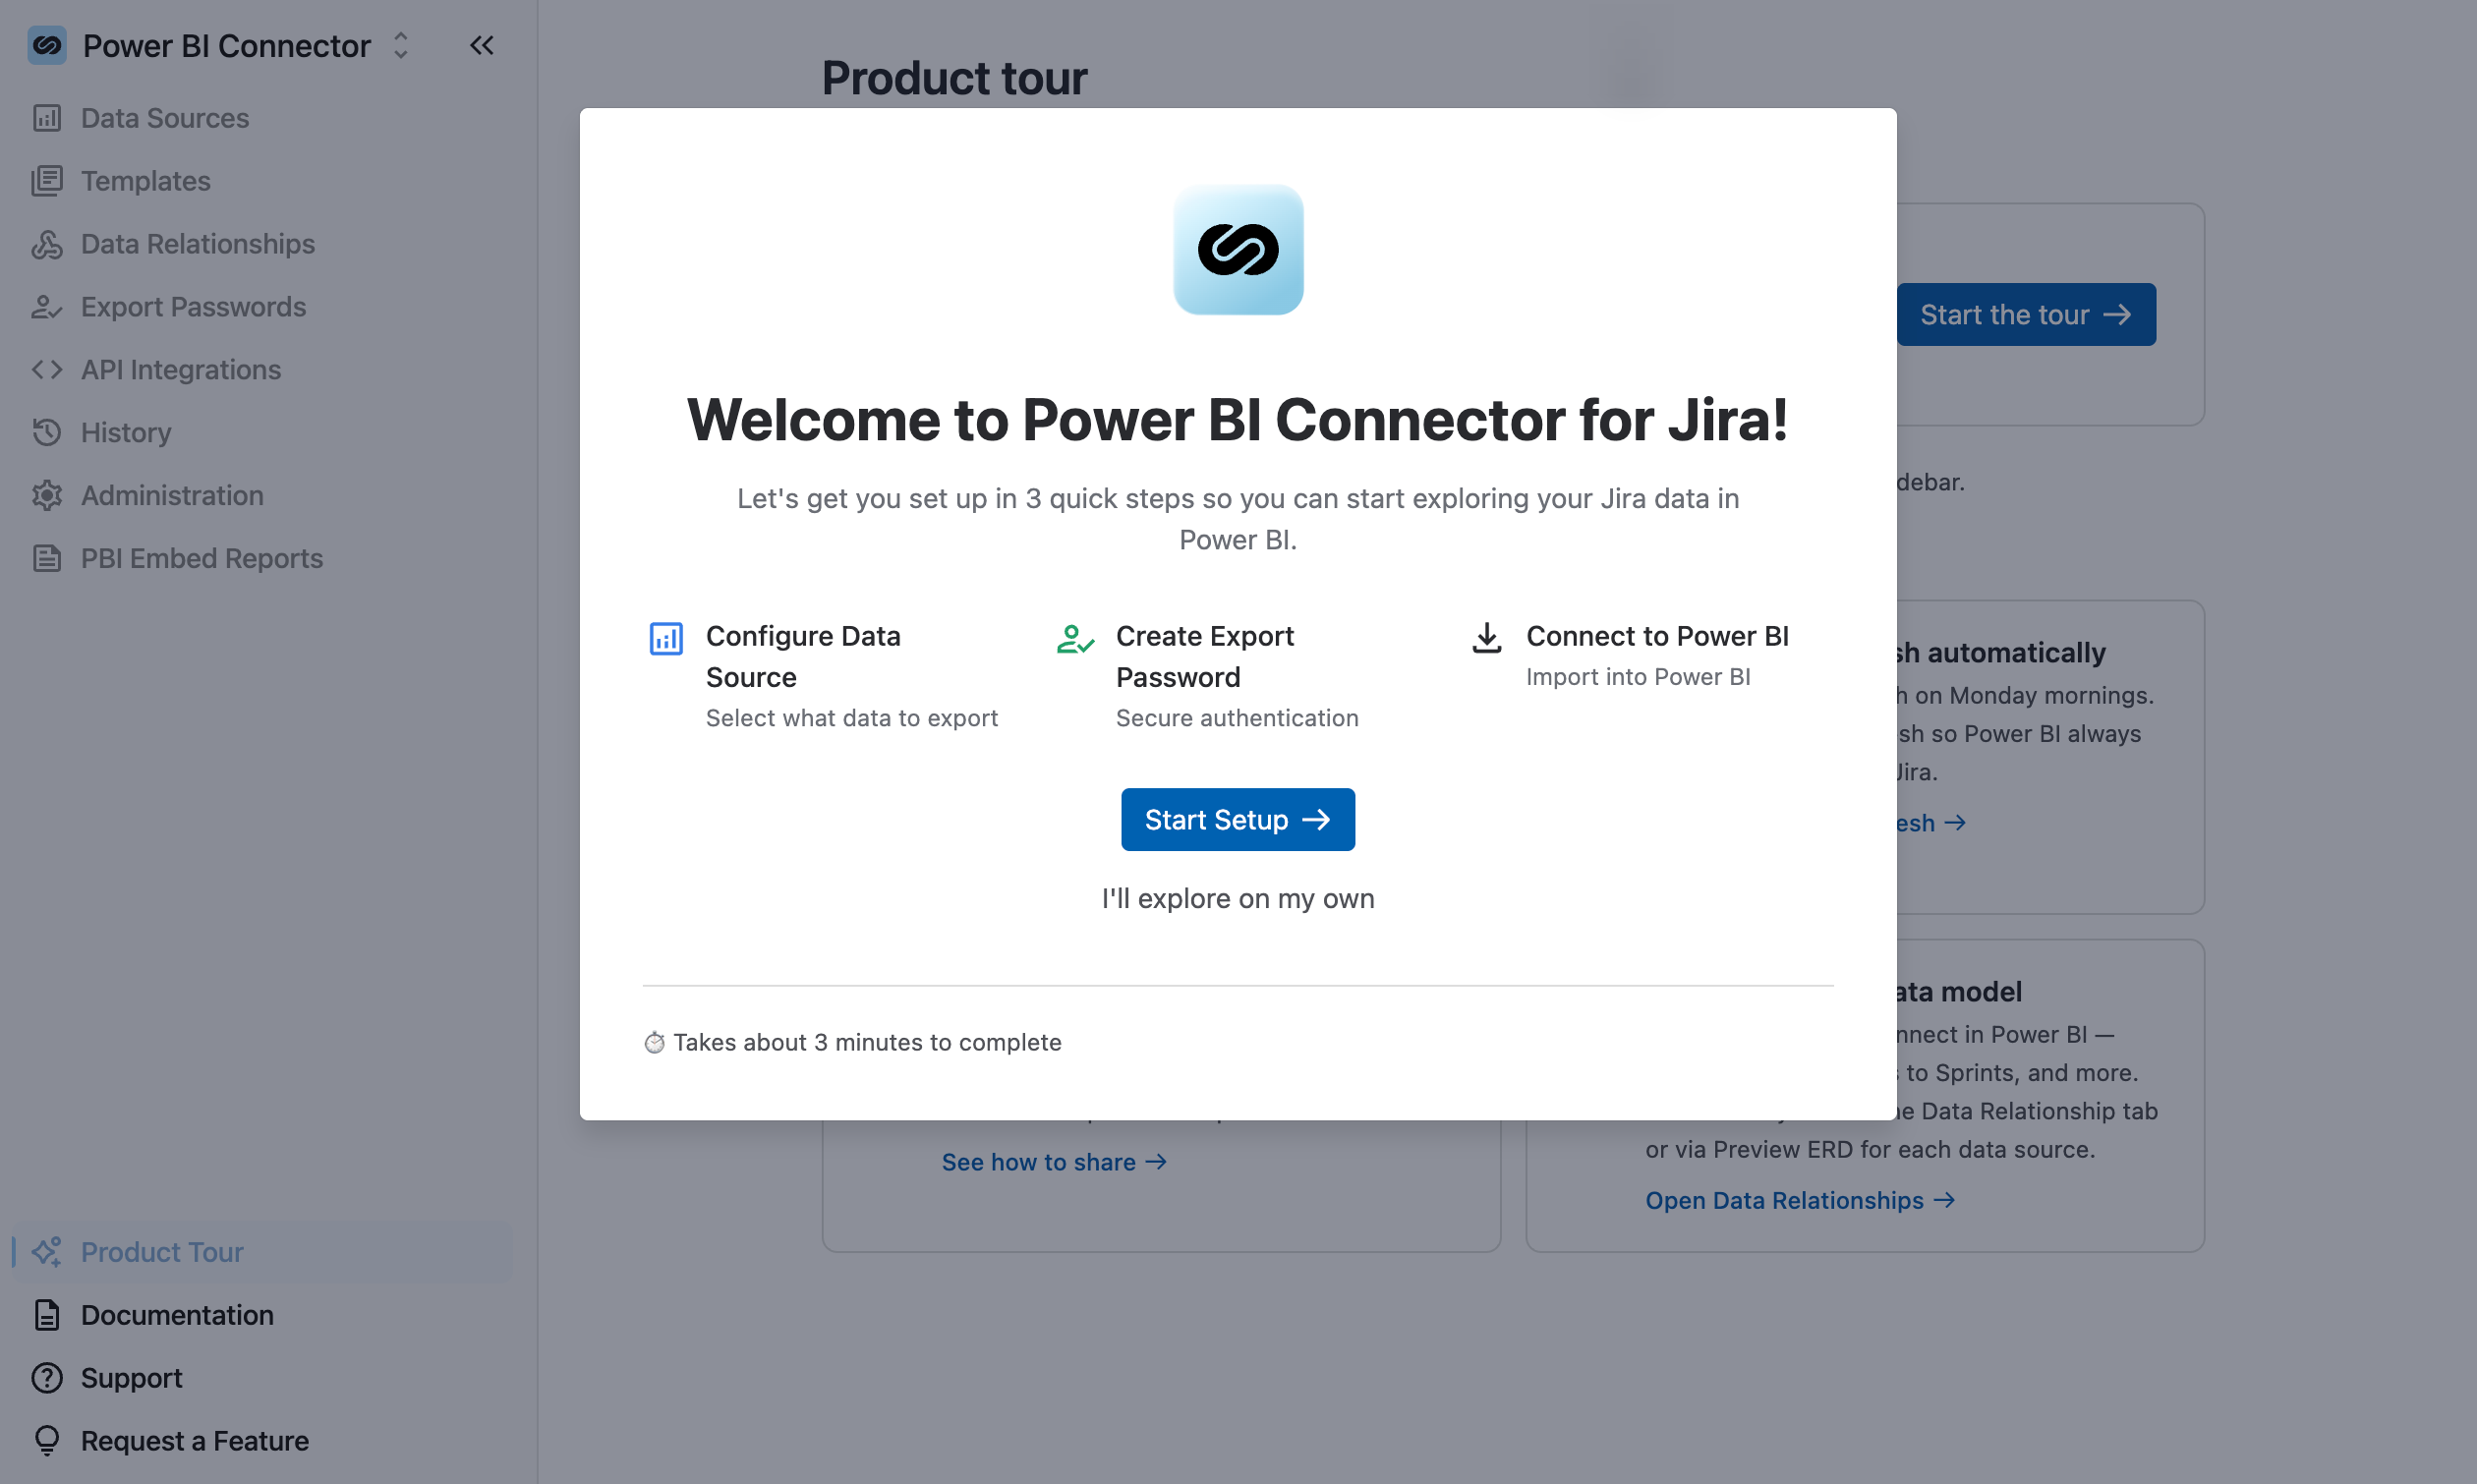
The product tour introduces the key features and settings available in Power BI Connector. It helps you get started with the app and shows you where to find the main functionality.
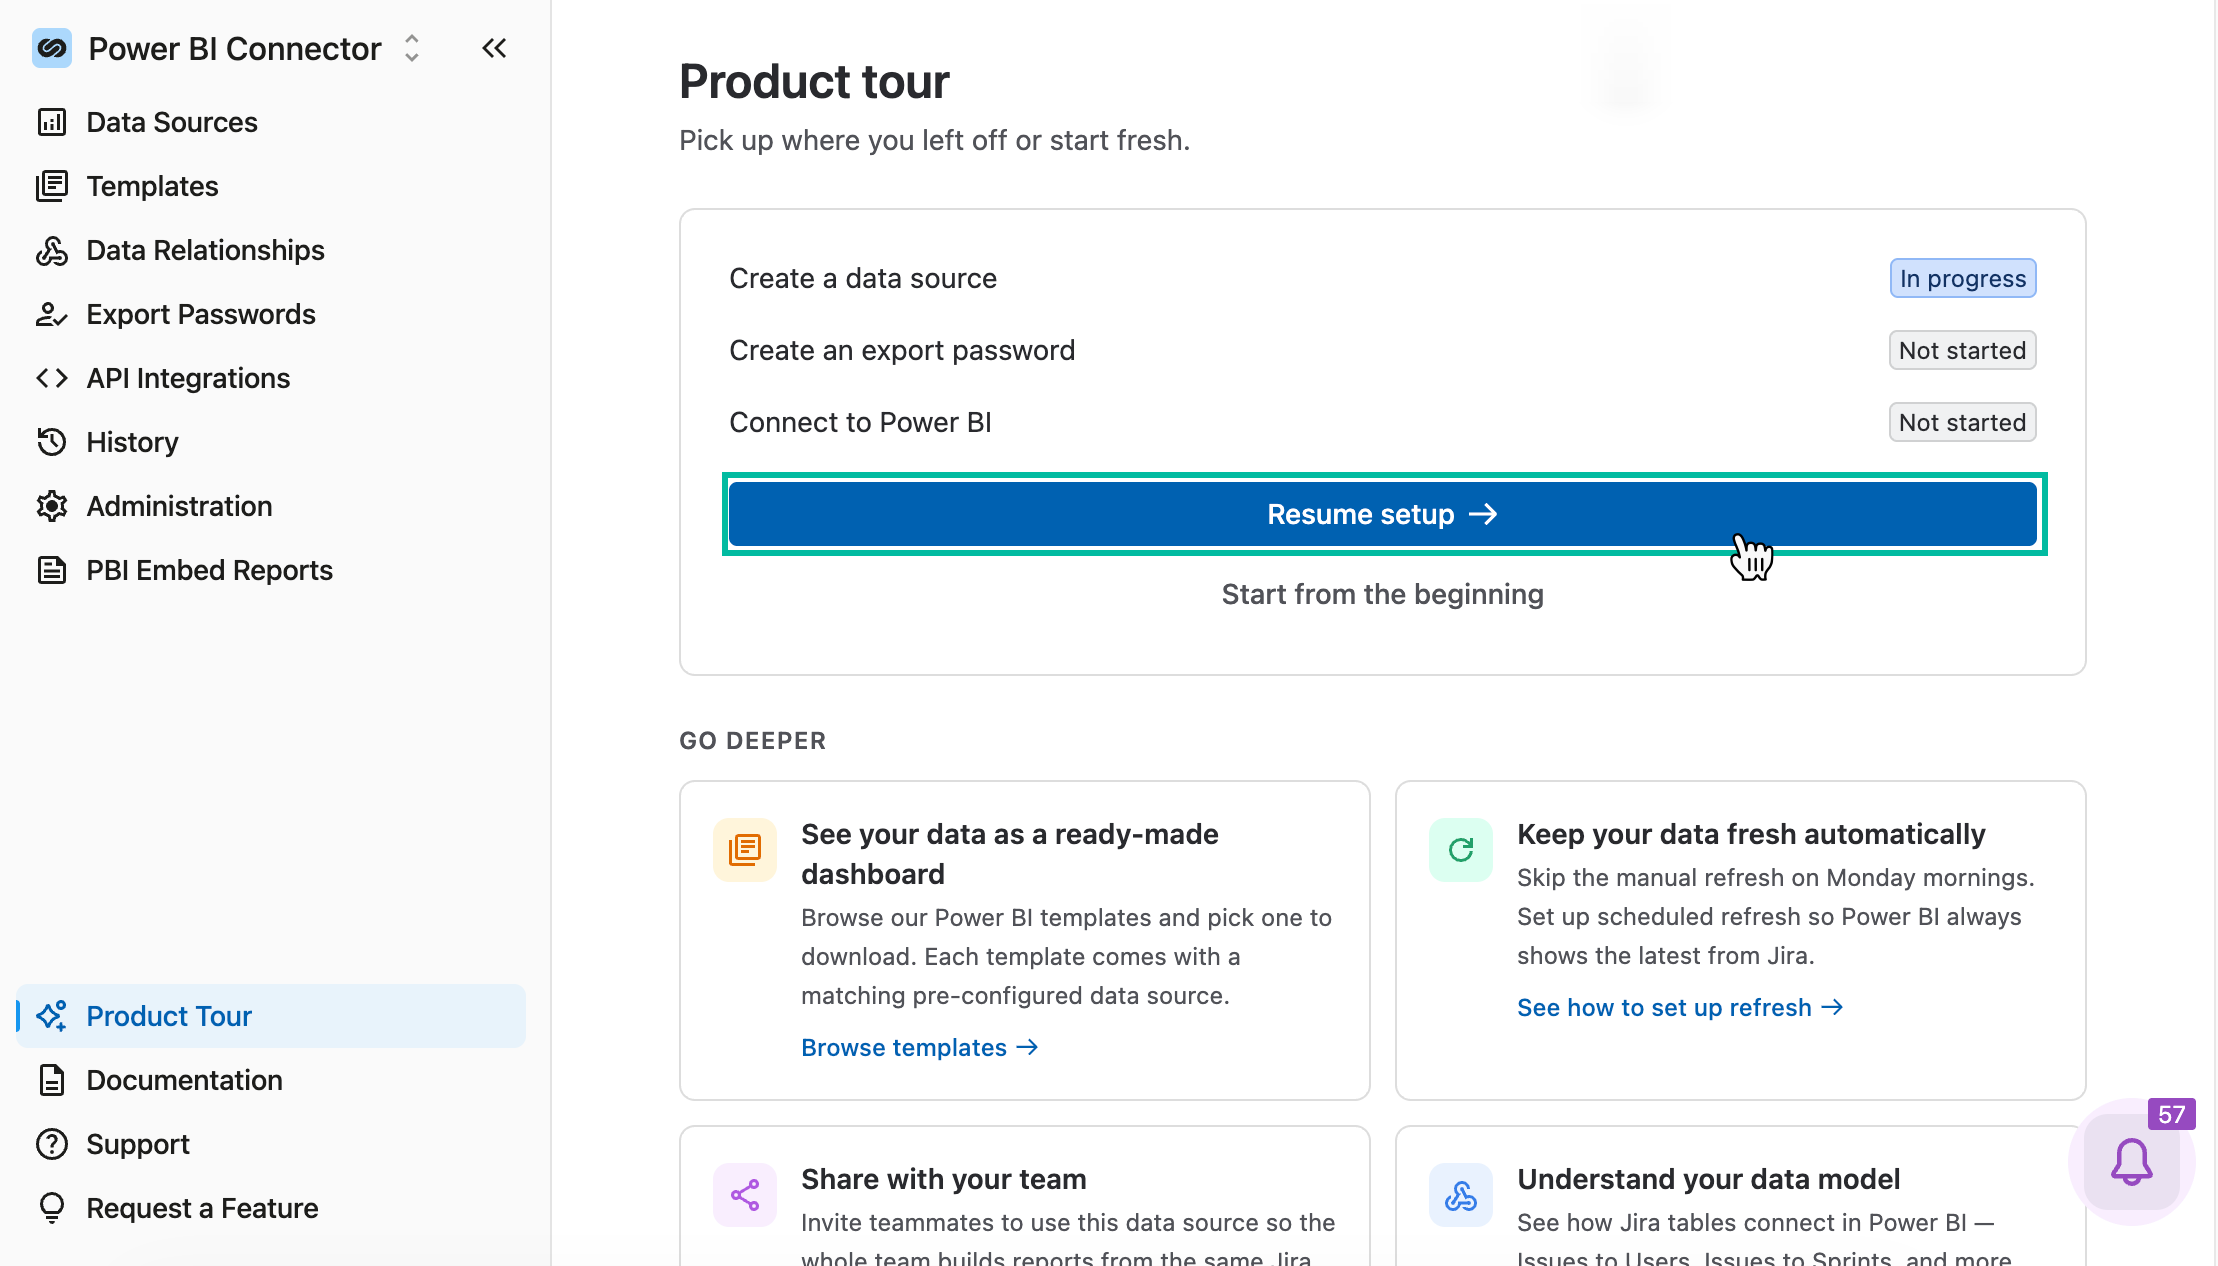
Once you start the product tour, you can skip it at any time and continue exploring the app. You can return to the tour later and resume where you left off or start it again from the beginning.
While the tour is active, other app modules are disabled except for the module currently covered by the tour. Each stage must be completed before you can continue to the next stage.
The tour highlights the following areas:
-
Data source configuration
-
Export password creation
-
Power BI connection
Data Source Configuration
During this stage of the tour, you are prompted to create a data source. The tables and fields are preselected, and the data source name is suggested based on your previous selections.
If needed, you can:
-
Change the data source name
-
Add a description
-
Add or remove tables
-
Apply filters
After reviewing the data source configuration, select Save, and then select Continue to Export Password.
.png?cb=cec7c5de9ae727be332f3ecac421039a)
Export Password Creation
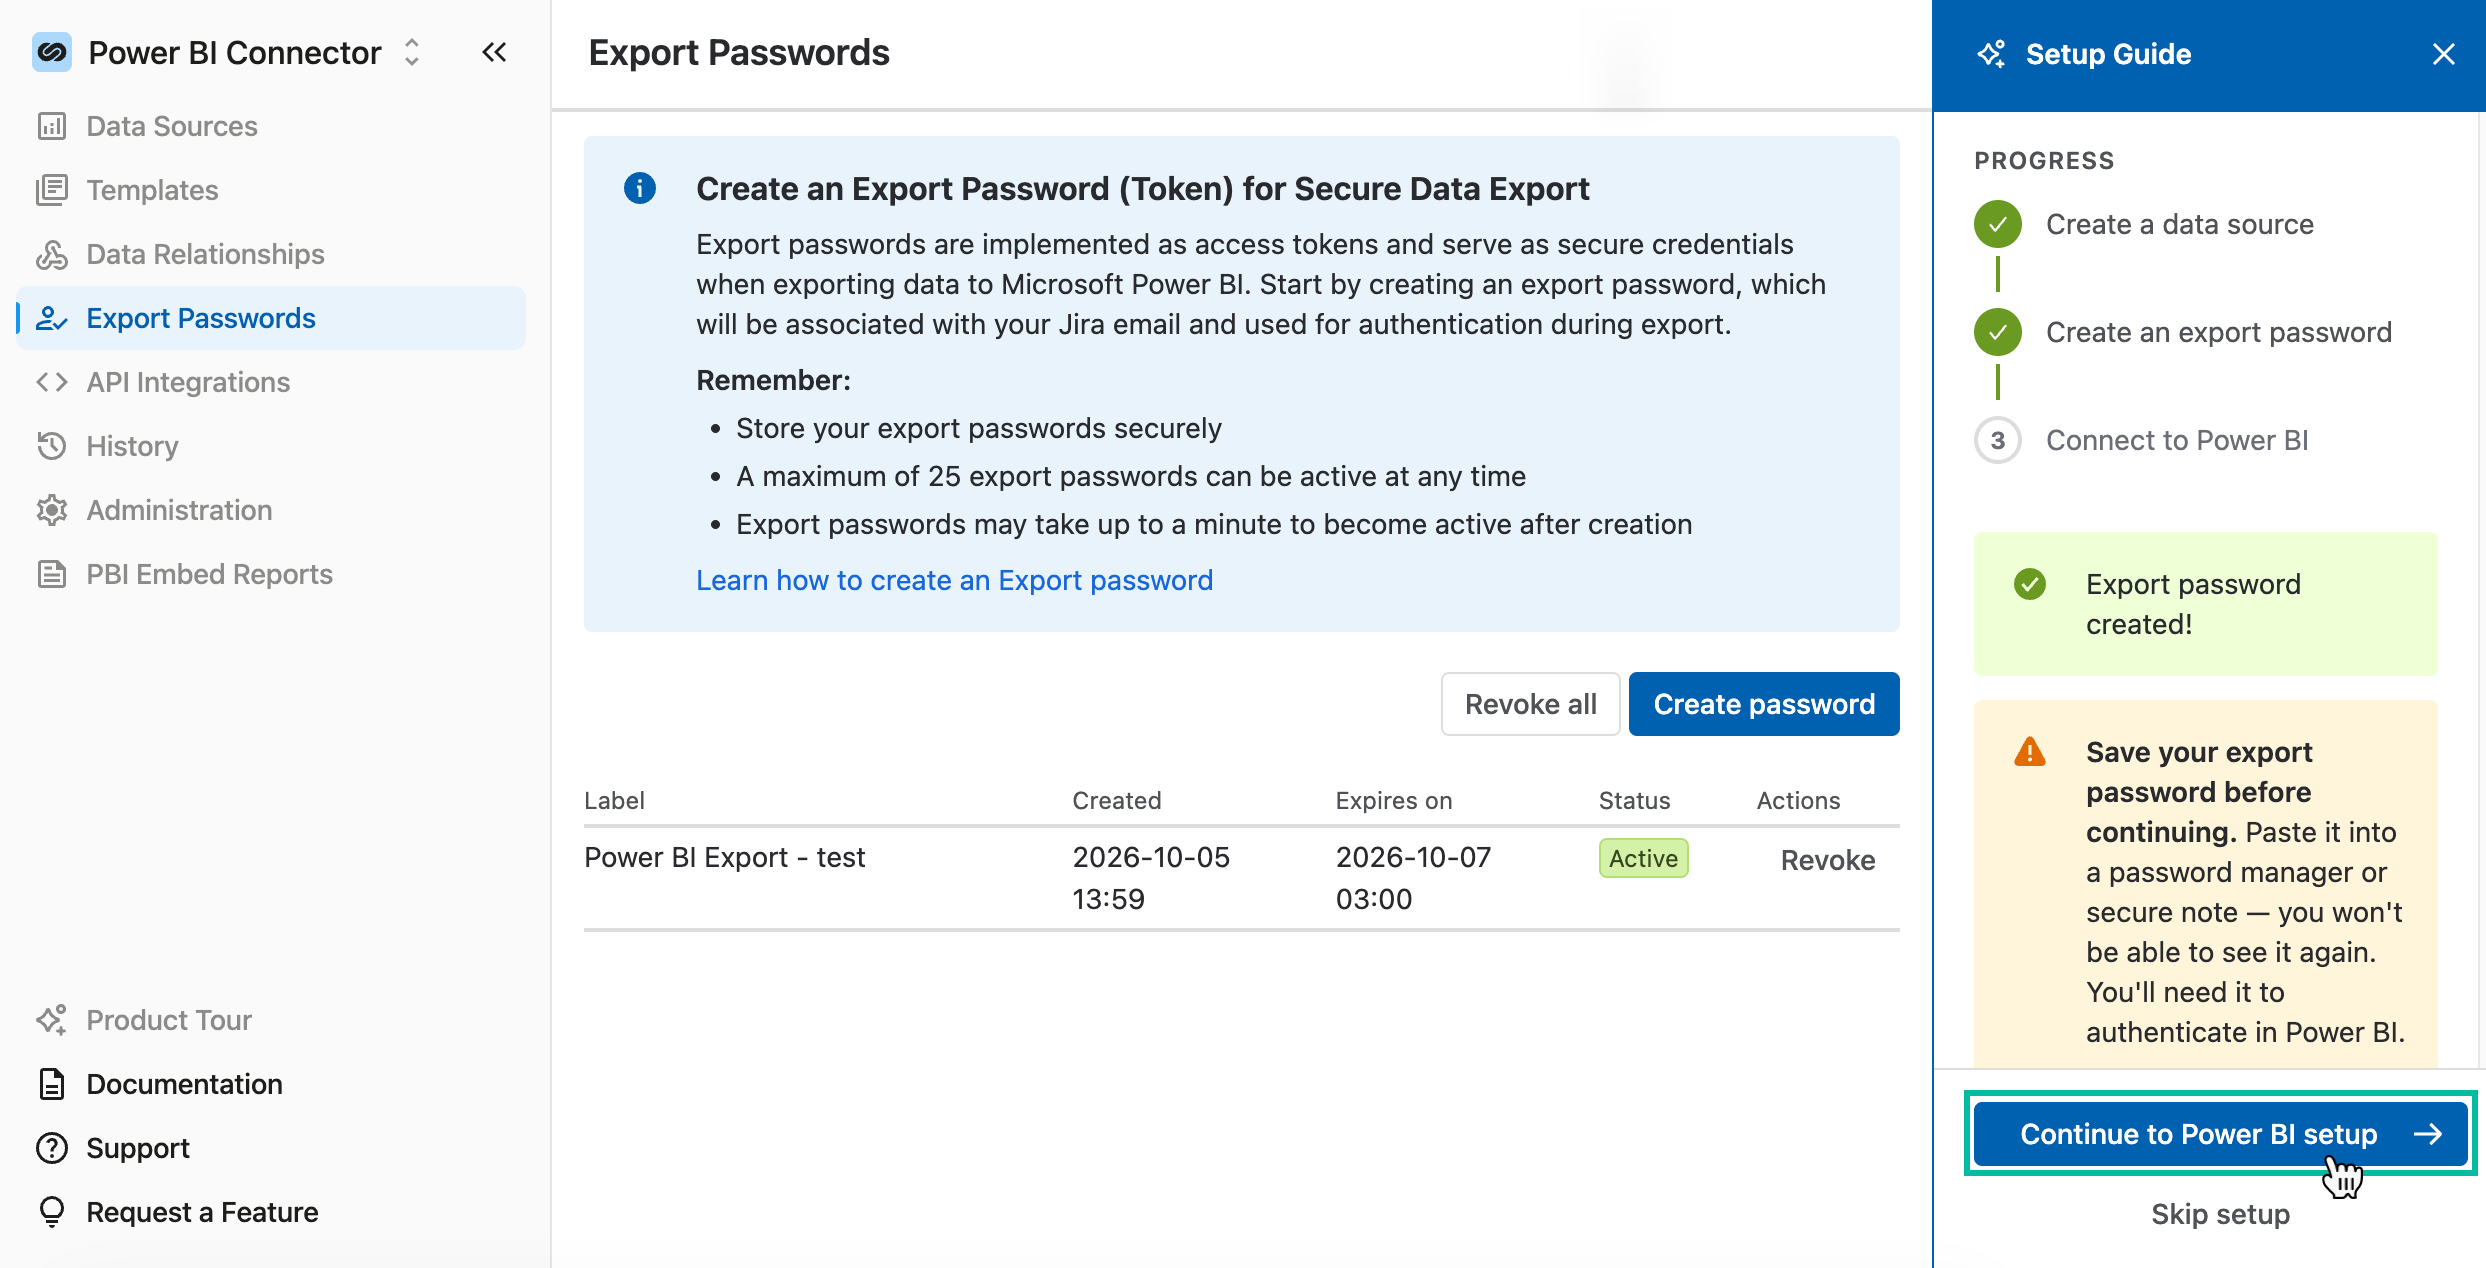
During this stage, you create a personal export password to use when connecting to Microsoft Power BI. Each user must create their own export password.
After creating the export password, select Continue to Power BI setup.
🔗 How to Create Export Password
Power BI Connection
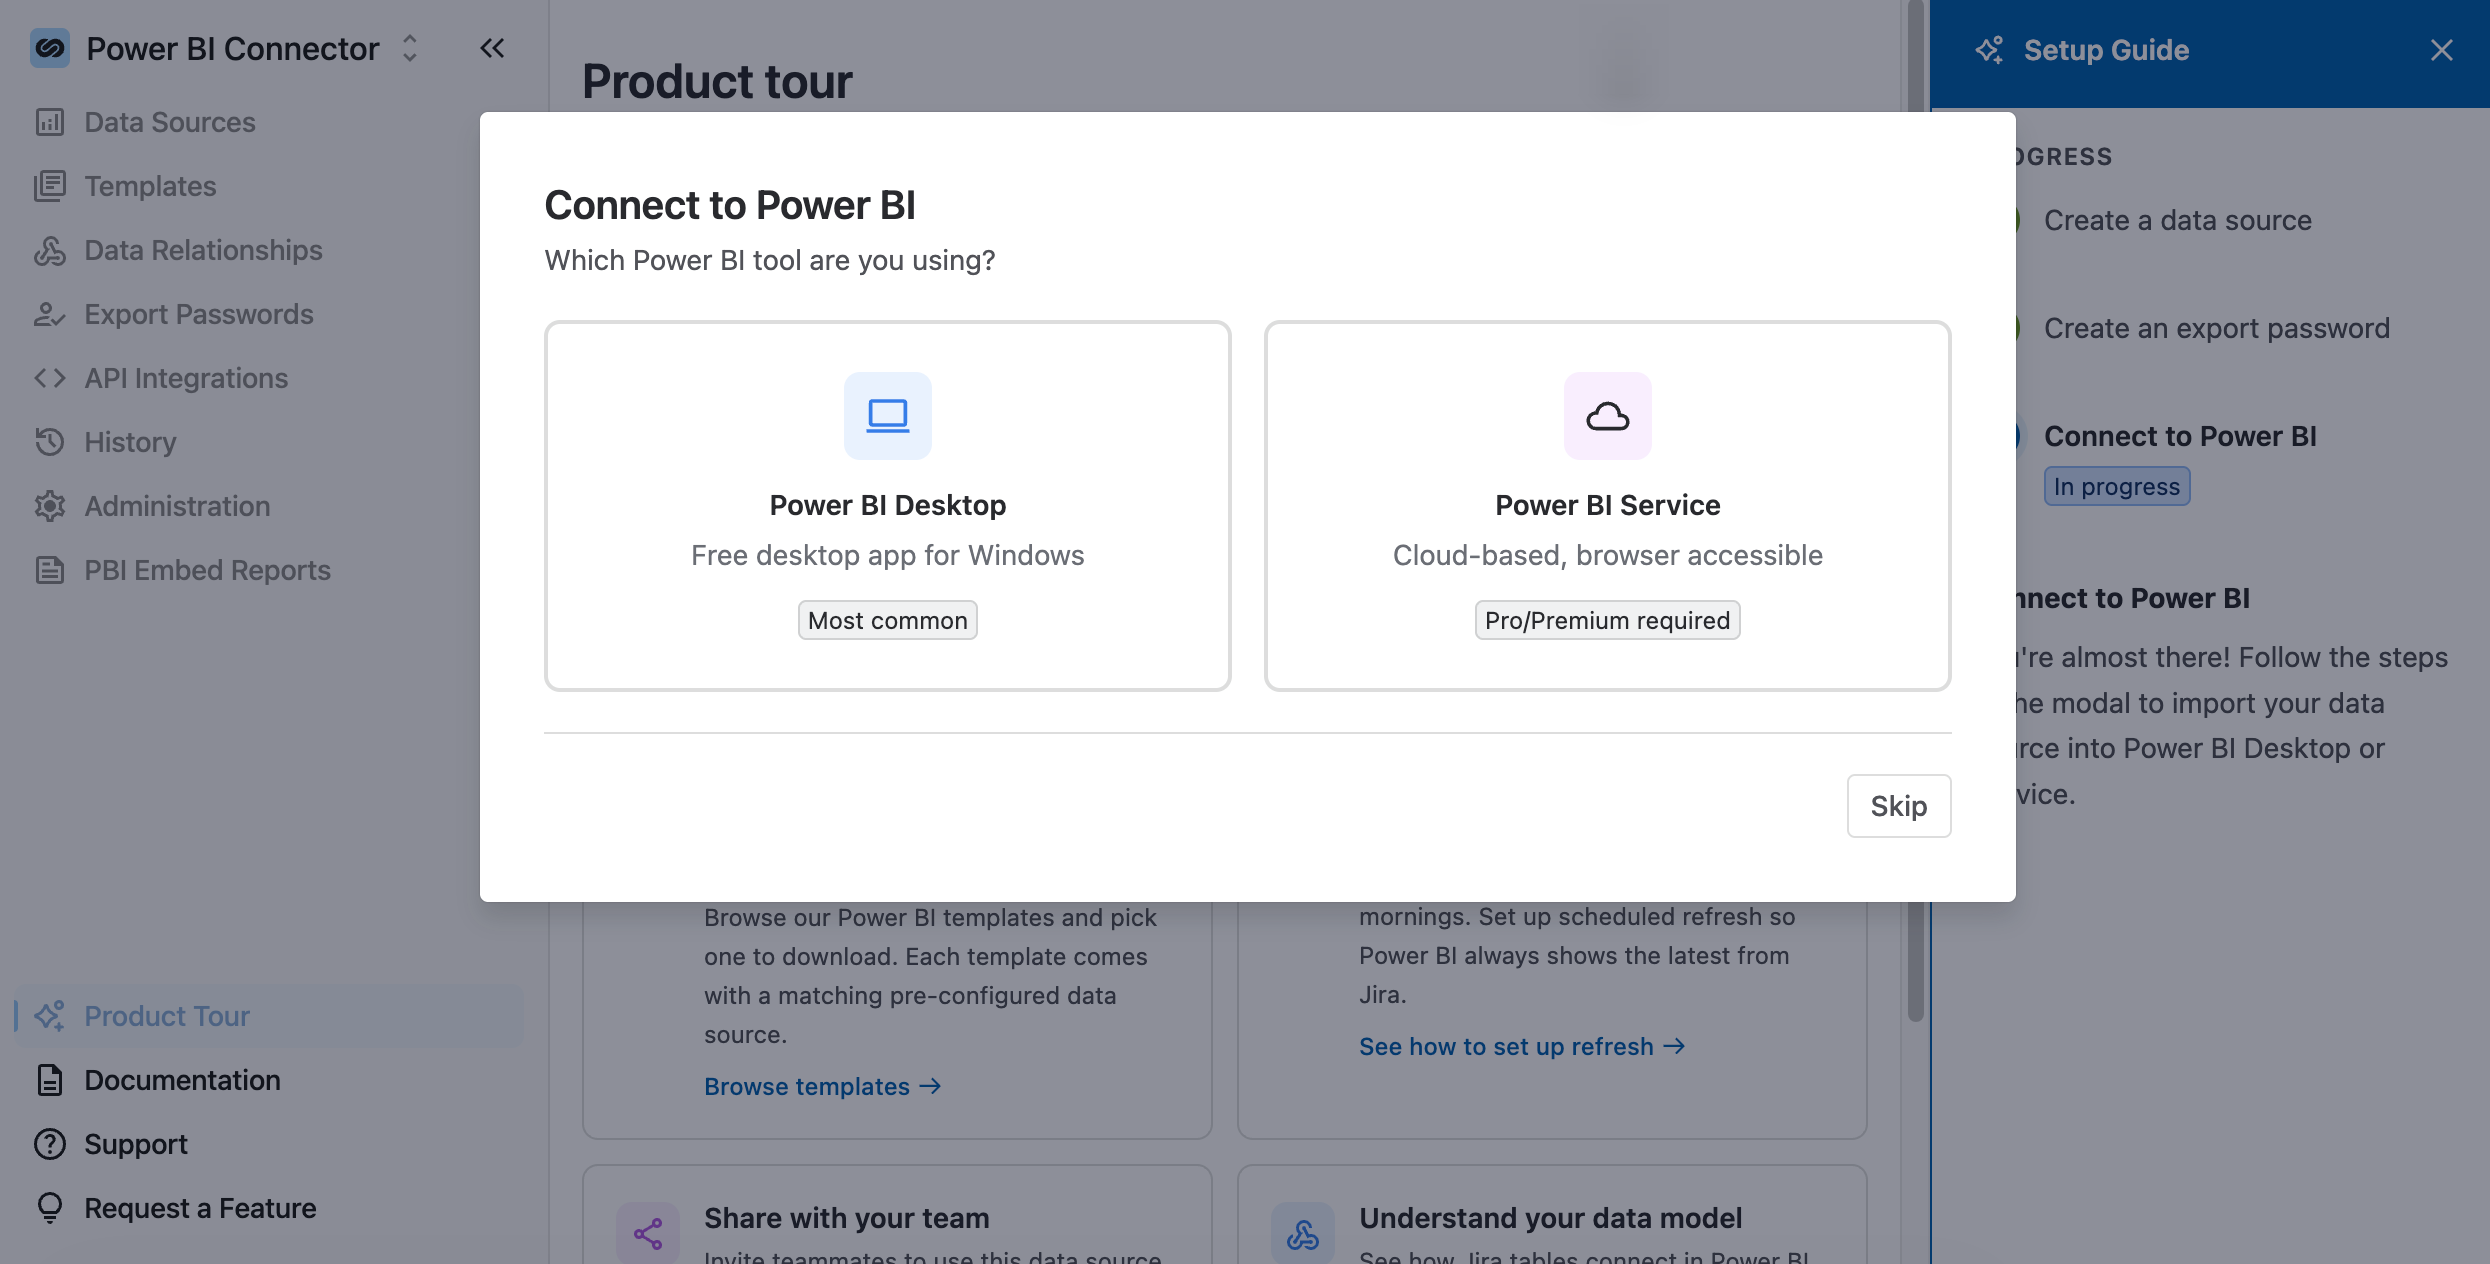
In this stage, select the Power BI tool you use: Power BI Desktop or Power BI Service. The tour then provides the corresponding instructions for connecting to Microsoft Power BI.
🔗 How to Import Jira Data into Power BI
.png?cb=e38ed43c340b6d91723ef9d10d2fadca)