Use the Tempo Time Tracking plugin with JetBrains to log your time faster using suggested activities provided in My Work. Tempo's integration with JetBrains automatically detects the time you spend on coding activities in Git repositories. When you save a file in JetBrains, commit, or checkout, the extension posts an event to the Tempo API that contains the current branch name, timestamp, and a commit message (if available). This results in more accurate suggested activities for logging time in Tempo Timesheets.
For best results, add the work item key to the branch or the commit message.
When you download the plugin from the JetBrains Plugin Marketplace, you select which version of the plugin you want to install.
-
Version 2.0 and later allows you to authenticate through the browser.
-
Version 1.0 and earlier uses token-based authentication that expires every 90 days.
Before you begin
-
If you’re upgrading to the latest version, we recommend uninstalling your current version before installing the latest version.
-
This plugin requires Tempo Timesheets on Jira Cloud.
Setting Up the Time Tracking Plugin
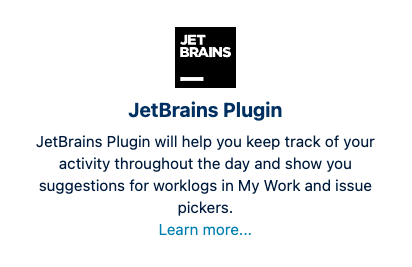
Install the Tempo Time Tracking plugin from the JetBrains Plugin Marketplace, and then allow the plugin to connect to your Atlassian Jira account. We recommend installing the latest plugin.
Install plugin version 2.0 or later
-
Select Apps in the Tempo sidebar.
-
In the JetBrains Plugin tile, click Install.
You are redirected to the JetBrains Plugin Marketplace to download the plugin.
-
Click Get, and then download the appropriate version of the plugin.
-
Follow the onscreen directions to install the Tempo Time Tracking plugin in JetBrains.
-
When prompted, authorize the plugin to access your Atlassian account.
A new browser window opens so you can complete the authorization process.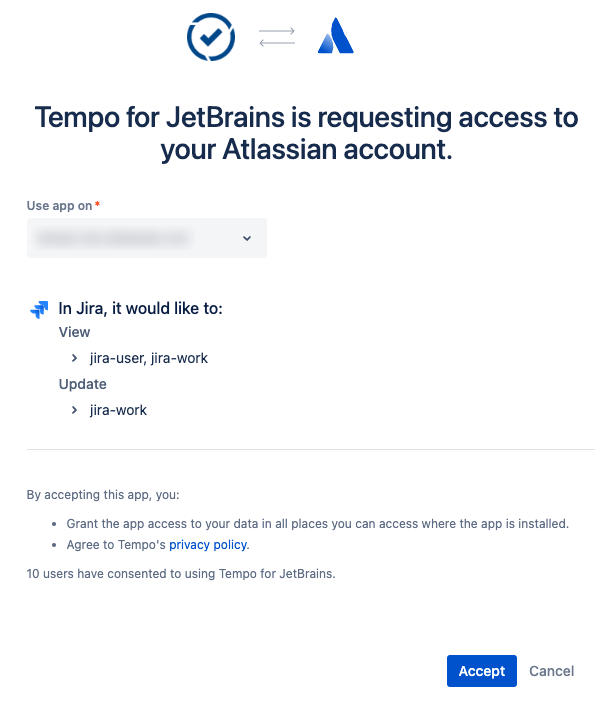
-
Select which Jira instance you’d like.
-
When you click Accept, you can return to the IDEA. A notification displays that you are authorized to use Tempo.
-
Install plugin version 1.0 or earlier
-
Select Apps in the Tempo sidebar.
-
In the JetBrains Plugin tile, click Install. You are redirected to the JetBrains Plugin Marketplace to download the plugin.
-
Click Get, and then download the appropriate version of the plugin.
-
Follow the onscreen directions to install the Tempo Time Tracking plugin in JetBrains.
-
Restart your IDE.
-
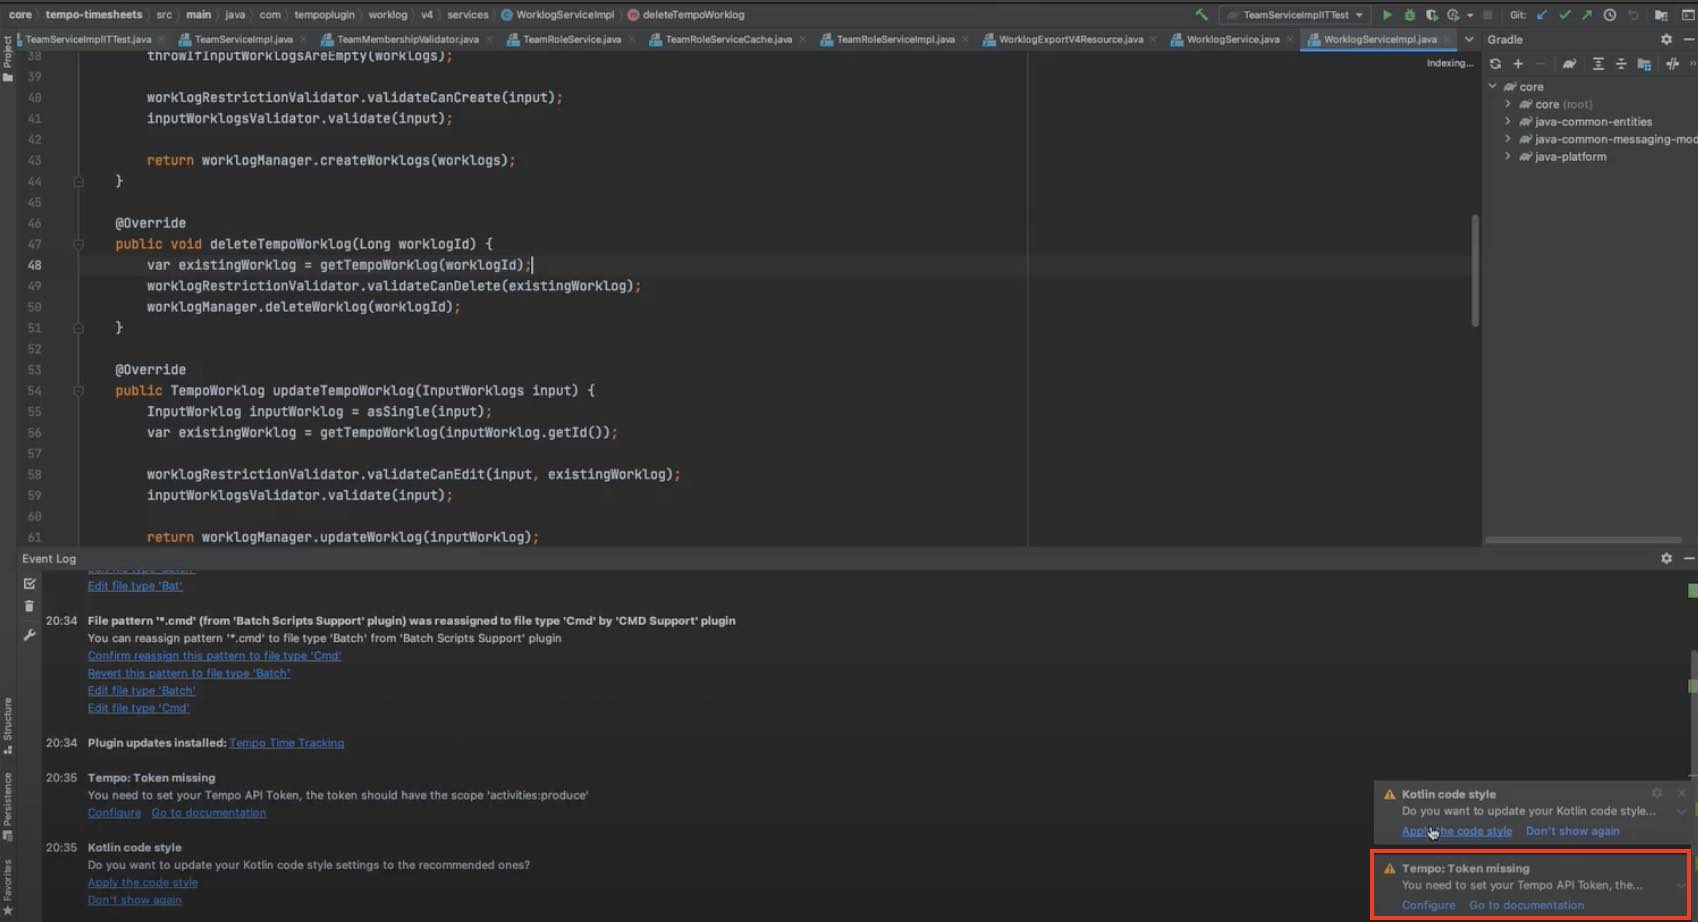
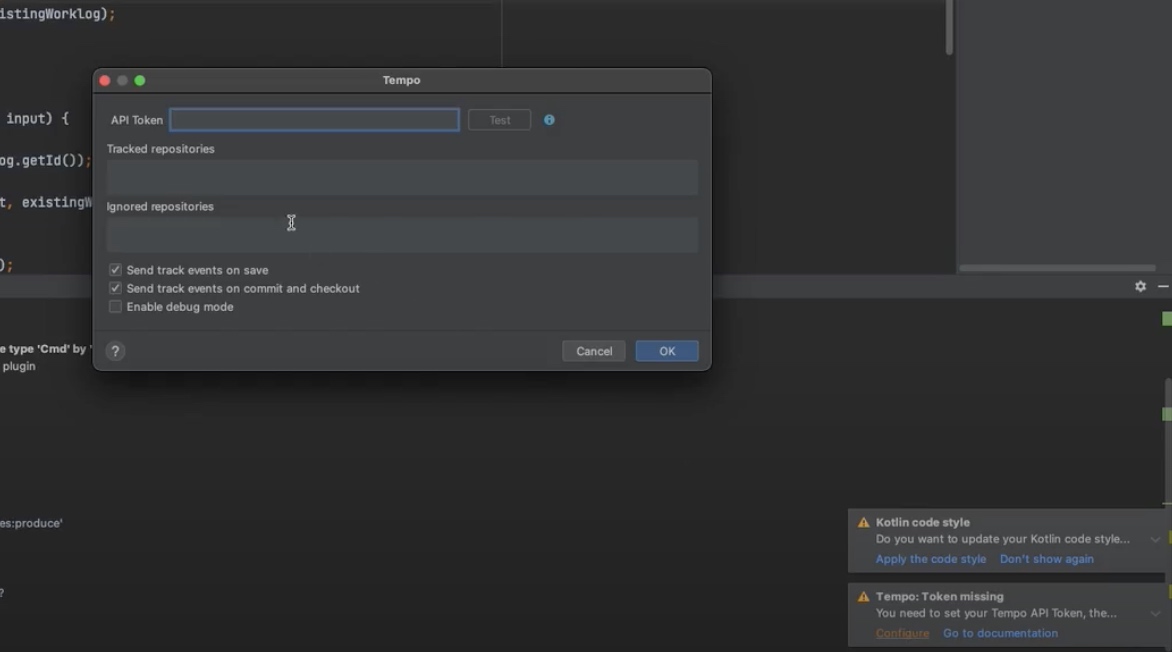
A Tempo: token missing notification appears to remind you to set your Tempo API token.
-
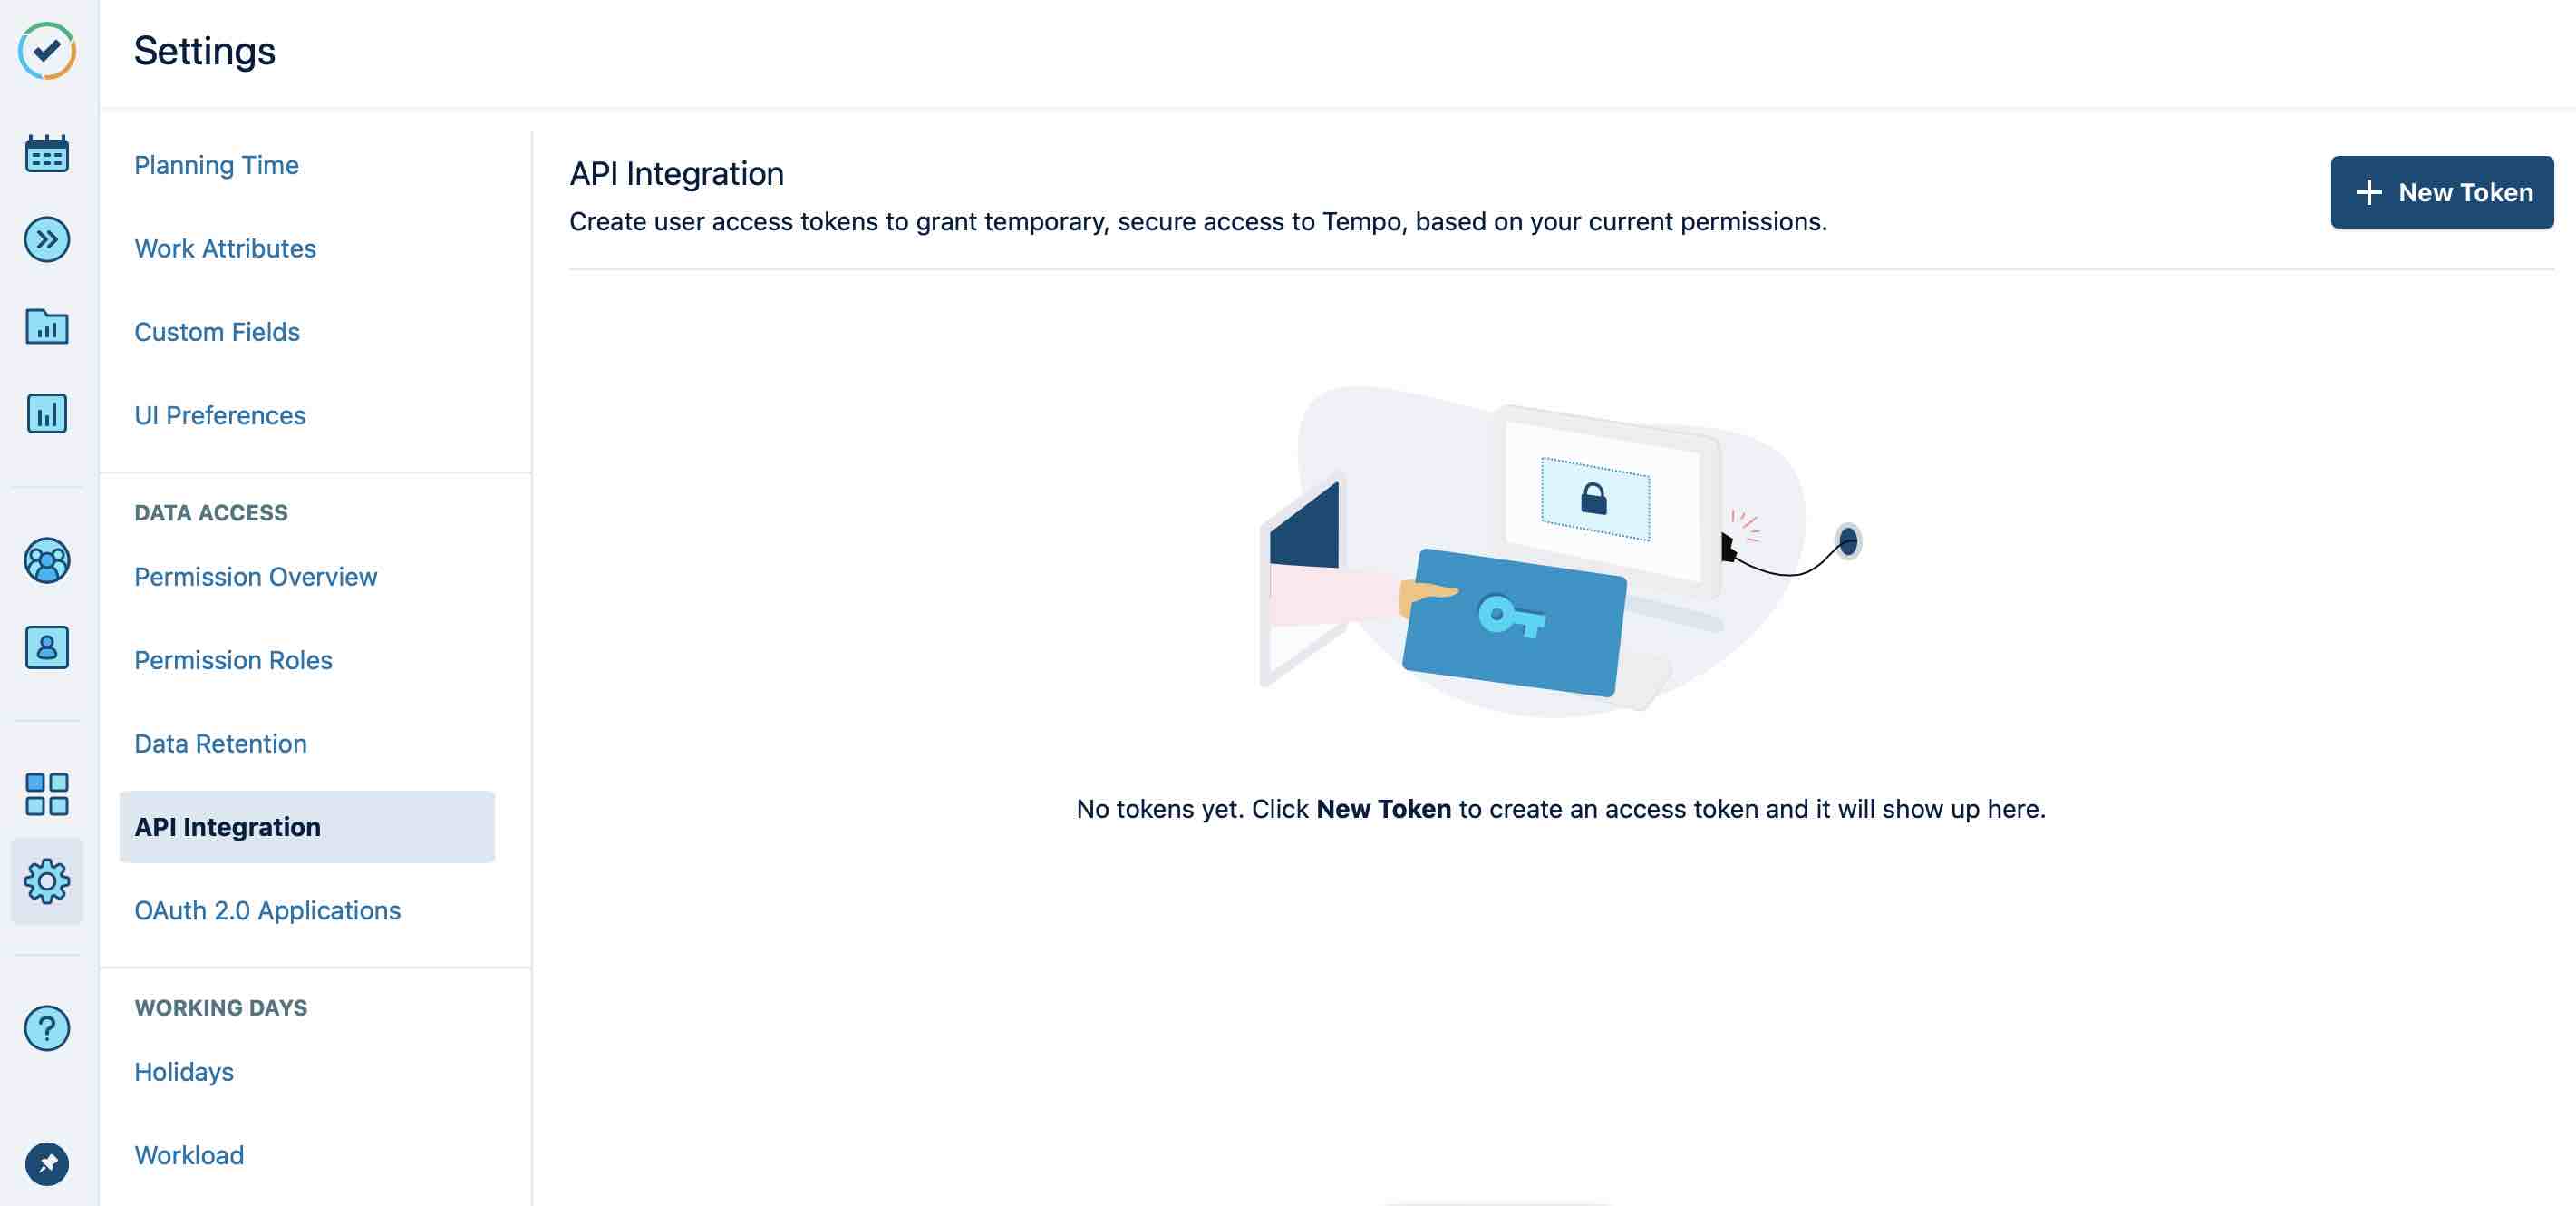
In your Jira instance, navigate to Tempo > Settings > API Integration, and click New Token. This token can be either for full access or custom access.
To create a custom access token, the token must have the Produce activities scope at a minimum. Click Confirm to create the token.
Refer to Using REST API integrations.
-
Copy the token and open JetBrains. Click Configure in the prompt and paste the token.
-
Click Test to ensure the API token is set up correctly, and then restart JetBrains.
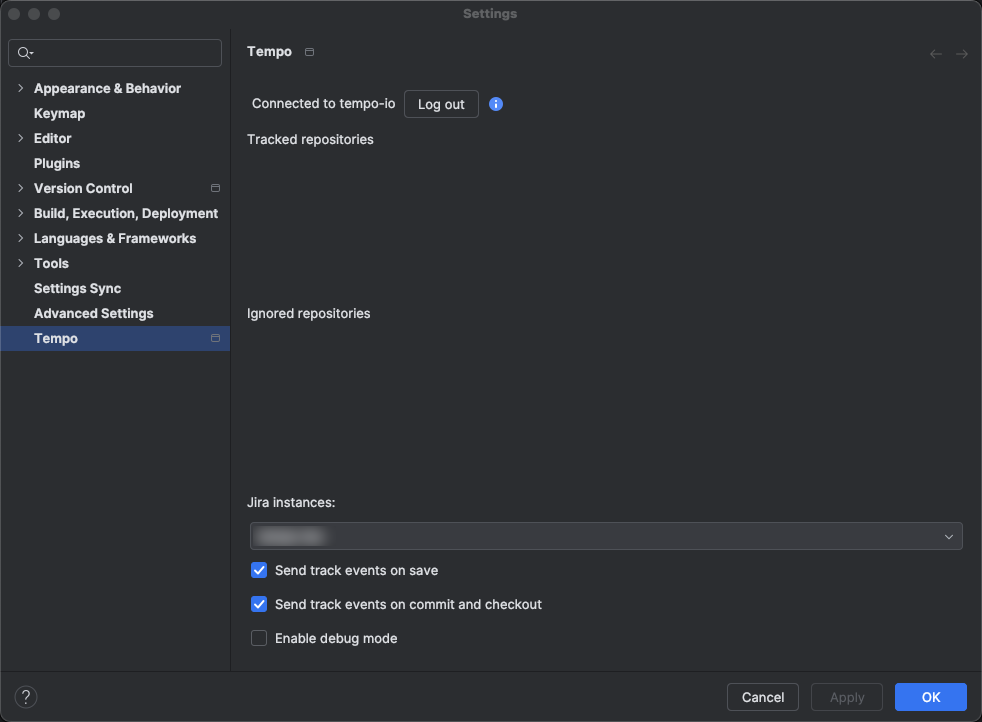
After you’ve installed and authenticated the Tempo plugin, it provides the option to Track, Ignore, or Postpone all activity within a git repository when you open a workspace. Repositories that have been tracked provide information used to create activity cards in My Work in Tempo.
If Postponed is selected, you are reminded to track or ignore the repository the next time you open a project for this repository. You can then manually configure this in the settings page, under Tempo.
Upgrading from version 1.0 to 2.0
If you want to upgrade from version 1.0 to 2.0, we recommend uninstalling version 1.0 before installing.
-
Open Settings and navigate to Plugins.
-
Select Tempo and uninstall the plugin.
You don’t need to uninstall the earlier version to install the latest version. If you have both versions of the plugin, you must eventually re-authenticate your account.
-
Open Settings and navigate to Tempo.
-
Click Log out. You can then re-authenticate your account.
Plugin Settings
Navigate to the settings page if you need to do any of the following:
-
Update or view your tracked repositories
-
Update or view your ignored repositories
-
Log out or re-authenticate your Atlassian Jira account
-
Modify which Jira instance includes the Tempo instance you use
-
Modify which tracking events to send
-
Enable debug mode
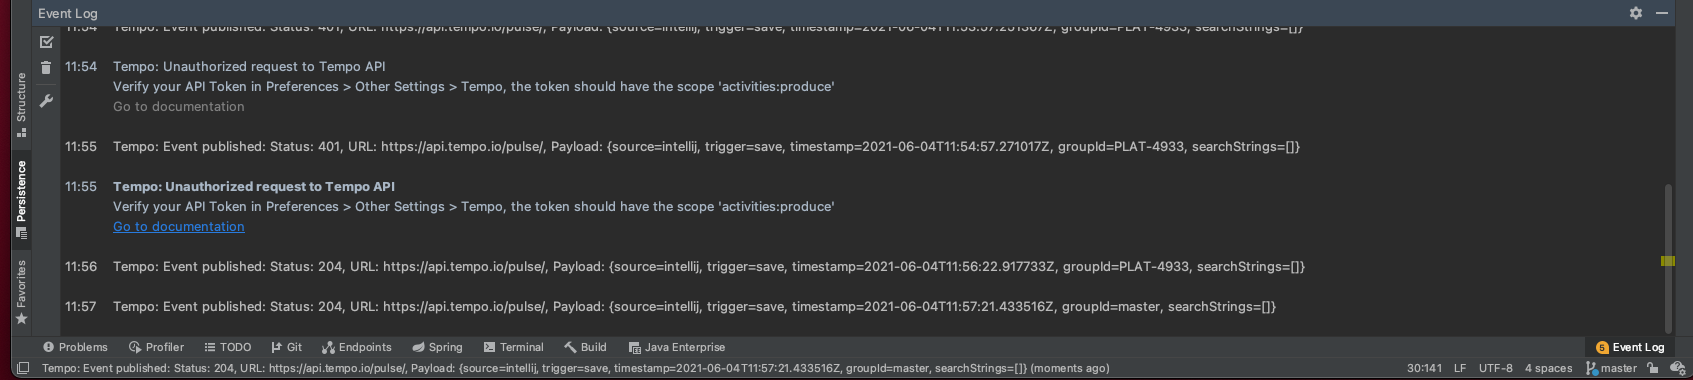
View Event Logs
If you want to view what information is sent to Tempo, use the Enable debug mode in Settings to view the event logs.
You can view the information in the event log or in notifications.