Editing the period configuration default values requires the Tempo Administrator permission.
Each timesheet is tied to a specific period of time for tracking time, reporting, and planning. If you are a Tempo Administrator, you can define these periods.
In Tempo Timesheets, employees typically log time monthly, but you can configure either monthly or weekly reporting periods. At the end of each period, it closes and employees can no longer log time for the period: their timesheet is essentially locked.
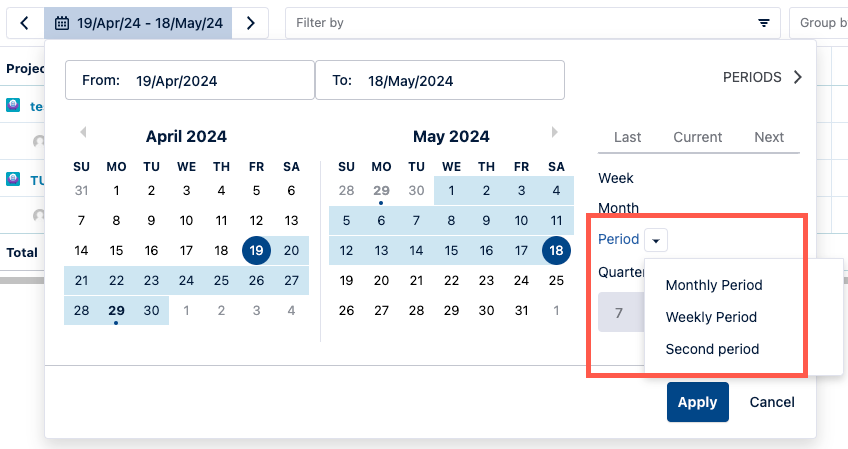
It is possible to configure a second period with a different start date and switch between the two periods in all views, such as if you have a pay period that is different from the period used for billing customers. The second period is mostly used for reporting and cannot be used for closing periods and workflows.
By default, monthly periods begin on the first day of every month and the first period of the year is in January. You can select different start dates, as shown below.
You can also specify whether timesheets should be approved on a monthly or weekly basis. For weekly periods, you can select any day as the start day for the week.
Note
If you use weekly approvals and change the start day for the week, all previously approved weeks appear as if they have not been submitted for approval. The previously approved worklogs will remain approved in the database even though the view shows them as unsubmitted after the date change. The same applies when changing the approval period from weekly to monthly, or vice versa.
To define periods:
-
Select Settings :settings_dc: in the sidebar.
-
Under Periods in the Settings sidebar, select Period Configuration.
-
Make the desired changes to the period settings:
-
-
Monthly Periods - Select the start month and date for the default period. To activate a second period, you need to select a different date than for the Default period. If you use both periods, you can select which period is rendered in timesheets and reports.
-
Weekly Periods - Select any day as a start day for a weekly approval period.
-
Periods Used for Approvals - Select either Monthly or Weekly as the length of Timesheet approval period.
-

Switching Between Default and Second Period in the View
If you have activated a second monthly period, you can select which period to display in the view. Click the date picker in the reports or the timesheet, and then select which period to display.
Related Topics