Available on the following plans:
-
Starter
-
Business
-
Professional
-
Enterprise
Terms to Know
-
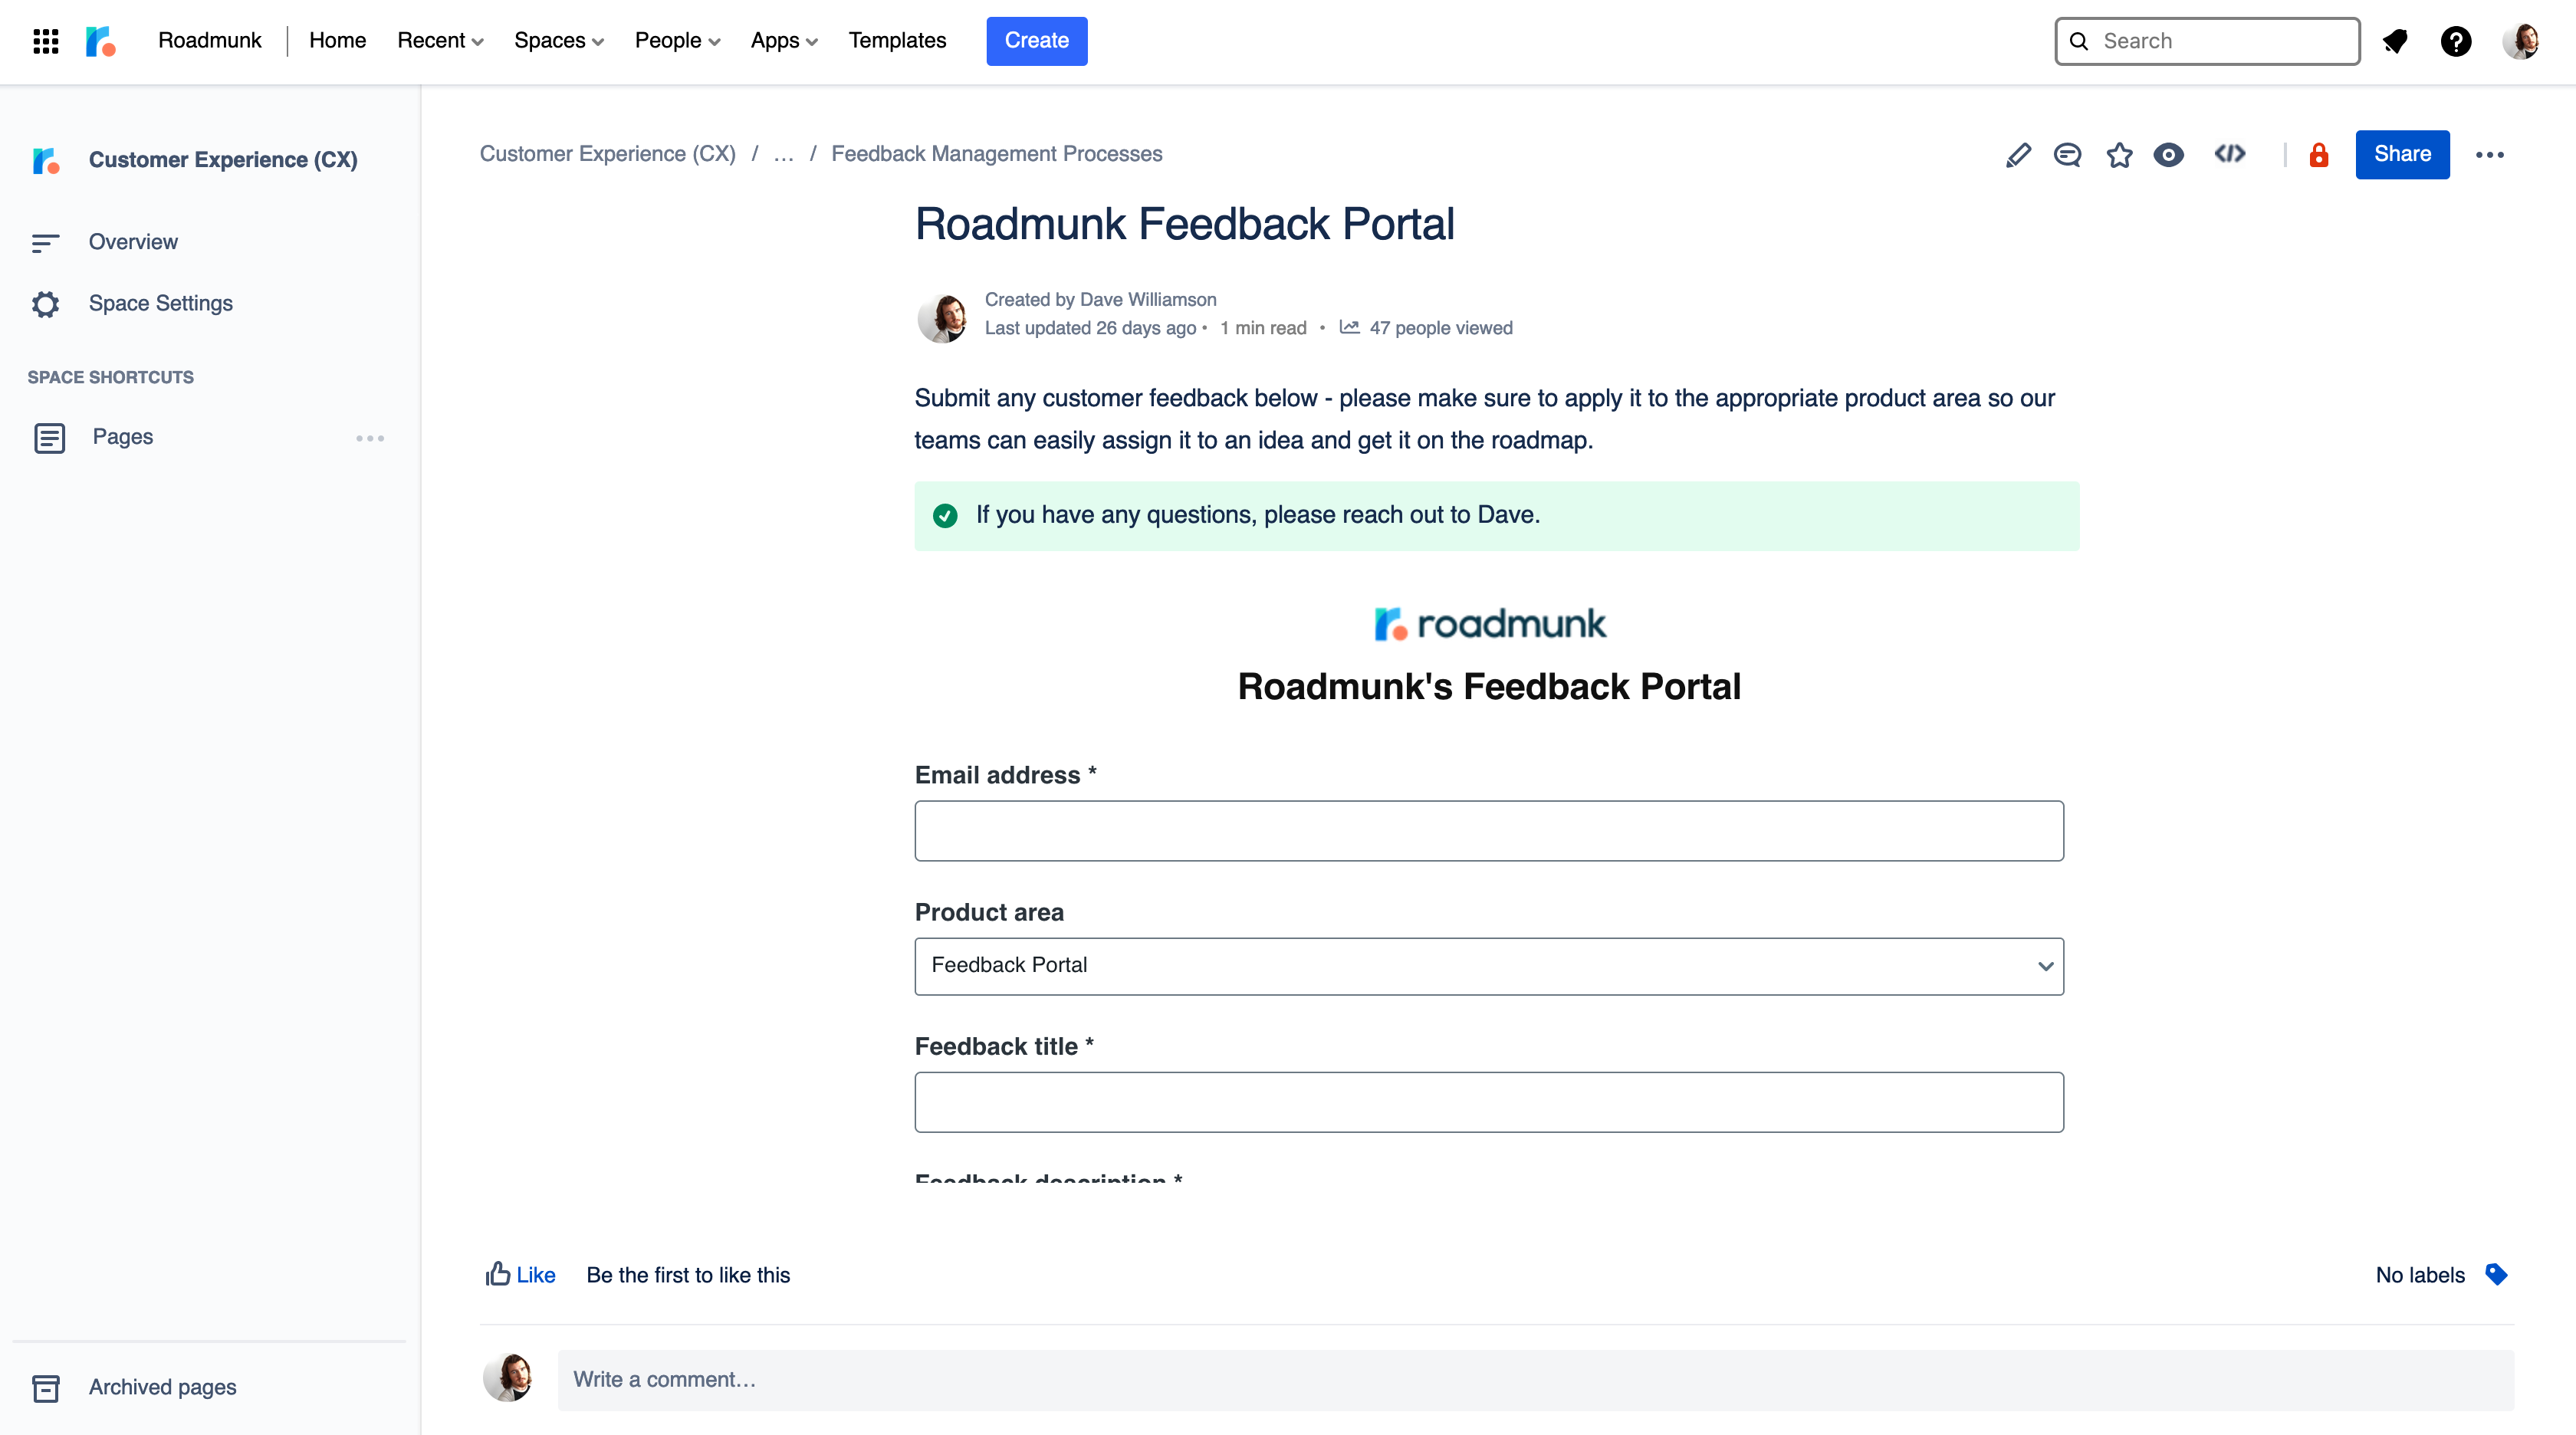
Feedback Portal - Also referred to as a "Portal", the Feedback Portal provides external/non-licensed users with the ability to contribute feedback into the application.
-
iFrame - An iFrame, shorthand for inline frame, is used to create a "frame" within an existing webpage which can be populated with another webpage or resource.
After creating your Feedback Portal, you will be able to place your Portal into a number of different tools and pages in order to improve the ease-of-access for your team. Please note that unlike our Published Roadmaps, which allow users to apply authentication rules which limit end-user access, the Feedback Portal does not offer a password or SSO authentication option at this time and will be accessible to any user who can access the space in which it has been embedded.
Inserting the Portal into an Existing Webpage
By substituting the {{portalURL}} placeholder below with the site URL for your Feedback Portal, you will be able to insert your Portal directly into your webpage and allow users or team members to contribute feedback to the particular Product Areas you specified during the setup process.
<iframe src="{{portalURL}}" style="border:0px #ffffff none;" name="Feedback Portal" scrolling="no" frameborder="1" marginheight="0px" marginwidth="0px" height="400px" width="600px" allowfullscreen></iframe>
Setting Up the Portal in Confluence
A Feedback Portal can be easily added into any Confluence page by entering your Portal's URL into the respective field on the left-hand settings menu in Atlassian's native iFrame macro. For best fit inside most Confluence pages, we would recommend setting a width of 750px with the frameborder option to "Hide" and Scrolling set to "Yes". For inserting a roadmap into Confluence using a similar process, please review our article on that topic.
Setting Up the Portal in SharePoint
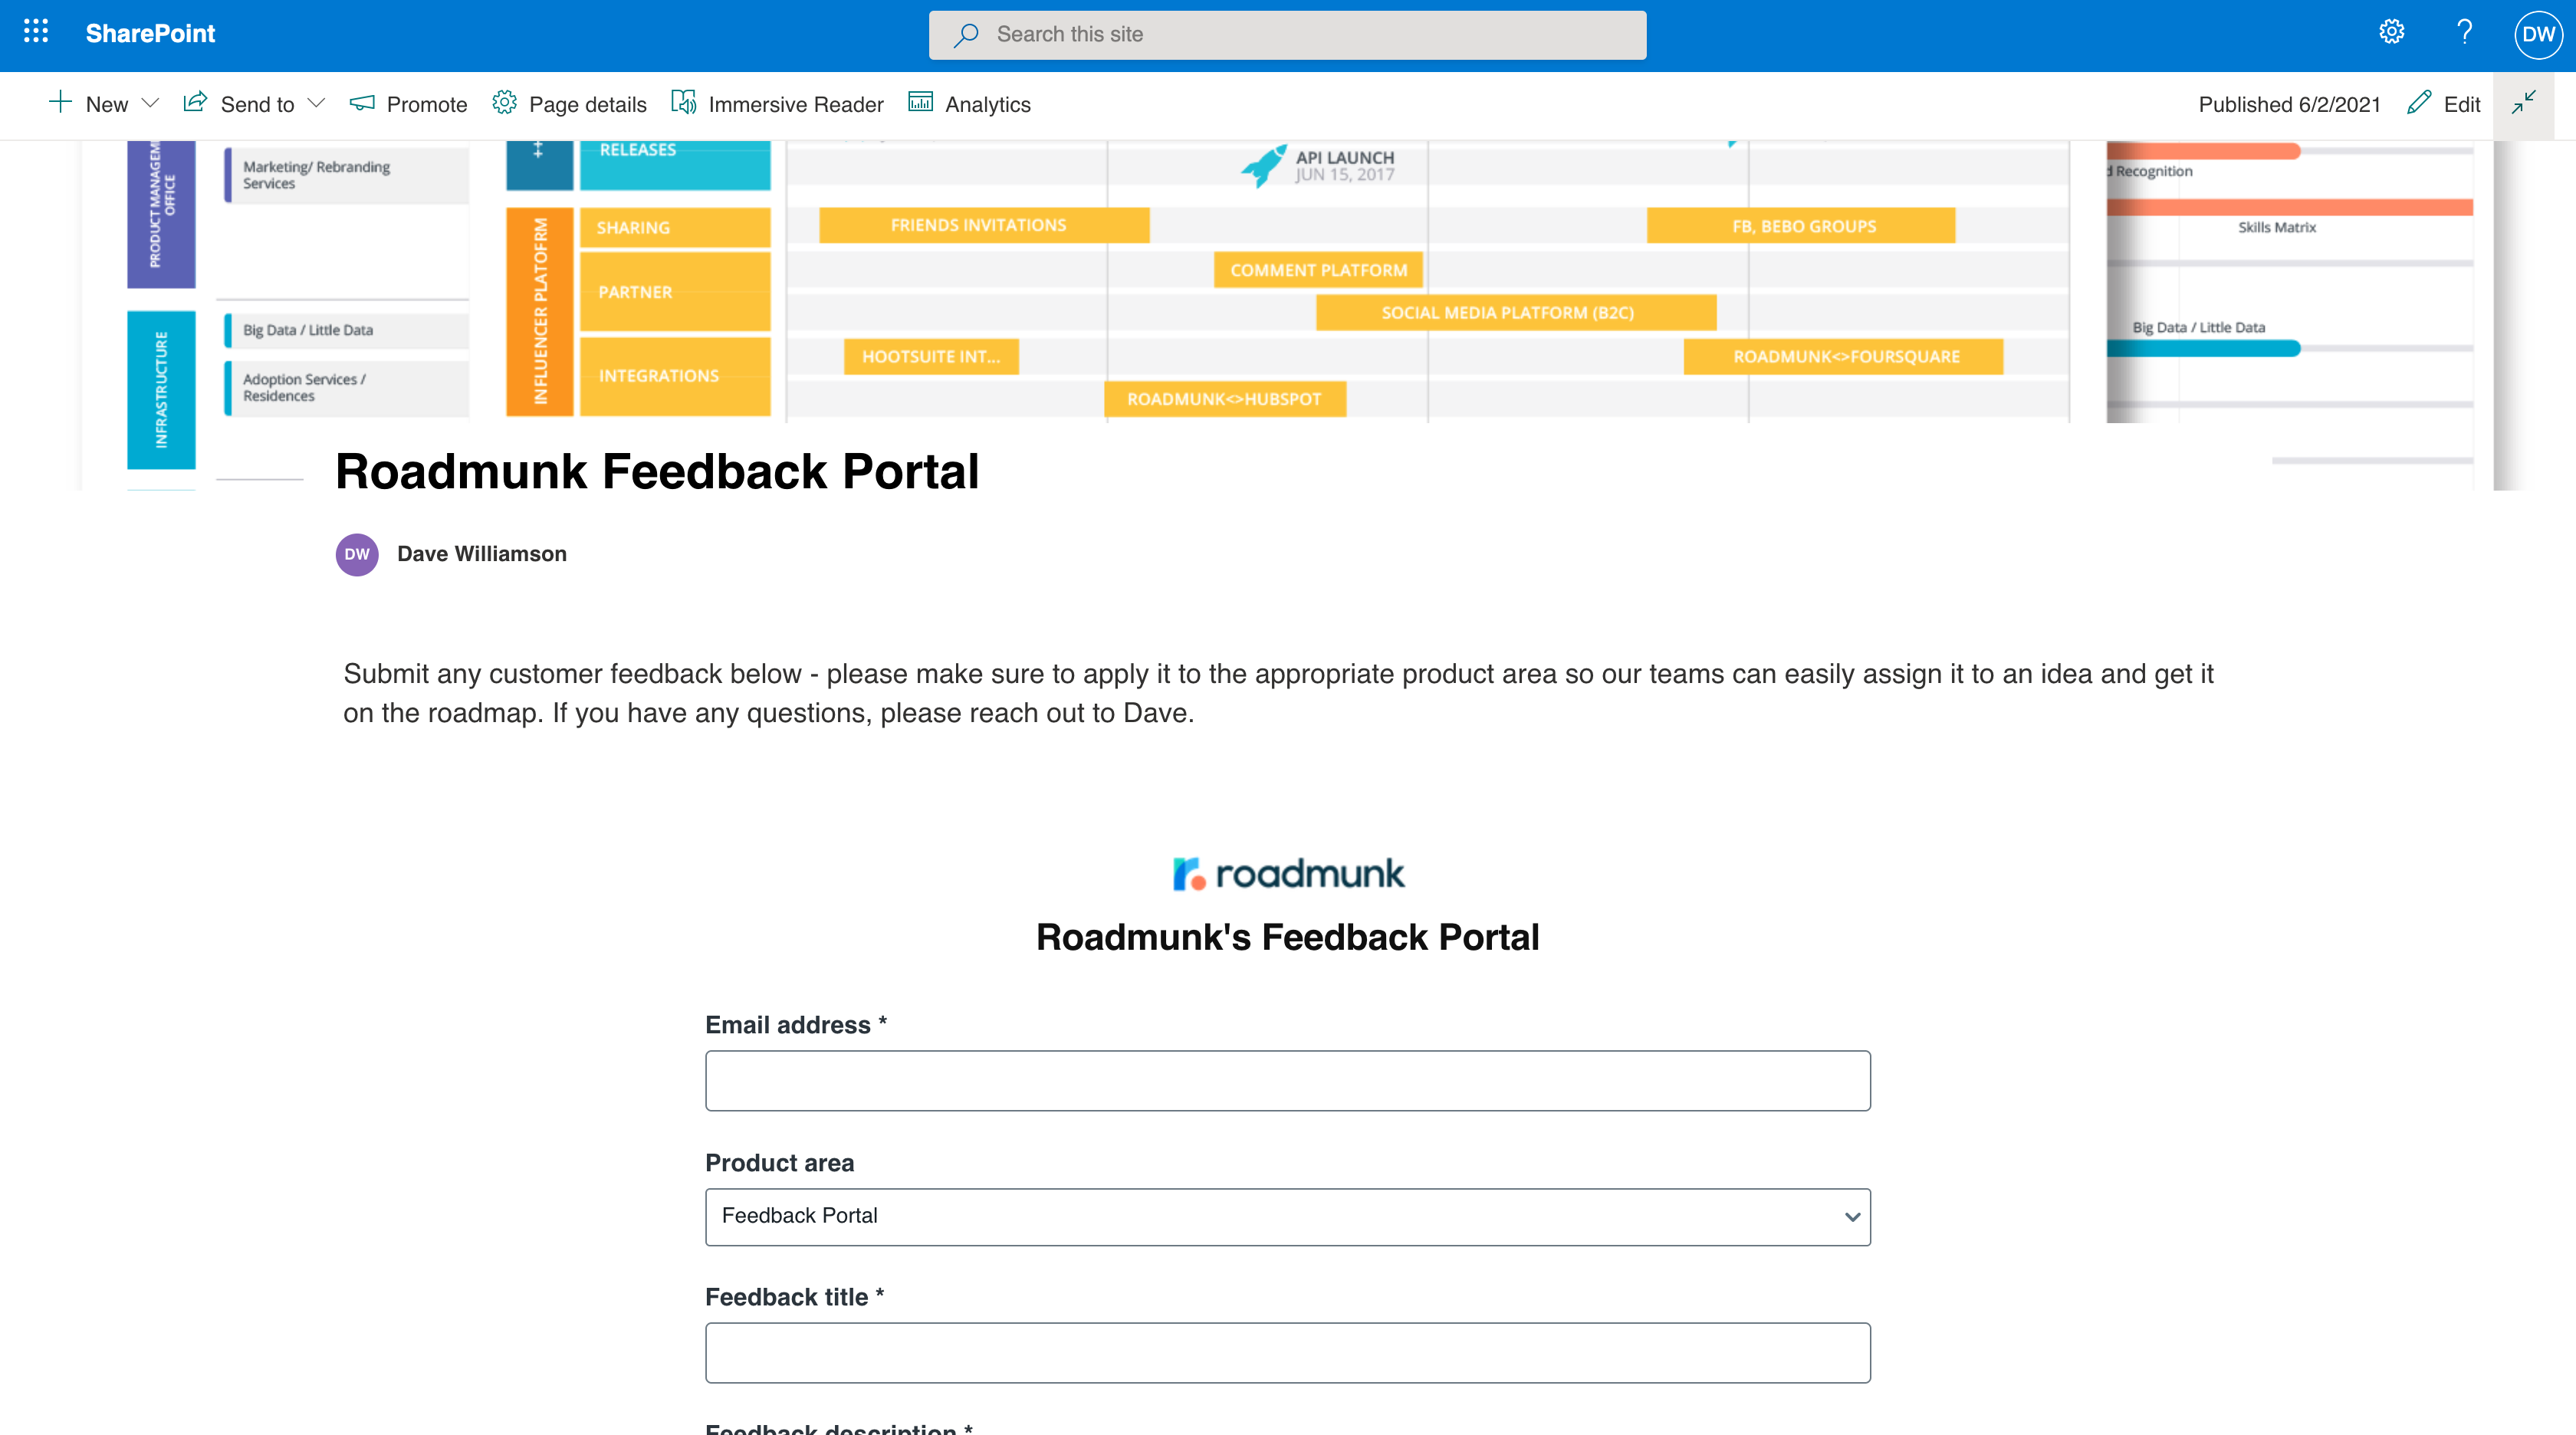
After setting up a new page in Sharepoint, users are able to choose from a number of web parts which help them to customize their page. To embed the Feedback Portal into this page, we're going to use the out-of-box Embed Web Part.
Once in the editor for the page, you can hover your mouse above or below an existing web part to reveal the add button (+). Selecting this button, you will be able to navigate a number of available web parts for this page; however, to setup the Portal in Sharepoint you can search for the web part titled Embed (</>).
In the panel that appears on the right-hand side after selecting Embed, enter the following code snippet (replacing {{portalURL}} with the site URL for your Feedback Portal) into the Website address or embed code field.
<iframe src="{{portalURL}}" style="border:0px #ffffff none;" name="Feedback Portal" scrolling="no" frameborder="1" marginheight="0px" marginwidth="0px" height="400px" width="600px" allowfullscreen></iframe>
Setting Up the Portal in Zendesk
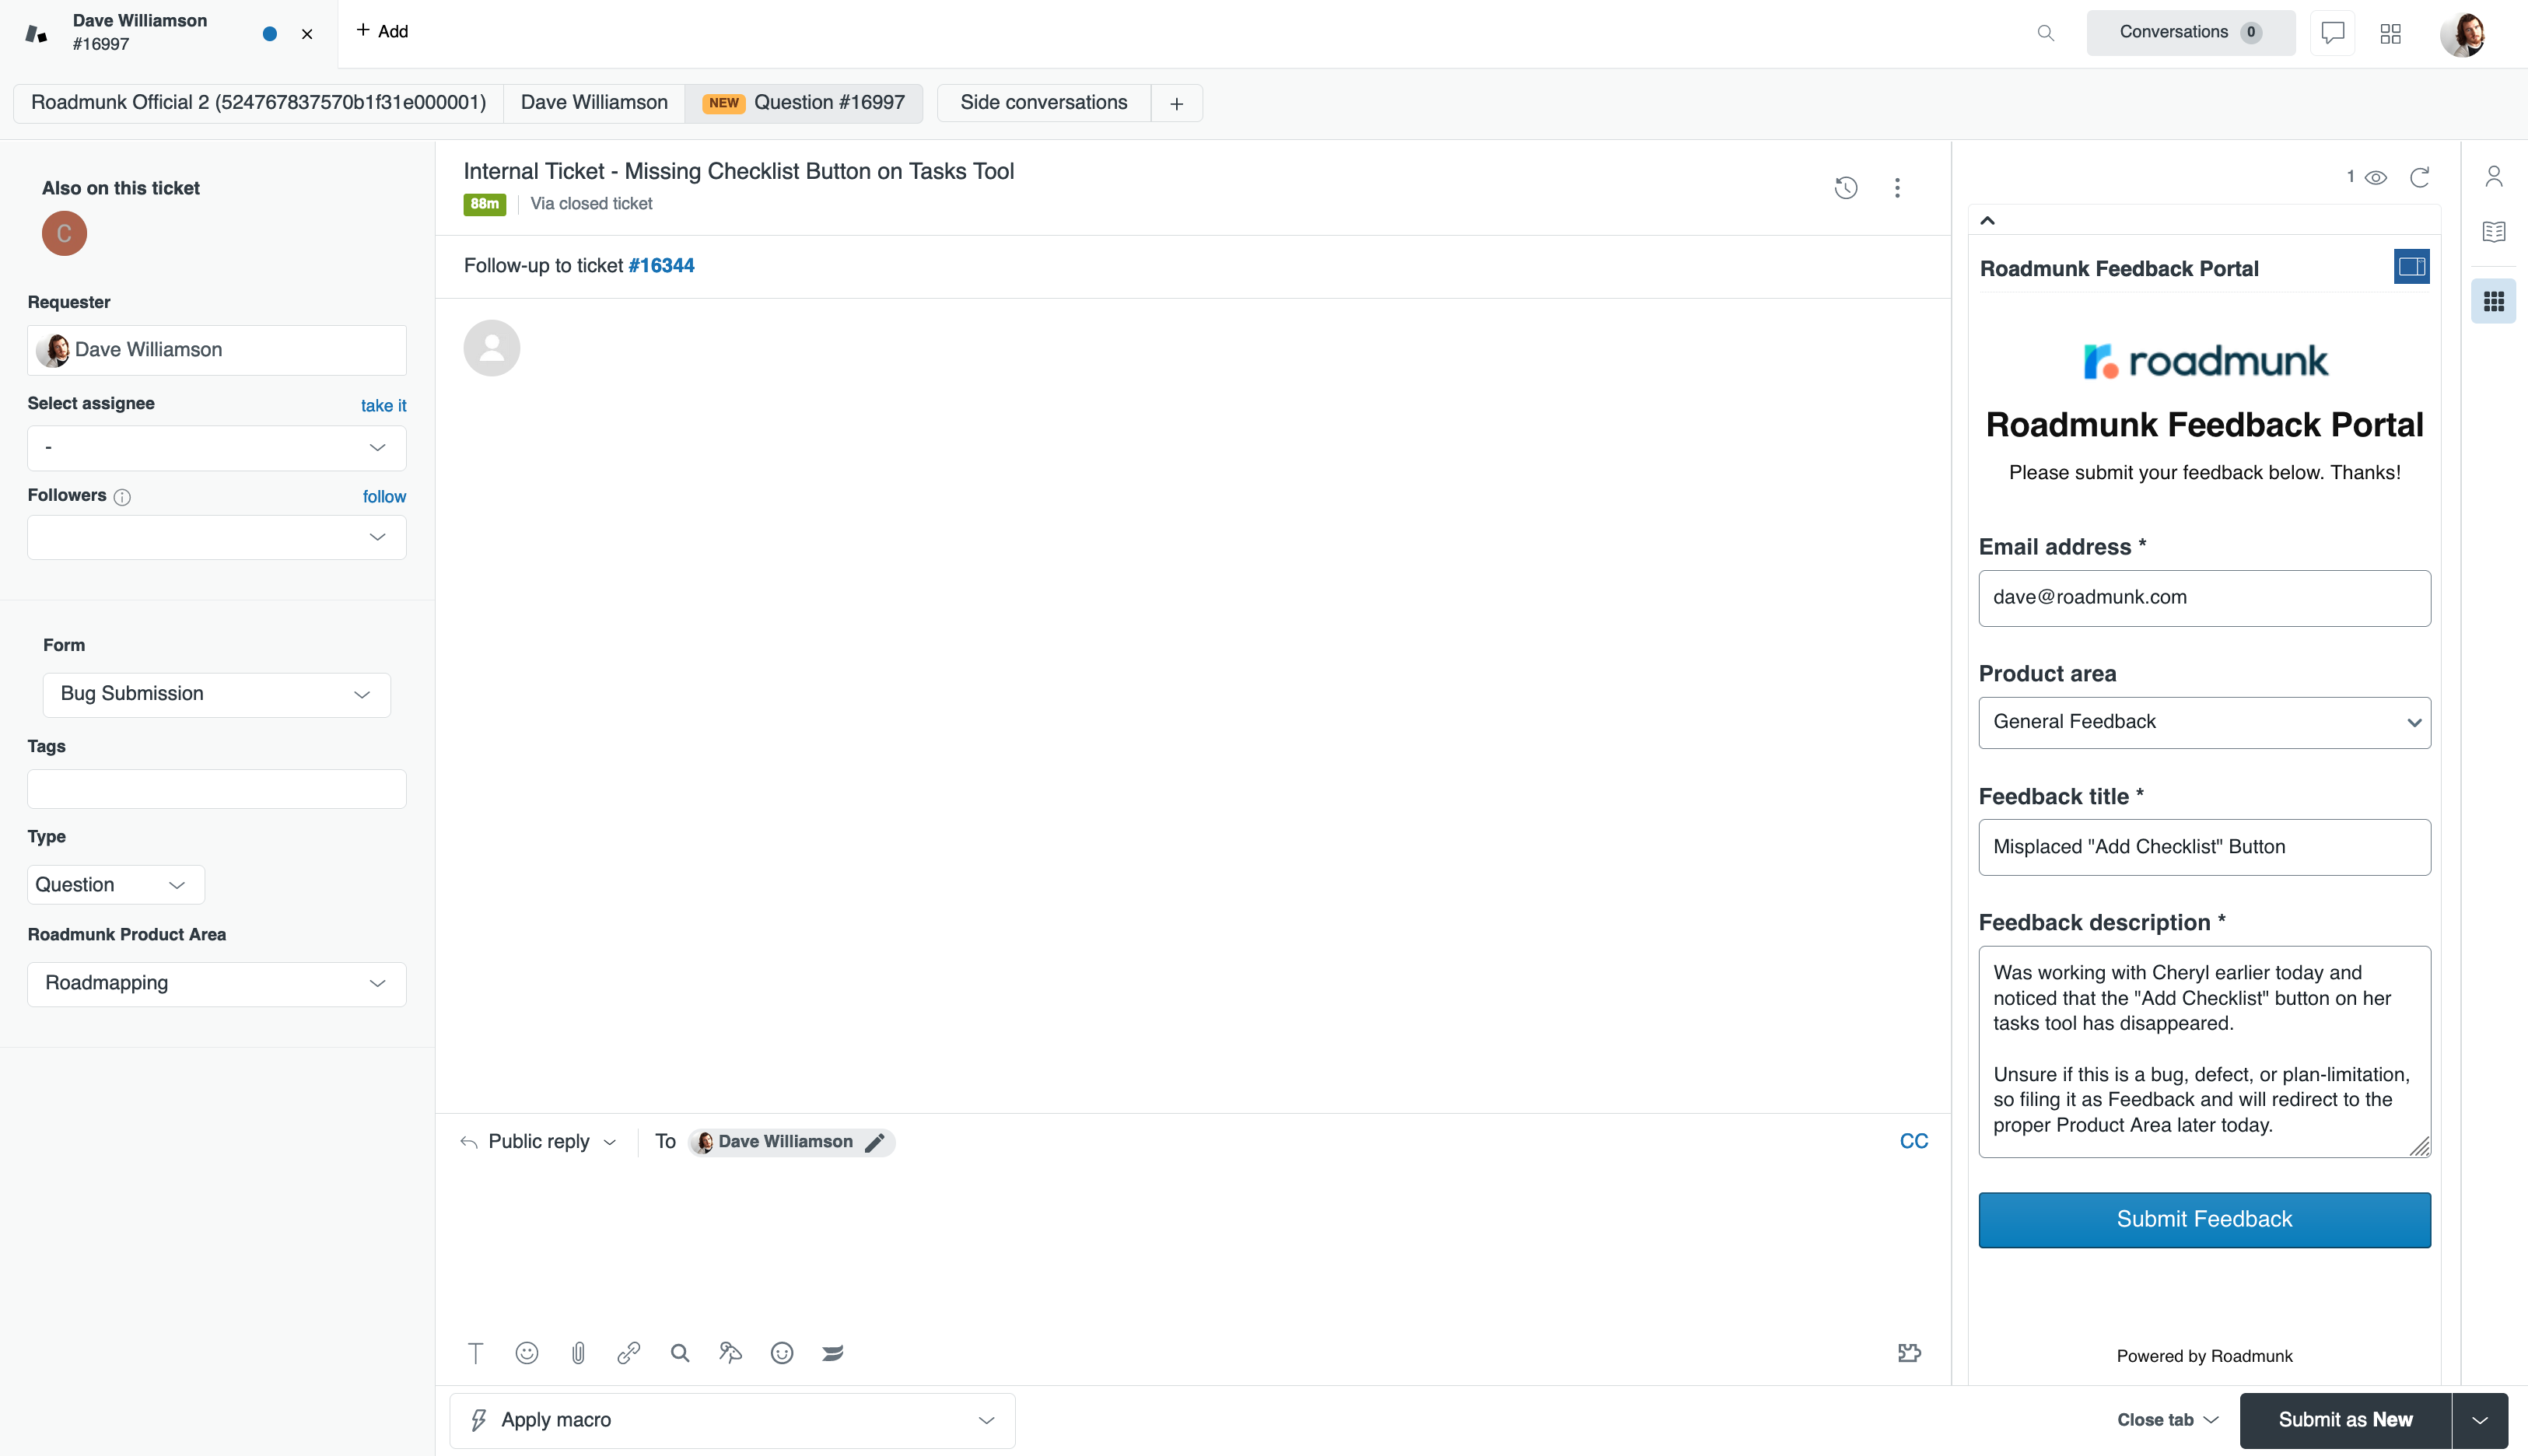
For teams using the Agent Workspace functionality, a Feedback Collection Portal can be easily inserted into the Apps Menu by using one of the following applications:
-
iFrame Ticket Sidebar by Shadow Productions
-
iFrame Plus by Andrew Schreiner
Once installed, navigate into the settings menu for the application and enter the page URL for your Feedback Collection Portal into the respective URL field. If using the iFrame Plus app, please ensure that you've selected the ticket_sidebar checkbox on the App Configuration tab to populate the frame in the correct location. While we recommend setting the frame height to ~ 500-700 px for readability purposes, this setting is entirely up to you.