Viewing your resources in the Resource Planning view requires the View Plans permission for the teams to which the resources belong.
The Resource Planning view shows the availability of your resources and lets you see at a glance who is fully booked, who has available hours, and who is overbooked. By default, you'll see the members of all the teams that are visible to you, but you can customize the view by using filters. For example, you can display only the developers in your company (Roles), only those users who know Javascript (Skills), or display only your team (Teams). This lets you easily find the resources for whom you're planning work.
Filter the resources shown in the Resource Planning view
-
Select Planning in the Tempo sidebar to open the Resource Planning view.
-
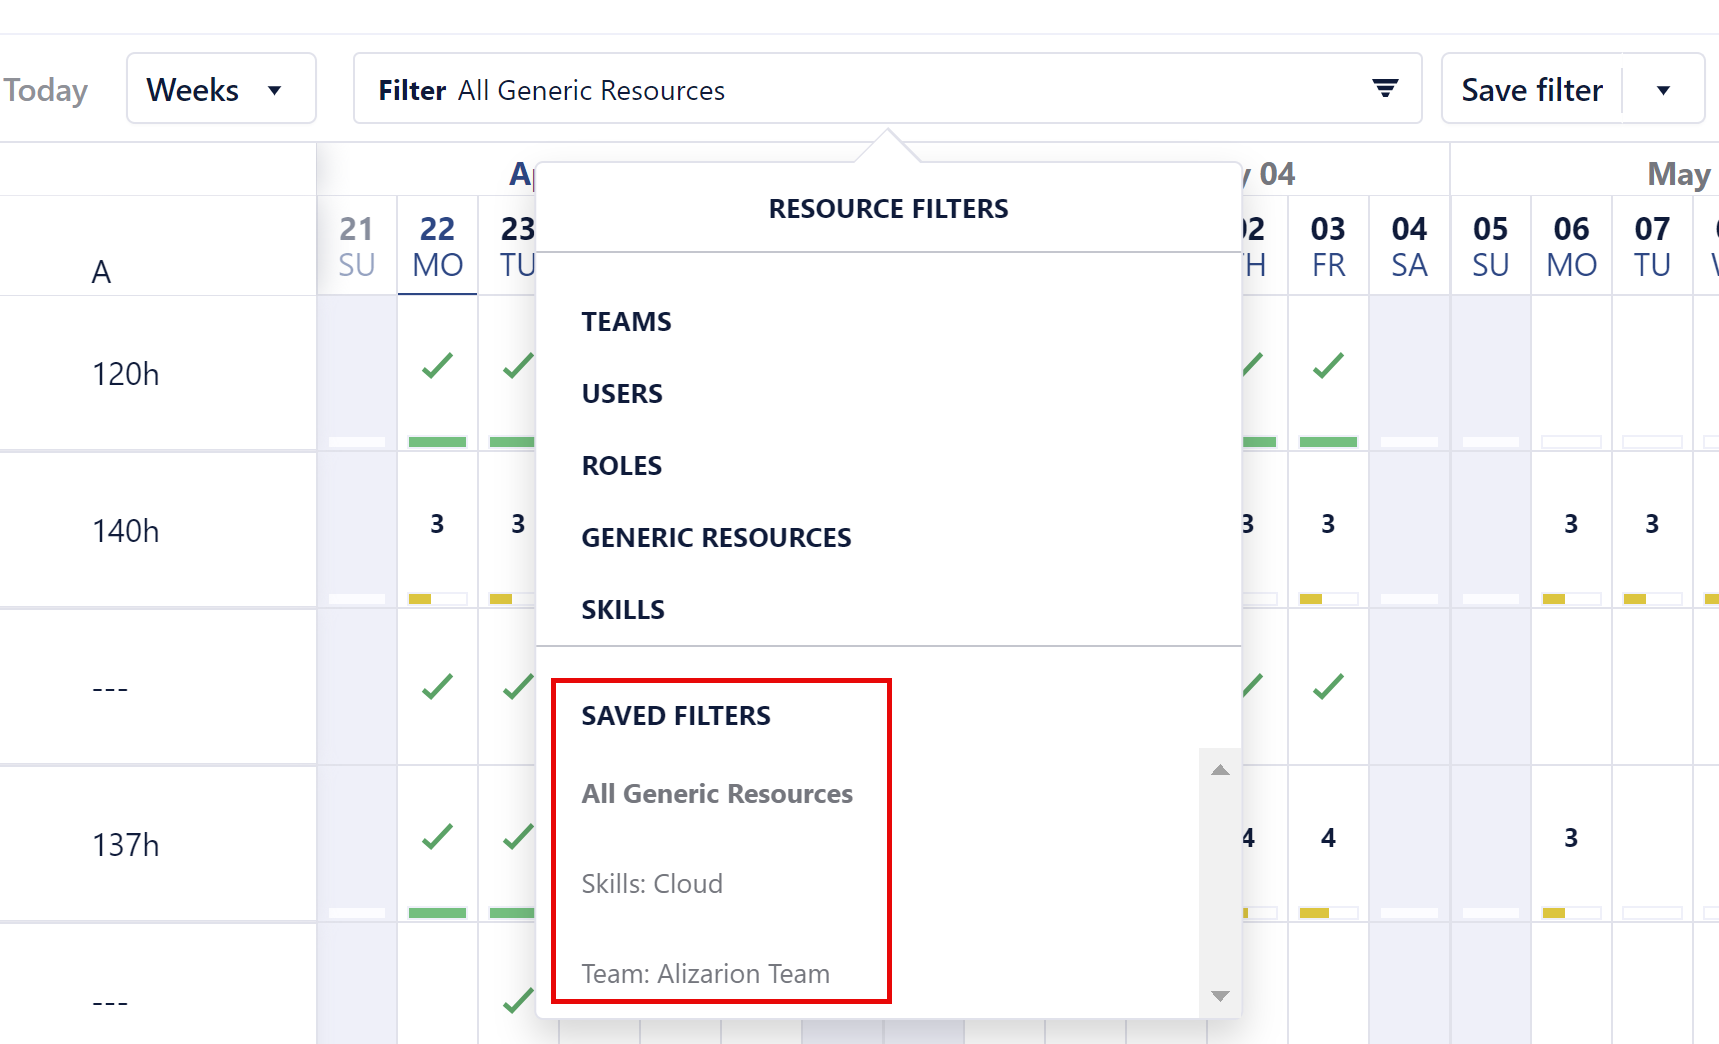
Click Filter by field to display a list of options: TEAMS, USERS, ROLES, GENERIC RESOURCES, SKILLS.
-
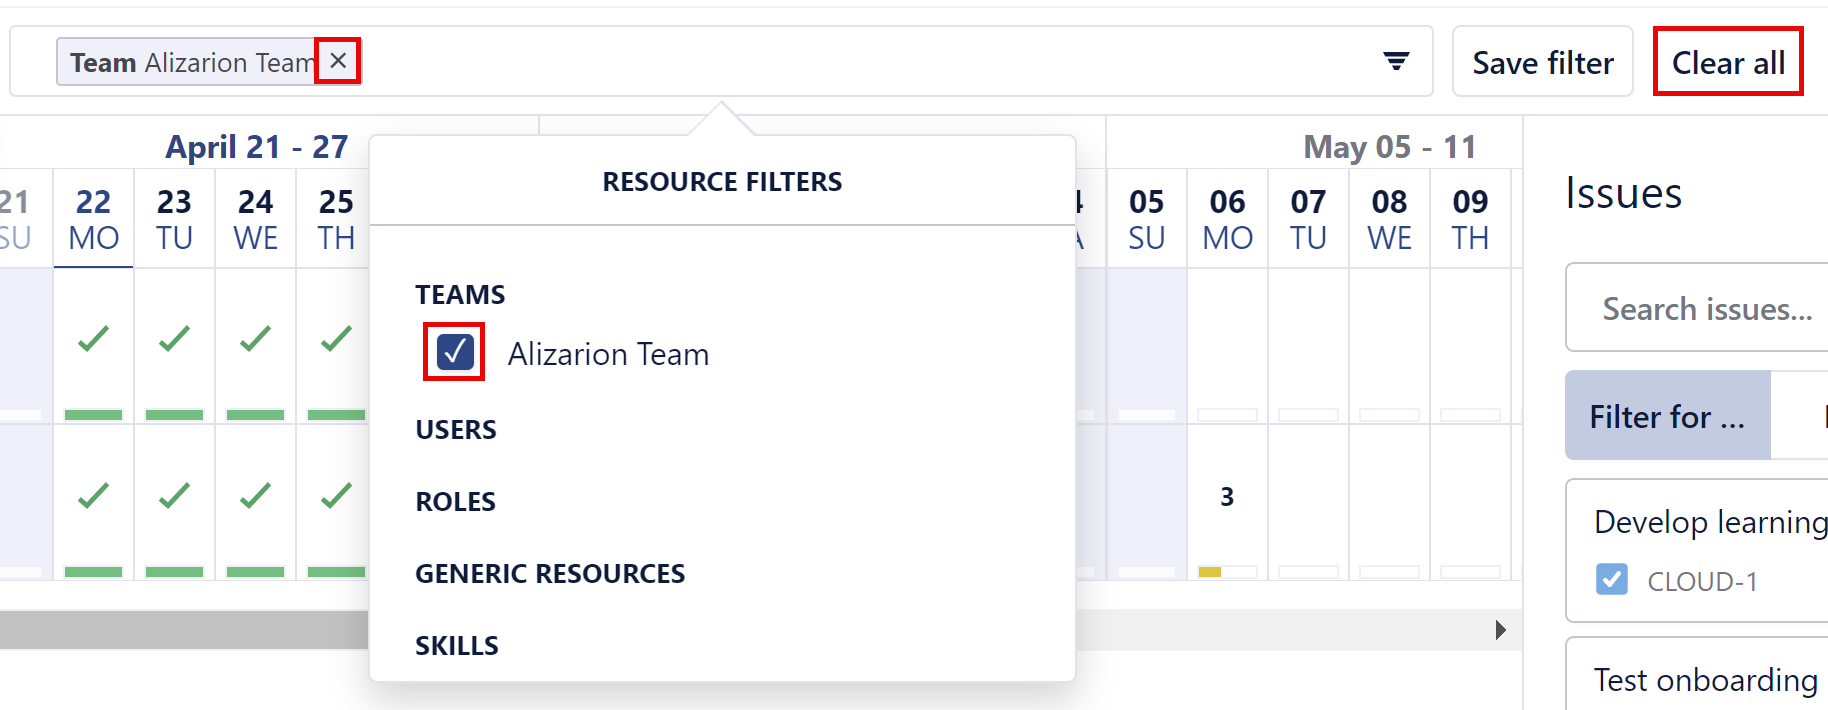
Select one or more of the filter options in the list. Clear a checkbox to remove that option from the filter criteria. For example, if you select the TEAMS filter, you can select one or more teams to display.
-
Select the GENERIC RESOURCES filter to see all generic resources in your Tempo instance. If you want to see the generic resources assigned to a team, use the TEAMS filter which displays all team members for a specific team, including the generic resources.
-
Select SKILLS to filter users by their skills. If the filter does not show the list of skills, click the Settings icon and check the Show Skills option.
When you filter by SKILLS in the Resource Planning view, this data is available in the User Capacity data export, but is not carried over to the Planned Time report.
-
-
The filter and its options are applied to the resources displayed in the Resource Planning view.
Remove a filter from the Filter by field
-
Click the x beside a specific filter name in the Filter by field
-
Clear the checkbox for a filter in the SELECTED list
-
Click Clear all to remove all filters
Save the current filter
You can save your resource filters, making it quick and easy to use the same filters regularly.
-
Click Save Filter and enter a name in the Create Resource Filter dialog if this is a new filter. This filter is added to the SAVED FILTERS list.

Apply a saved filter
Click in the Filter by field and select one from the SAVED FILTERS list. The resources displayed are updated to match the criteria in this filter.
Making Changes to a Saved Filter
-
Modify an existing saved filter: After making changes to a saved filter, click Save filter to save the updates, or click Discard changes.

-
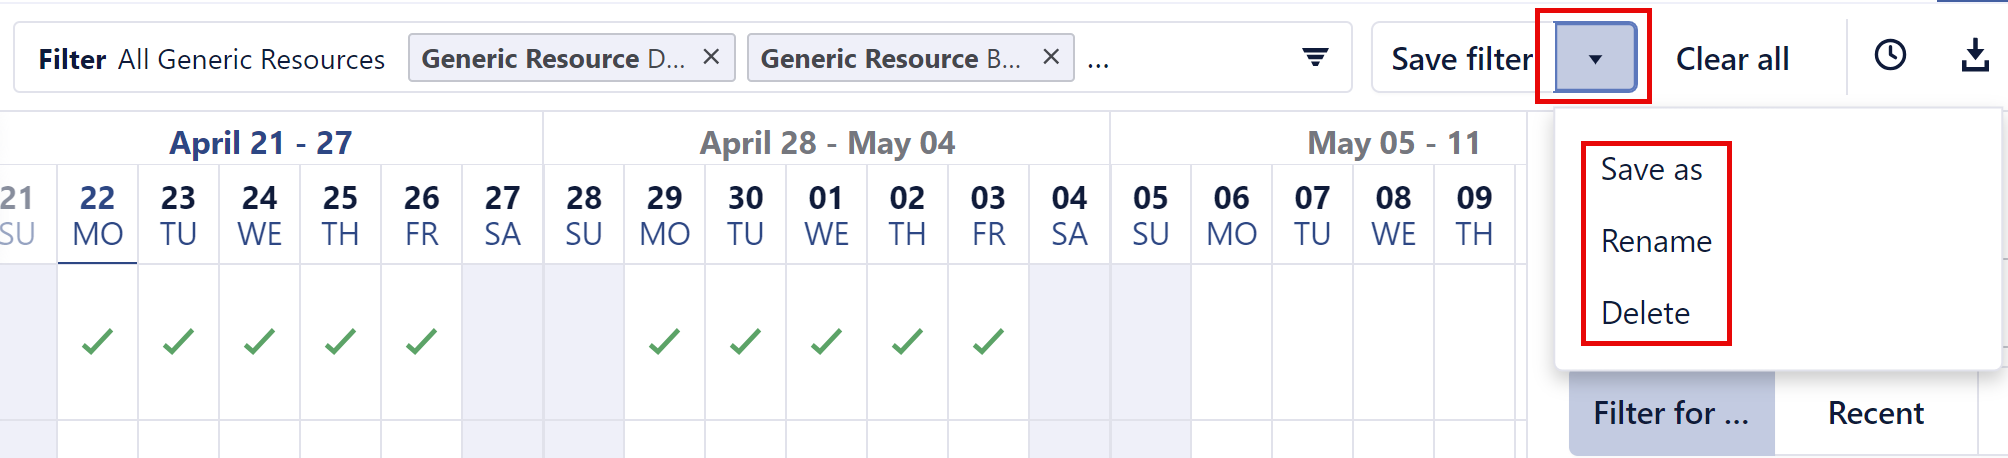
Create a new filter based on an existing saved filter: make your changes to the filter, select the down arrow on the Save filter button and choose Save as from the menu.
-
Rename a saved filter: select the down arrow on the Save Filter button and choose Rename.
-
Delete a saved filter: select the down arrow on the Save Filter button and choose Delete.