You can add fixed revenue amounts to your project and view their breakdown by category directly from the Revenue view. The Actual Revenue and Projected Revenue are shown in the Overview. The side panel on the Overview also displays both actual and projected profits, and the project’s progress.
You can add revenue one at a time or add fixed recurring monthly revenue. All revenue is actualized on the date the revenue is recorded. Recurring revenue is prefixed in the list with the recurring symbol.
If you incur billable expenses, you can also copy them to your revenue.
Any future revenue or revenue outside of the timeframe set for your project is shown in gray.
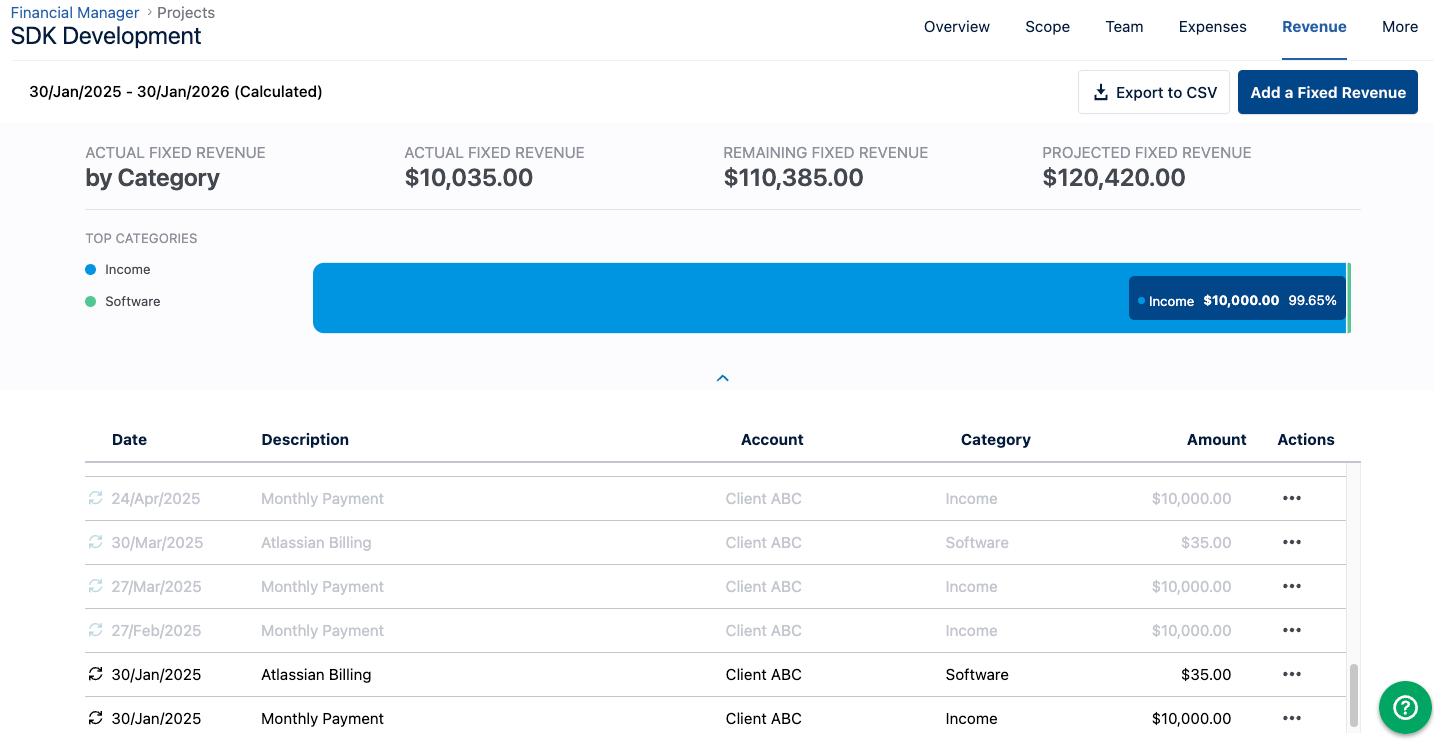
You can collapse the chart to gain more space on the page to display more rows in the table. Use the chevron at the bottom of the chart to toggle between expanding it or collapsing it. This setting persists when navigating away from this page.
Add Project Revenue
Add a single revenue, or recurring monthly revenue, to your project.
-
Open your fixed price project.
-
Open the Revenue page.
-
Click Add a Fixed Revenue.
-
Enter a Description for the revenue and the Amount. You can enter up to 256 characters in the revenue description.
-
Select a Category from the list by starting to type in the field. To create a new category, simply enter it in this field.
Categories are gathered from both expenses and revenue, and are shared among all Financial Manager users on your Jira site. This helps you report on costs and revenue using the same categories.
-
If you want to associate this revenue with a Tempo account, select an account from the Account list. Start typing to see the available accounts.
-
Click the Date field to select a date for the revenue from the calendar. The current date is shown by default.
Add Recurring Revenue
-
Enable the Recurring switch to display the recurrence options.
-
Enter the frequency for the monthly recurring revenue in the Occurs Every field. For example, enter a value of 3 for a quarterly revenue.
-
The date you entered in the date field above automatically sets the date on which a recurring revenue is actualized each month.
-
To select the corresponding day of the week instead, click the drop-down arrow.
-
Select an Ends date option. By default, the recurring revenue will end one year after the original date set. You can edit the date or select a date from the date-picker. You can also choose to specify the number of times the revenue is posted.
-
Click Add to add the new revenue.
-
When revenue is paid late in the month, you may need to select the corresponding 'day of the week' option instead of the actual date. For example, if the date is after the 30th of the month, then a monthly revenue will only be posted for months that have 31 days.