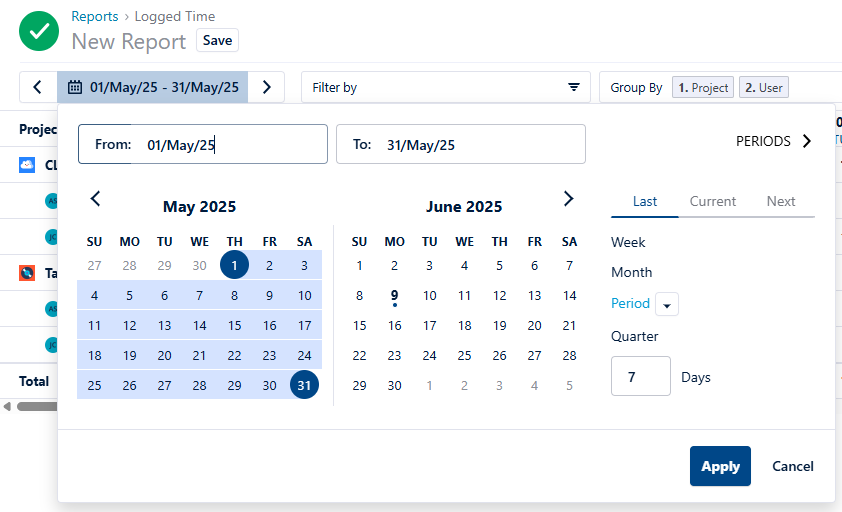
By default, reports show data for the current period. With the date picker, you can quickly select a predefined reporting period, specify the number of days to report on, or choose a range of days from the calendar.
The date picker at the top-left of the report shows the reporting period. Use the arrows to navigate to the previous or next period.

Click the date picker to select a custom period and change the dates, then click Apply to generate your report using this period of time. This reduces processing time when you are working with large amounts of data.

-
Select a custom range: Pick dates on the calendar in sequence to dynamically update the From and To fields. When you select a time period this way and save the report, it's considered to be a Fixed report - see Saving and Editing Reports for more information.
-
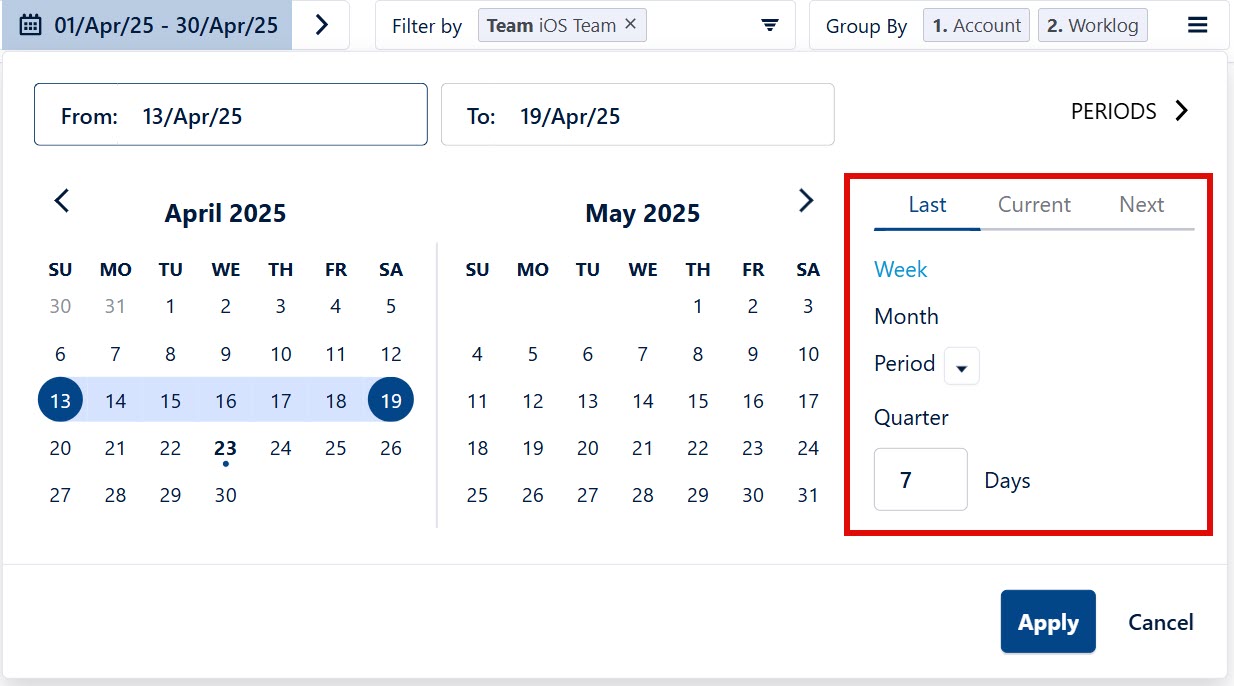
Select a predefined period: At the right of the calendar, select a predefined period (Week, Month, Period, or Quarter), and then select Last, Current, or Next. You can also enter a value in the Days box to define a custom Last or Next period. When you use these predefined periods and save the report, it's considered to be a Dynamic report - see Saving and Editing Reports for more information.

-
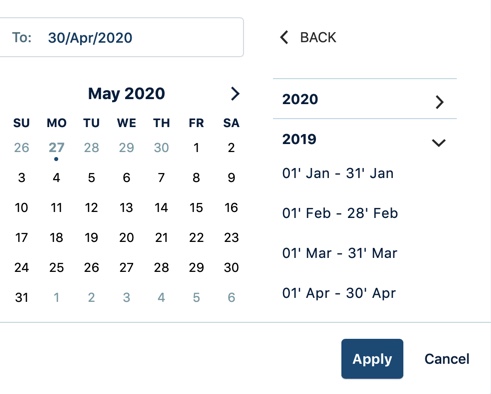
Specify a monthly reporting period in another year, or several months earlier: Click PERIODS> at the top-right of the date-picker to find the desired year, then select the period. Click <BACK to return to the PERIODS view.

-
Select a user-defined period: Click the desired start date and end date on the calendar. You can also type directly in the From and To fields.
