With Structure, you can easily organize work items into an advanced Agile hierarchy (Epics > Issues > Sub-tasks) AND identify any issues that aren't attached to epics.
Step 1: Create a New Structure
Open the Structure Selector menu and select Create New Structure.
Step 2: Add Two Flex items
Open the +Add menu and select Flex item. Add two Flex items, named:
-
"Agile Hierarchy"
-
"Issues without Epics"

Step 3: Insert Epics
Select the Agile Hierarchy Flex item, so that its row is highlighted, and add a JQL Query Insert Generator:
-
Go to +Add | Insert | JQL Query
-
Enter the following JQL query:
issuetype = Epic-
To limit the epics to specific spaces or other variables, add additional specifications (Example:
AND project = "My Epics")
-
-
Change the Place the generators on selection to Level below - this will add the epics under the Agile Hierarchy Flex item
-
Click Create
All your epics should now be placed beneath the Agile Hierarchy Flex item.
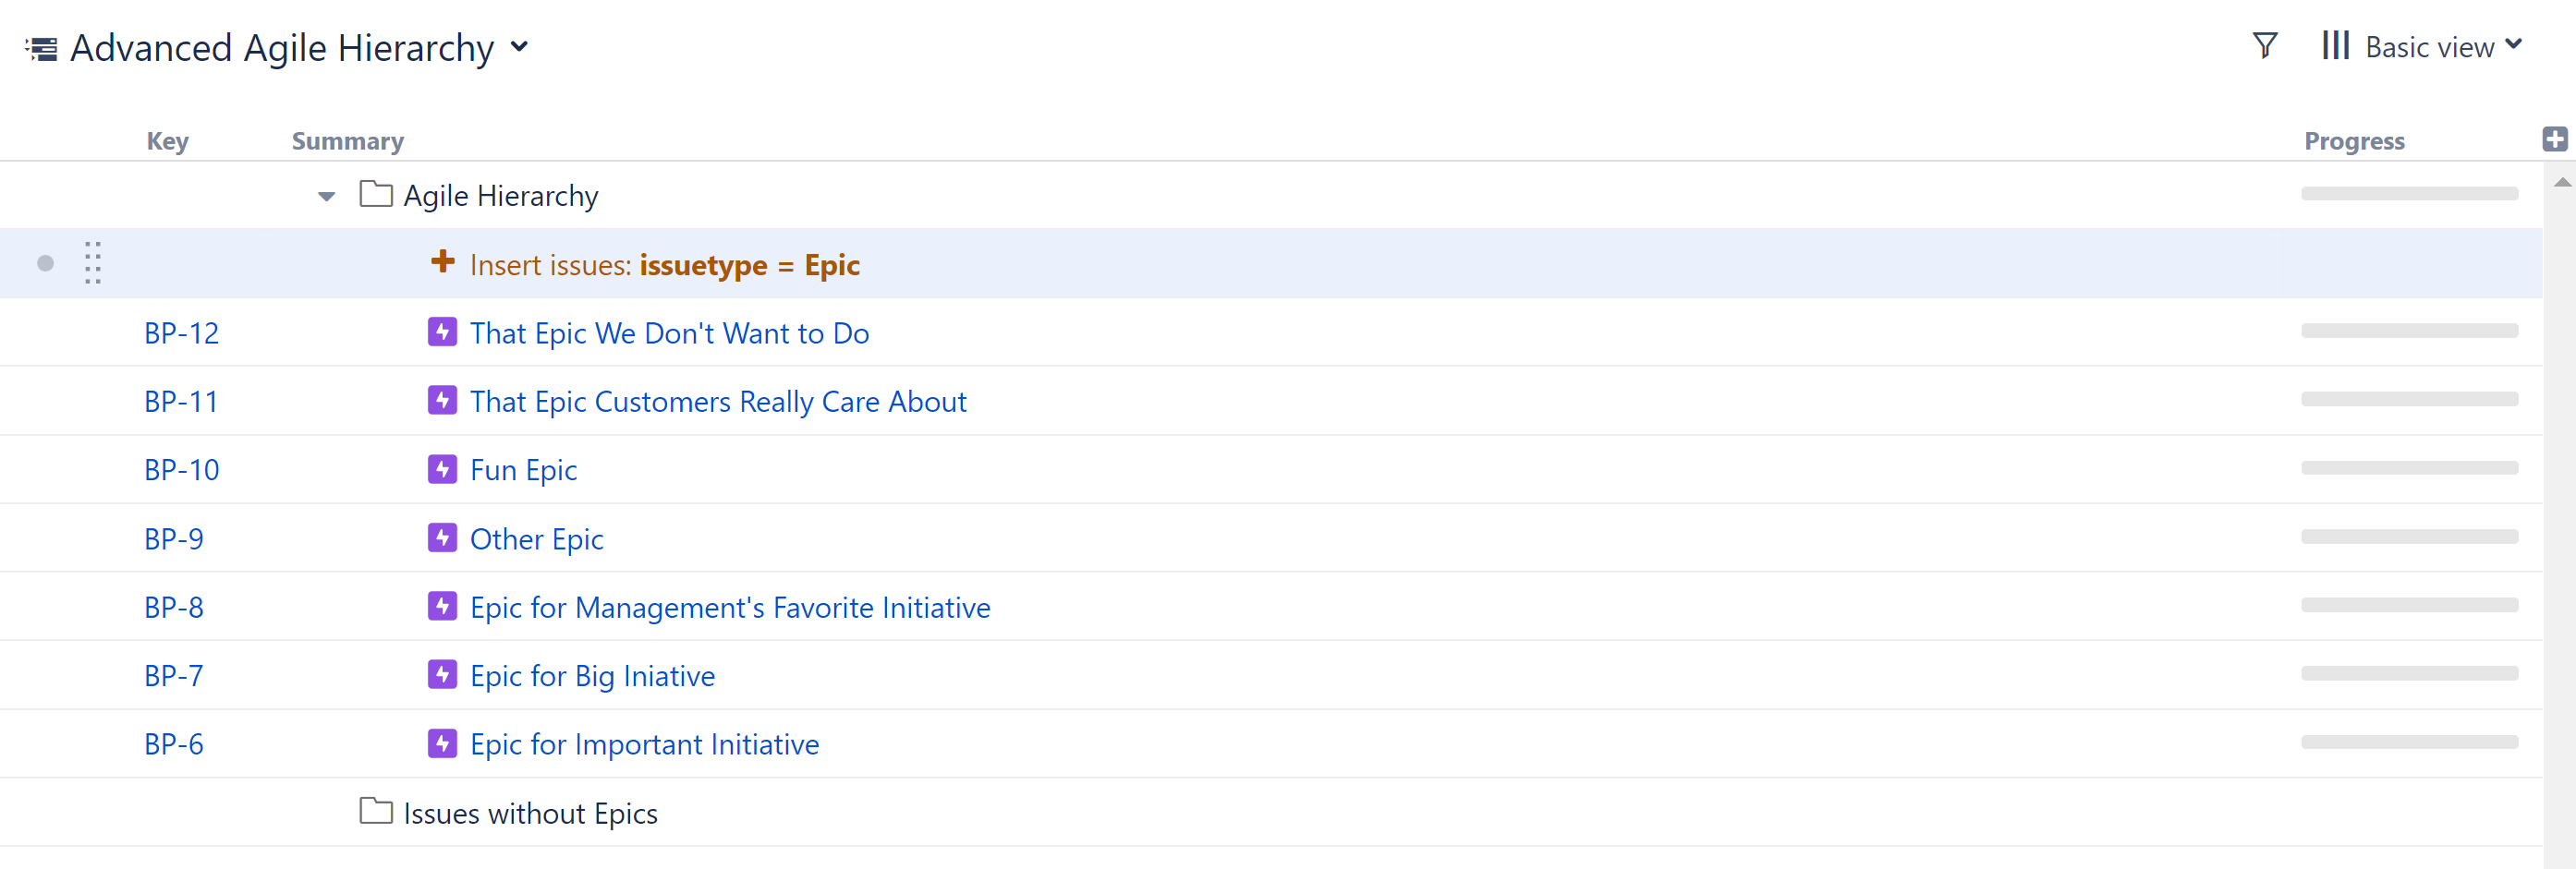
If the epics did not appear beneath the Agile Hierarchy Flex item, your generator was probably placed at the top of the structure, instead of beneath the Flex item. Select the "Insert issues: issuetype = Epic" row and drag it to beneath the Agile Hierarchy Flex item (see the picture above).
Step 4: Insert Work Items and Sub-tasks
Make sure the "Insert issues: issuetype = Epic" row is selected, and return to the +Add menu. This time, select Extend | Child Work Items. Under Add, select Work Items below epics and Sub-tasks.
Step 5: Insert Work Items without Epics
Next, we need to make sure we don't lose track of any work items that aren't linked to epics yet. That's what our second Flex item is for:
-
Select the "Issues without Epics" Flex item
-
Go to: +Add | Insert | JQL Query
-
Enter the following JQL query:
issuetype != Epic AND issuetype in standardIssueTypes() AND "Epic Link" is empty-
If you narrowed your query to specific spaces, etc. for your epics, do the same here
-
-
Change the Place the generators on selection to Level below - this will add our work items under the Flex item
-
Click Create
Any work items that are not assigned to epics should now appear beneath the second Flex item.
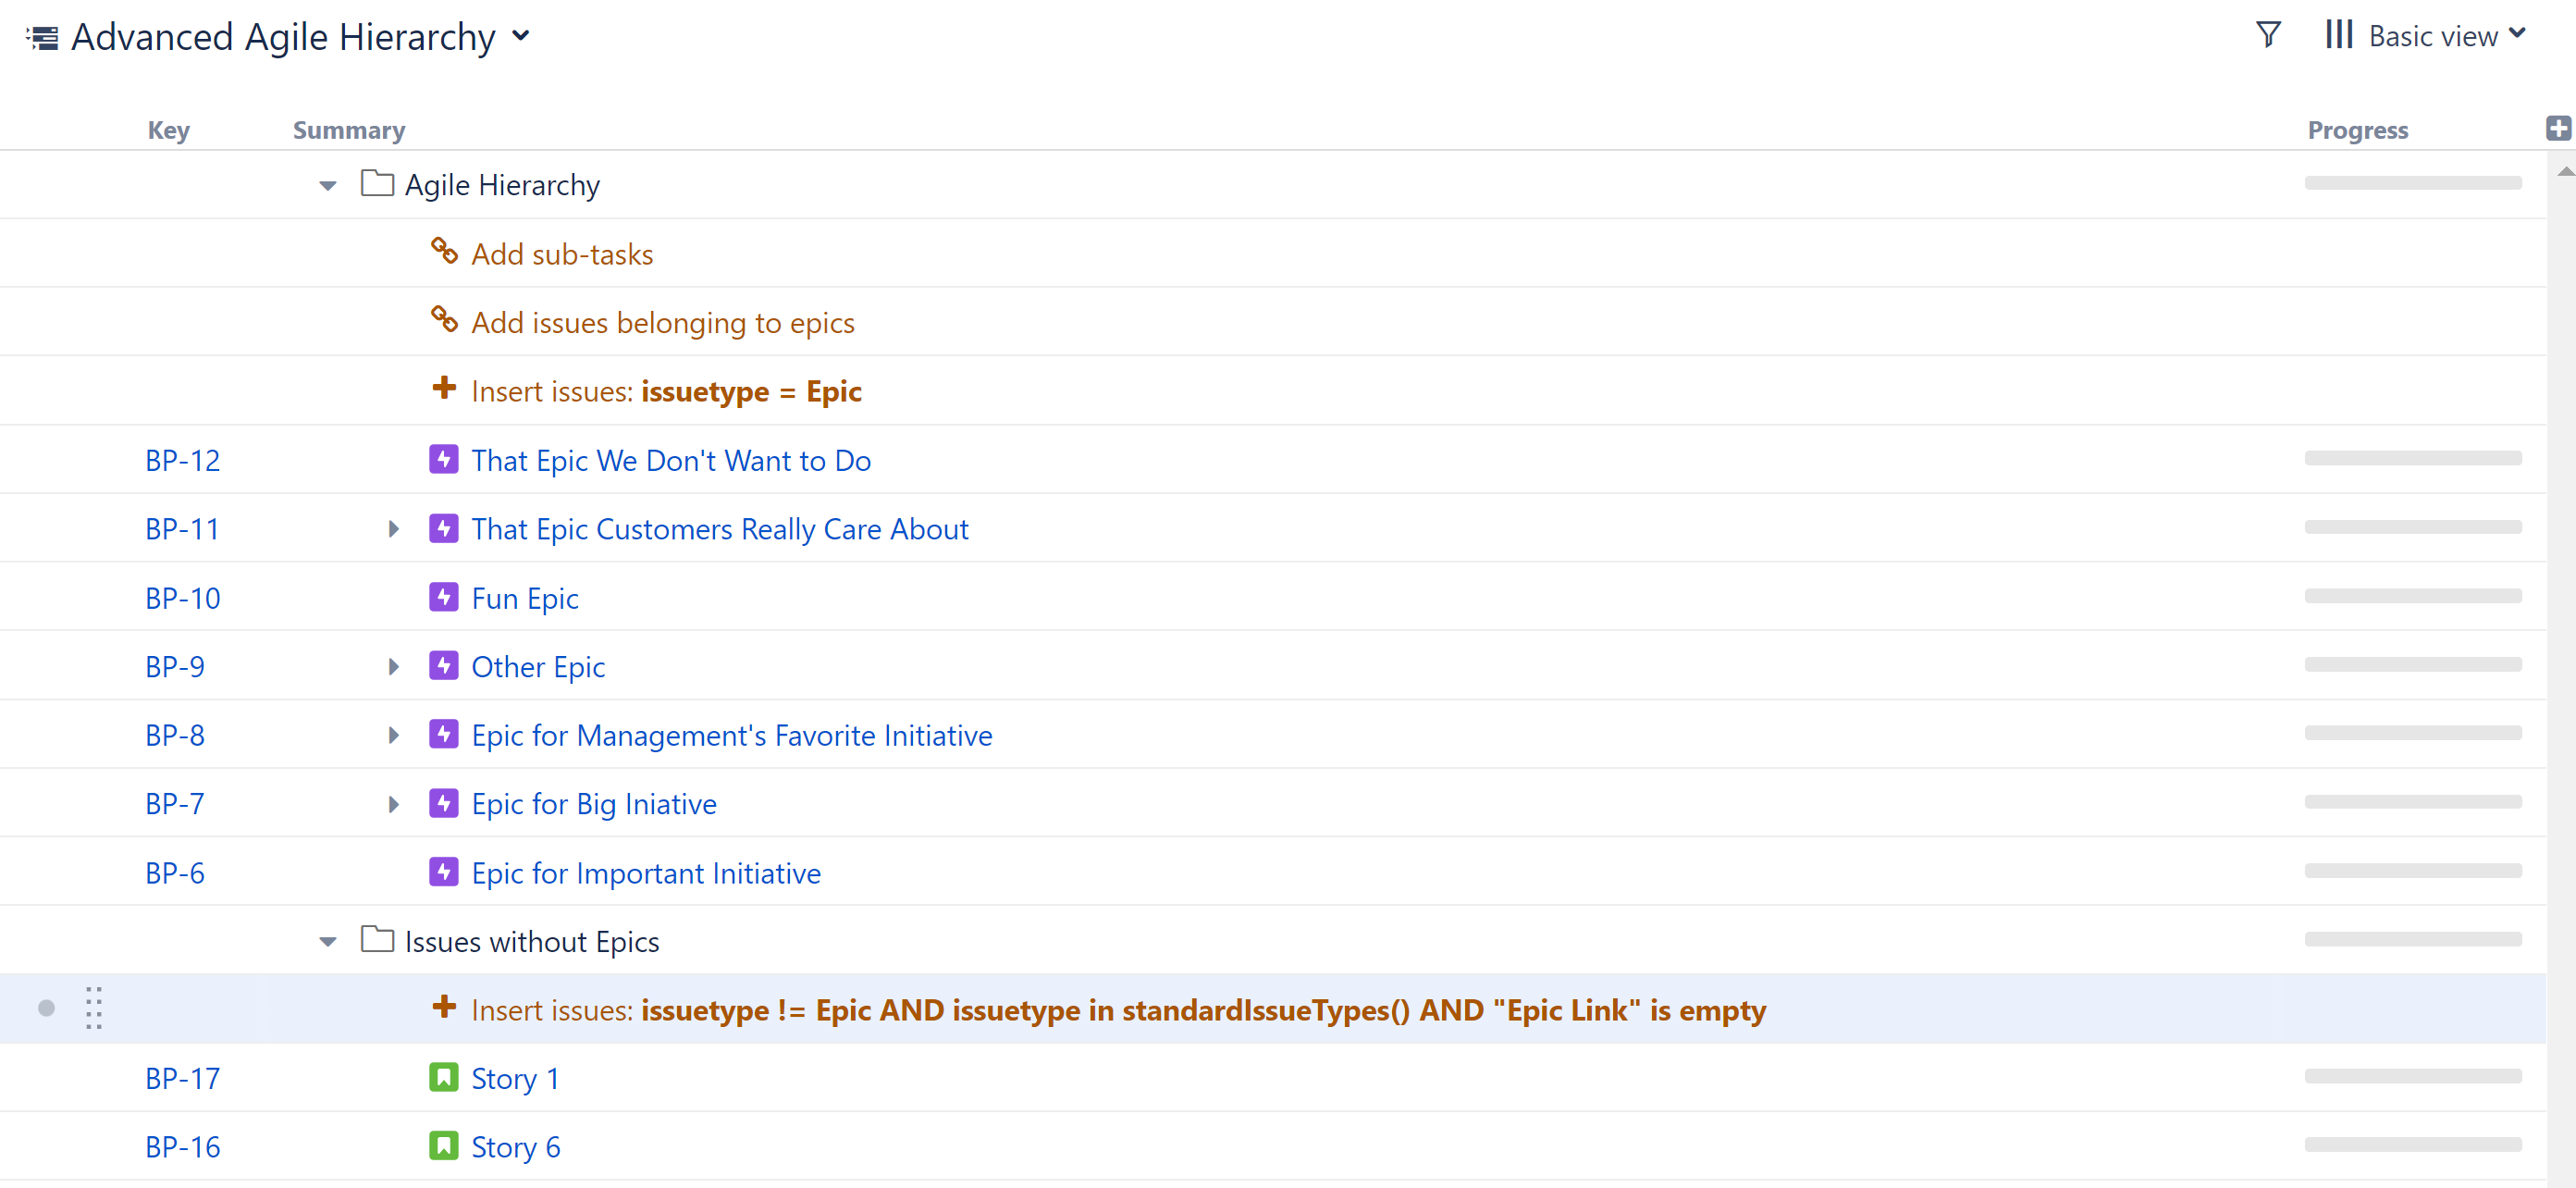
If no work items appear under the Issues without Epics Flex item, make sure the Insert Generator is located in the right location - if not, drag the generator to beneath the Issues without Epics Flex item (see the picture above).
Step 6: Assign Work Items to Epics / Reassign Work Items
Now that you have all your work items organized and in one place, you can assign work items from the second Flex item to epics, or even reassign work items that already have epics.
Assigning Work Items to Epics
To assign work items in the second Flex item to an epic:
-
Drag the work items to the epic you want to assigned them to.
-
While dragging, hold down the ctrl key - this copies the work item to the new location in the structure. Once the work item is copied to the new location, it should disappear from beneath the second Flex item (because now it's assigned to an epic).
Don't worry: copying an item in Structure does not make a copy in Jira.
Reassigning Work Items to New Epics
To reassign work items from one epic to another, simply drag them from beneath their current epic to the new epic.