Working with Key Dates
Separate from Milestones, Key Dates allow you to show key phases, dates or deliverables of an item. You can customize these phases by selecting the duration and icon set.
Creating a Key Date
Because a timeline is a time-oriented visualization of a roadmap, key dates exist solely in this visualization. You can navigate to your key dates by opening the Item Card to create, edit, or delete key dates.
Via the Item Card
Whether you're in the Items Table, Swimlane or Timeline, you can manage your key dates by navigating to the Item Card.

Click + Key Date to add a new key date.
Select one of the 6 icons to represent your new key date.
Give your key date a name.
Select the associated date in the calendar or by dragging the newly created key date on the slider (just below the date range).
Delete a key date by selecting the X icon on the right-hand side.
Click Update to save your changes.
Key Dates may only be created within the declared time range of the item.
Visualize on a Timeline
Once you have declared your Key Dates, visualizing them on a Timeline will automatically populate. Whether you're in our original or condensed theme, your Key Dates will inherit their item colour.
When in the condensed theme, you can easily hide or show key dates via the dropdown arrow on the left-hand side of an item.
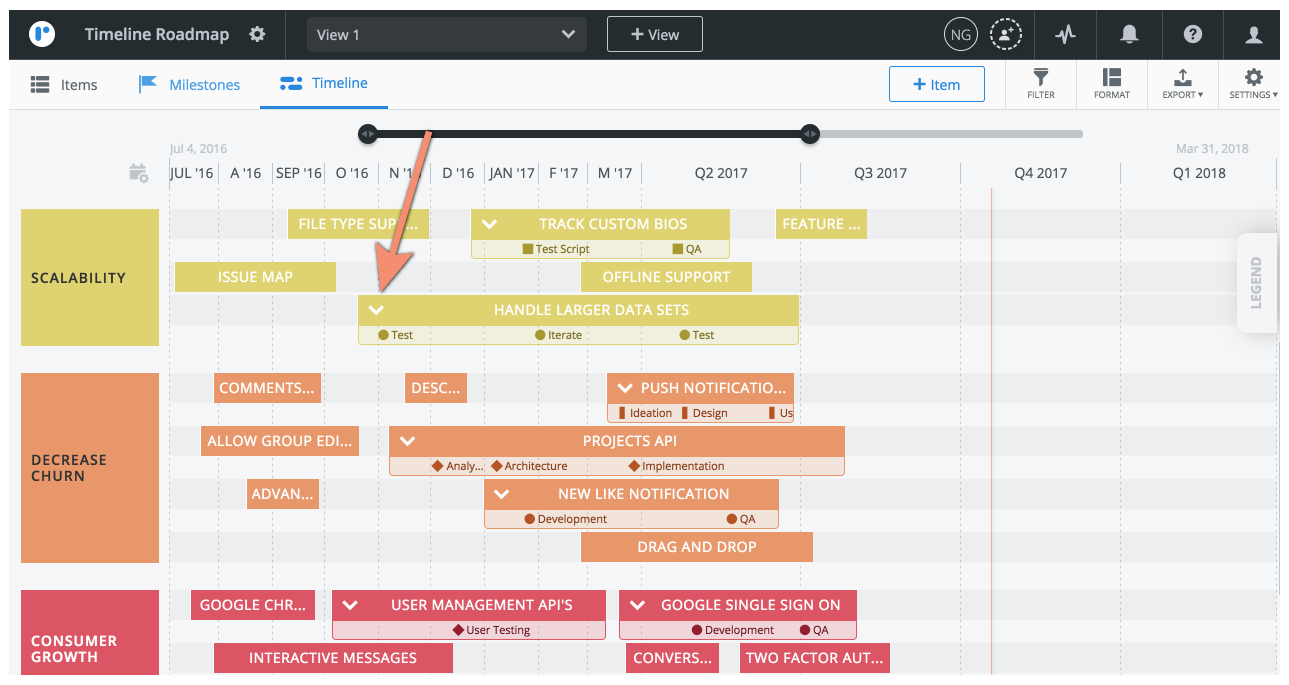
By moving the item, you move the associated key dates within. Similarly, by extending or shortening the item duration, the key dates will move accordingly.
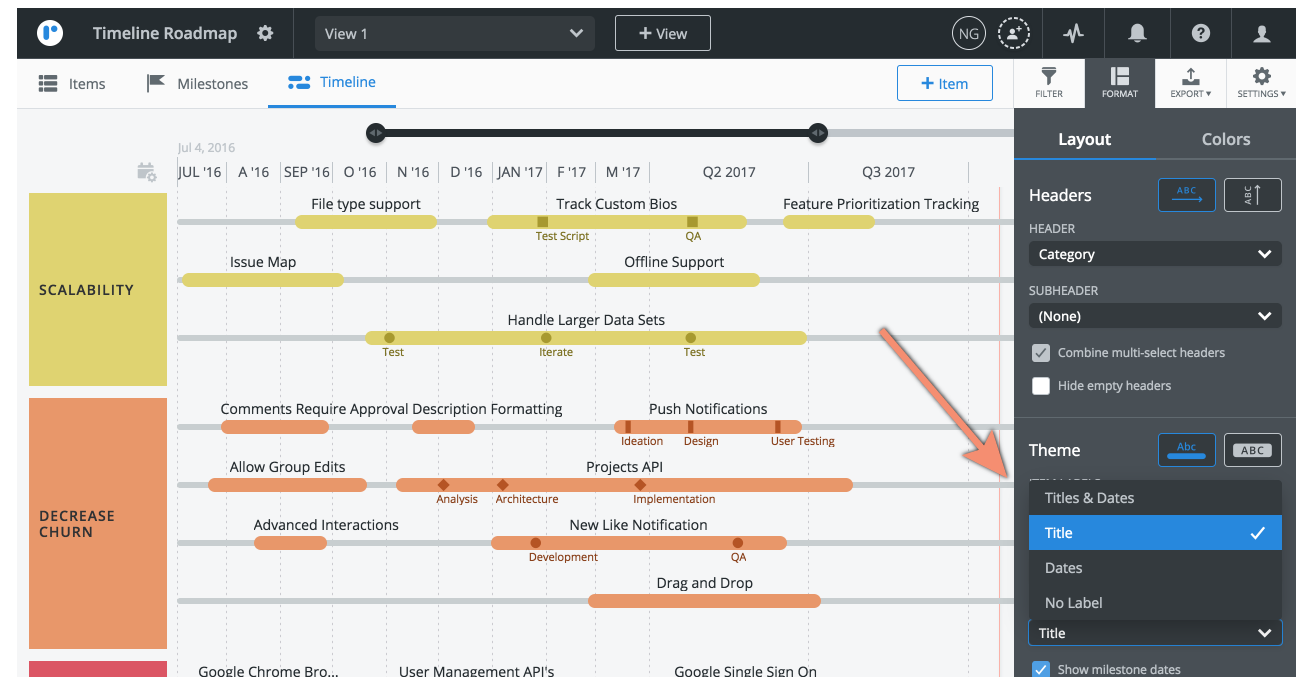
Within the Format Panel under Layout Tab, customize your key dates to display the titles, dates, titles & dates or no label.
FAQ
How many characters can you include in each Key Date? Key Date names have a character limit of 50.