There are two ways to create a roadmap in Strategic Roadmaps: from scratch or using one of the customizable in-app templates. Let's start by looking at how to create a roadmap from scratch.
Create a new roadmap from scratch
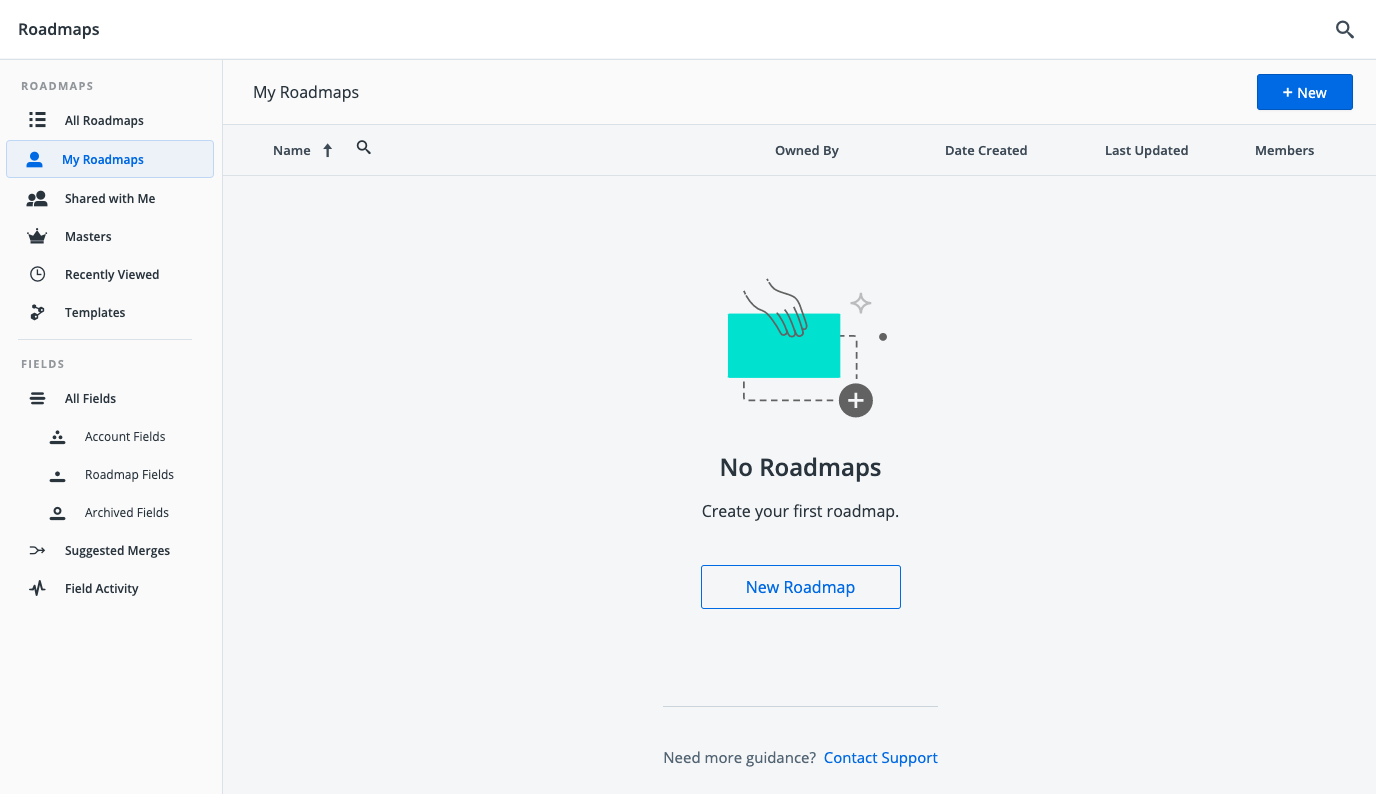
When you log in to Strategic Roadmaps, the first thing you see is your Roadmaps homepage. This dashboard is where you can see and access all your roadmaps as well as the ones other people in your account have shared with you. The dashboard is also where you start to create a new roadmap.
-
If you haven't created any roadmaps yet, click the New Roadmap button; otherwise, click the + New button at the top right of the screen and then select New Roadmap in the dropdown.
-
In the Create Roadmap dialog, enter a Title and select a Fiscal Year-End.
-
To customize the default fiscal year-end, check out our quick guide here.
-
You can also Enable Date Inheritance, which sets each parent item’s start and end dates to the earliest and latest dates of its sub-items.
-
-
Click Create to create your new roadmap.
The first view you will see of your new roadmap is the All Data view.
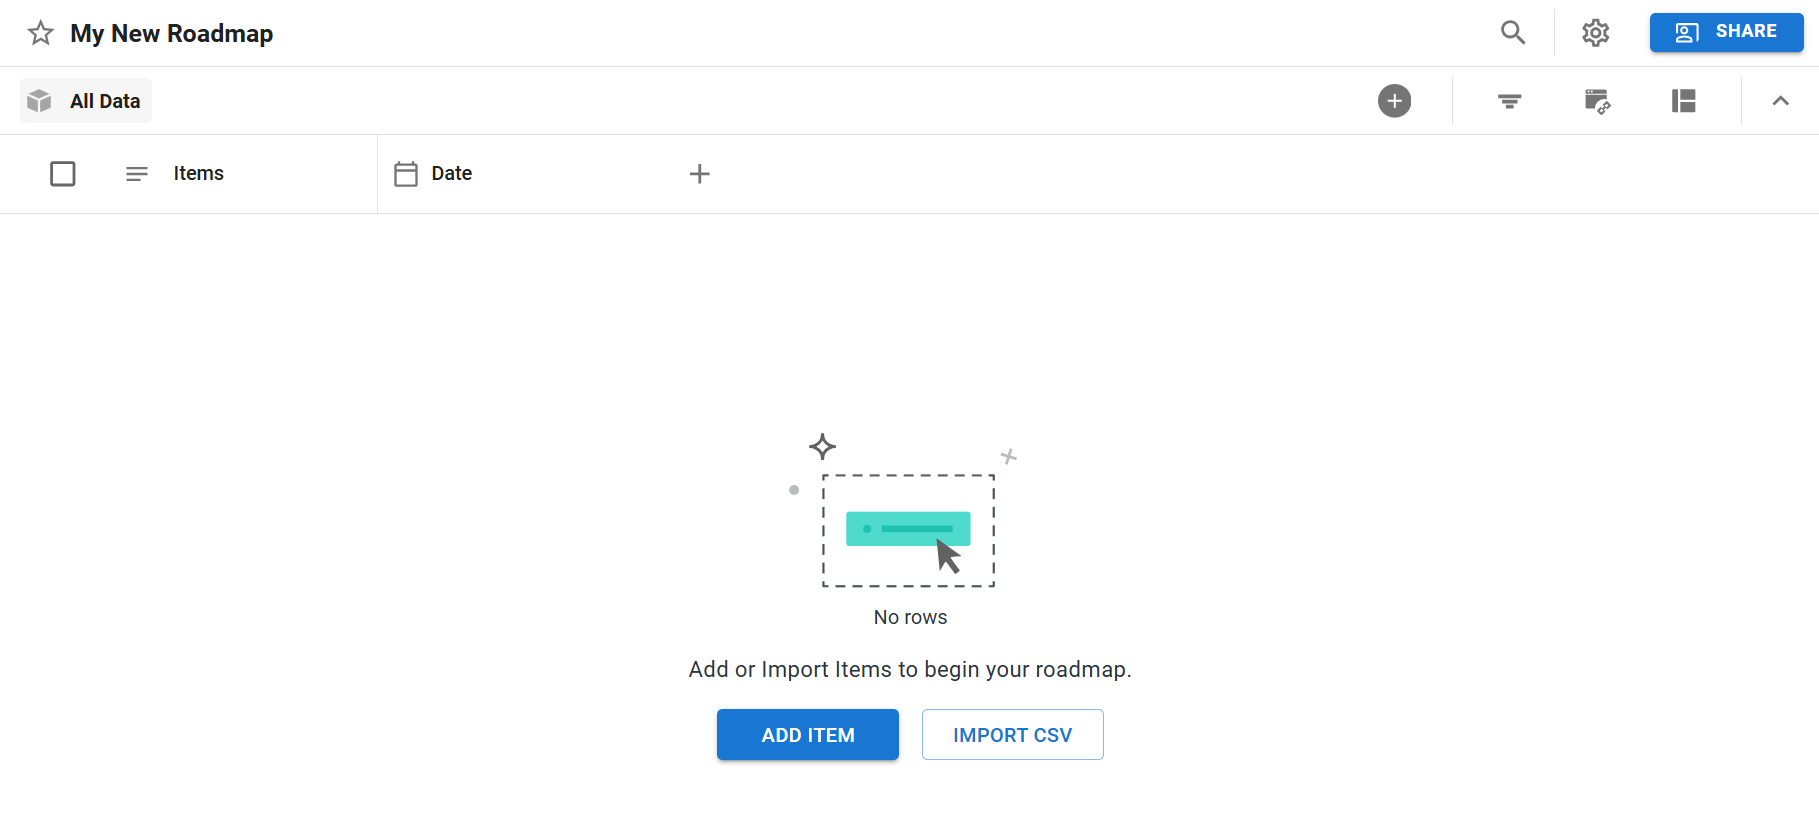
Because you started from scratch, your roadmap has no data, and so the Items Table is empty except for the header row. You'll learn how to add items to your roadmap in the next step of the tutorial, which covers how to create and import items.
Note that the Items Table has two default fields: Items and Date. All roadmaps have these two key fields and they can't be deleted. You'll learn how to add other fields to a roadmap in step 3 of the tutorial, which covers how to add and create fields.
Congratulations! 🎉
You've just created your first roadmap. That was easy, wasn't it? Next, let's look at how to create a new roadmap using one of Strategic Roadmaps's templates.
Create a new roadmap from a Template
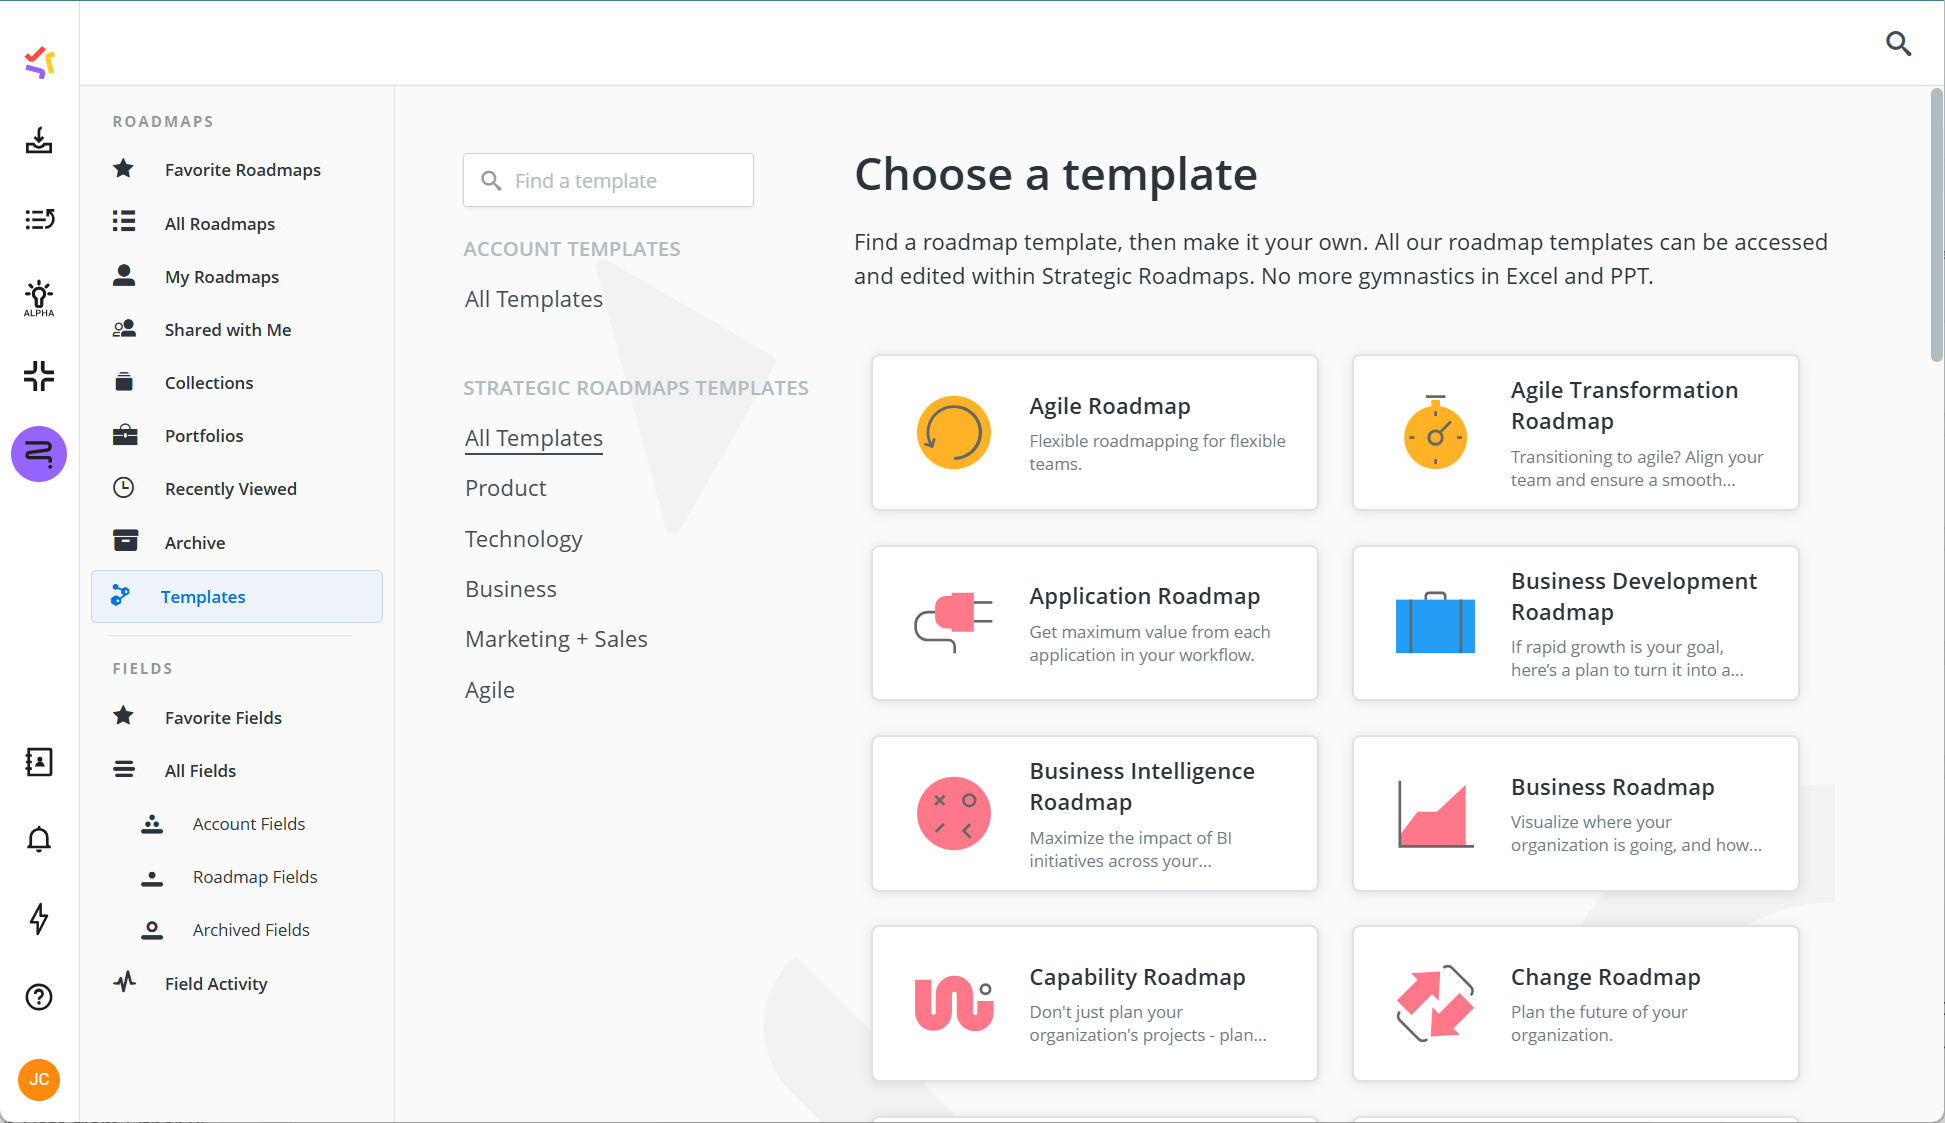
Strategic Roadmaps templates quickly get you started with one of over thirty roadmap types (including Product, Marketing, and Sales Roadmaps - among many others). Each roadmap template comes with the recommended fields but is fully customizable so you can make it your own.
-
From the Roadmaps homepage, click into the Templates folder.
-
In the template list that appears, select the template you want to use. For this example, we're selecting the Product Roadmap template.
-
When you choose a template, you're brought to the Template Preview screen. From here, you can navigate through the various views of the roadmap template to determine if this is the roadmap for you.
-
To select a template for use, choose the Use This Template button at the top of the screen.
-
In the New From Template dialogue that appears, you can specify the roadmap's Title and Fiscal Year-End or keep the default ones.
-
If you don't want to use the template's sample data, select the Start Empty option under the Sample Data section. NOTE: Every roadmap template comes with sample data that you can duplicate as well as the fields. The sample data is really useful if you want to test a roadmap type before creating one of your own.
-
Click Create.

You’ve now generated a roadmap based on that template.
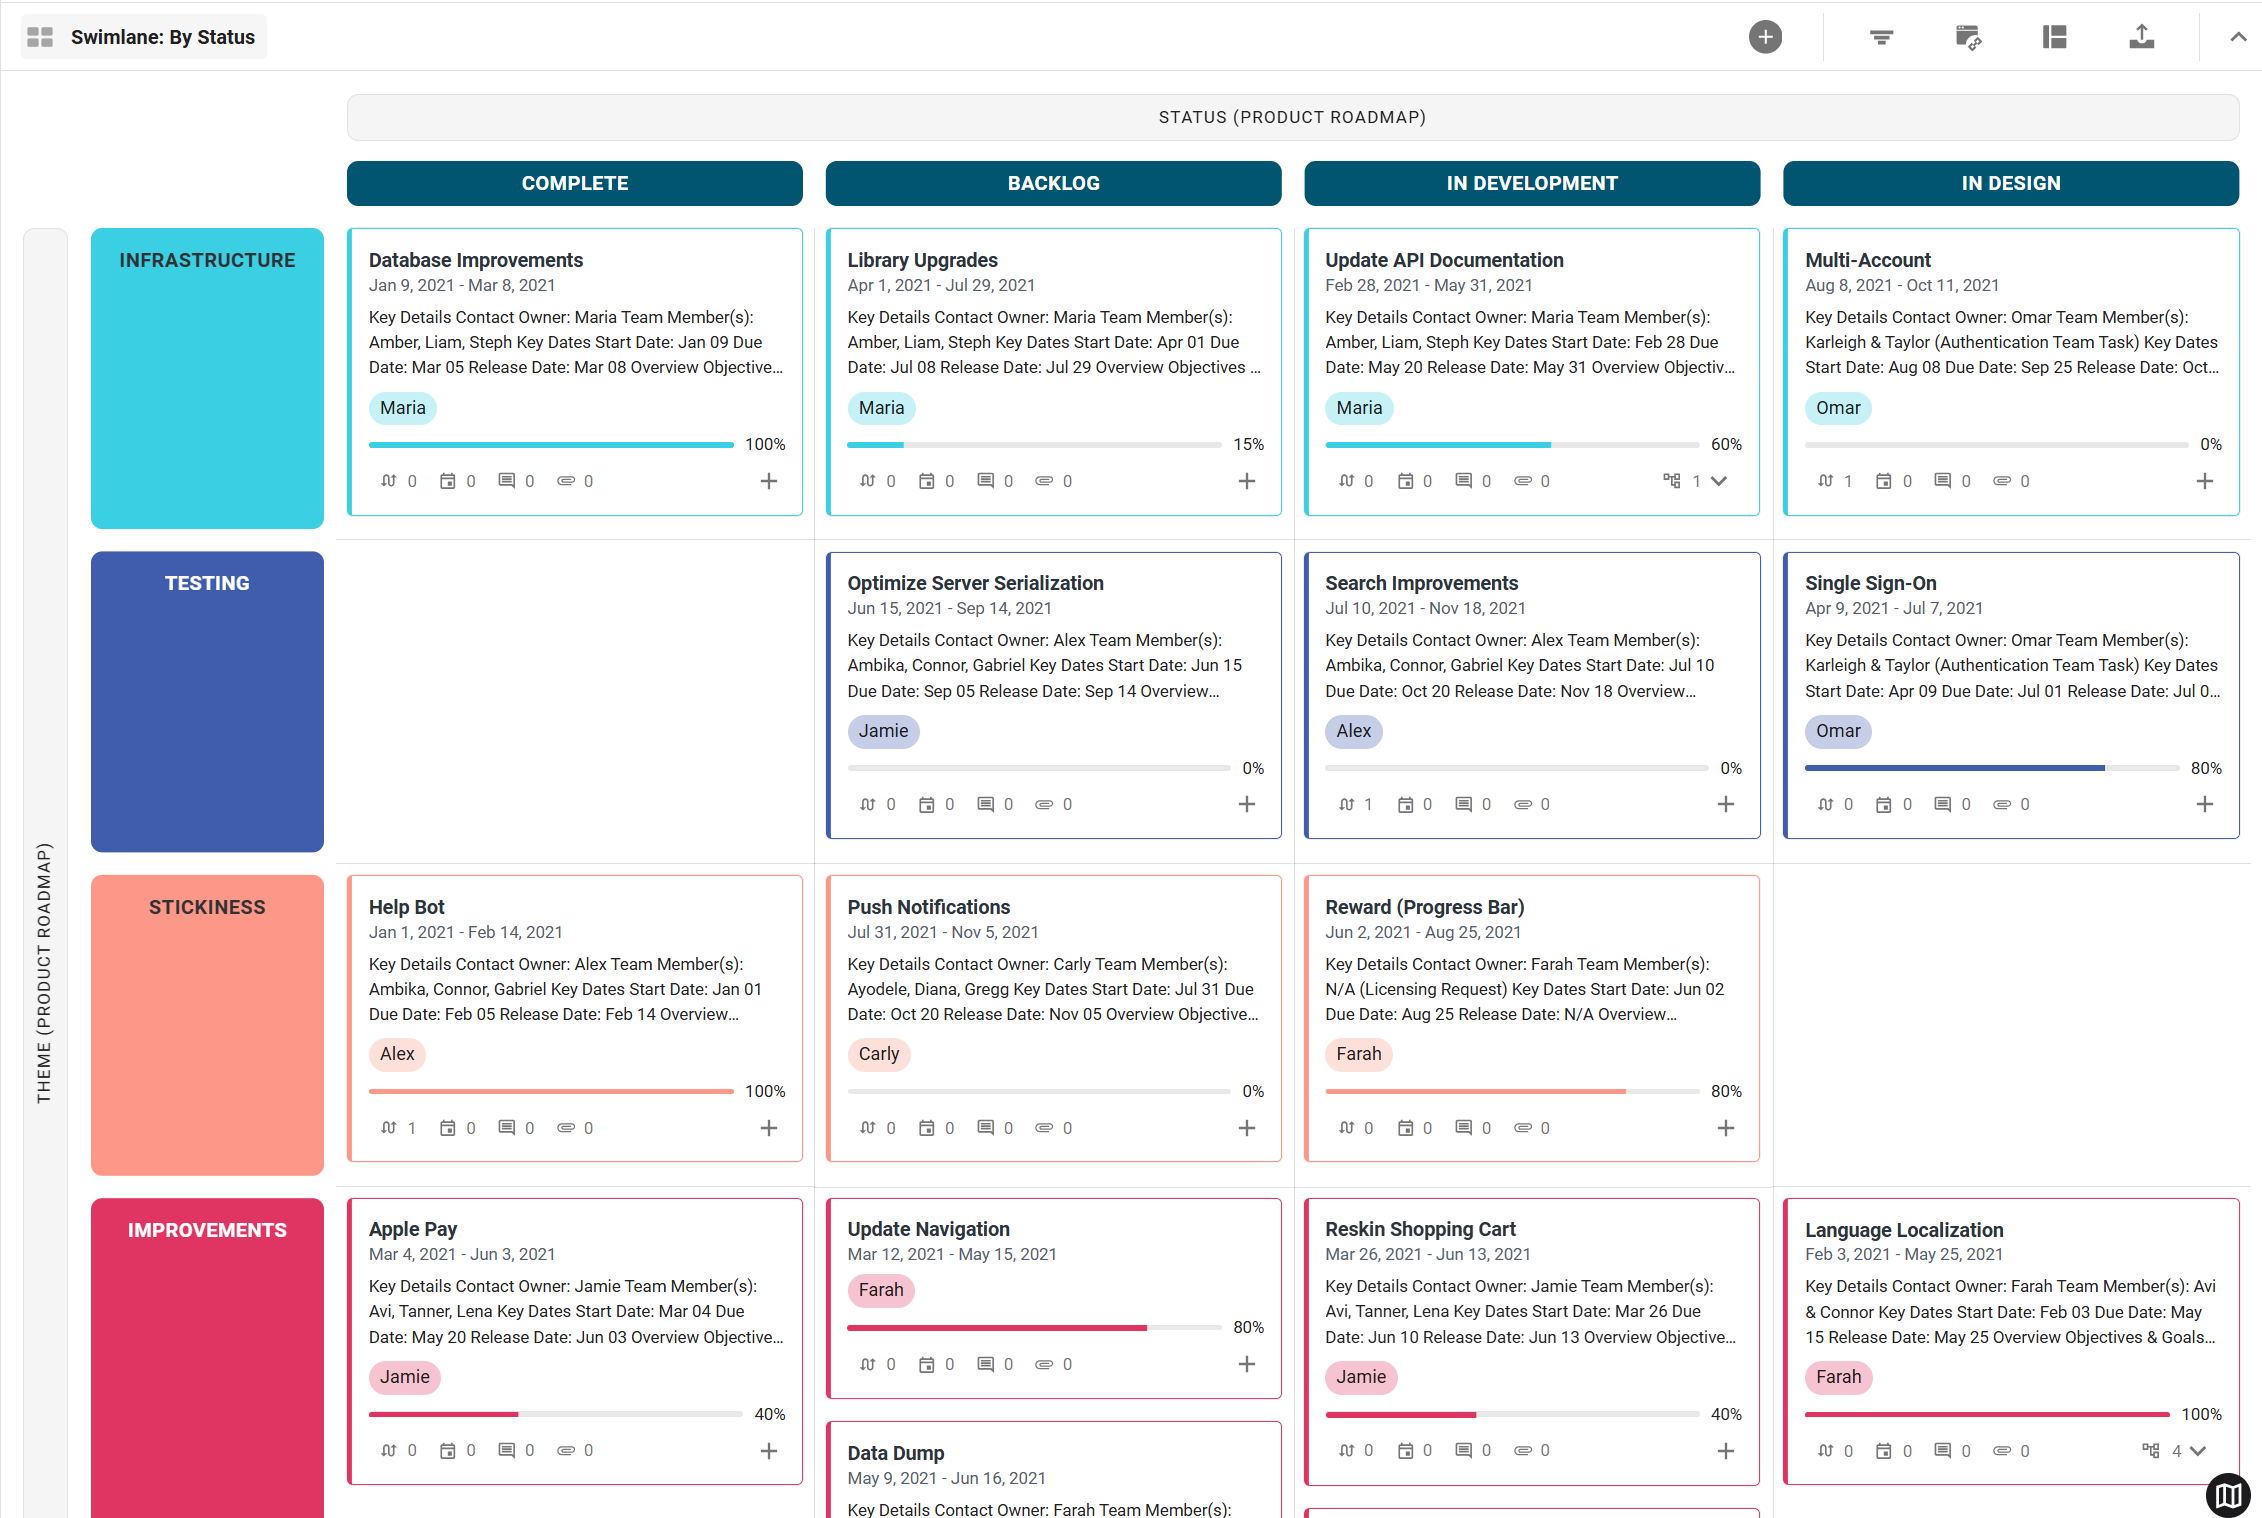
By navigating to the roadmap's All Data view through the View menu at the top of the roadmap, you can see the fields that were added from the template in addition to Items and Date. You can add or remove fields as needed on the roadmap, with more details on how to do that coming up in the fields overview of this tutorial.
Congratulations! 🎉
You've now gone through the two different ways of creating a roadmap and can compare them to choose the one that works best for you.