As well as logging time that you worked on an issue, you can log expenses to the issue. This can be done from within the Jira issue, or from within Budgets.
If you log expenses to an issue, the Account Lead (for the account that is associated with the issue) can view the expenses in the Time and Expenses report and on the account revenue graph. Other users with Manage Accounts permission can also view the report and graph.
Required permission
Edit Issue permission (in JIRA)
Adding issue expenses from within the Jira issue
-
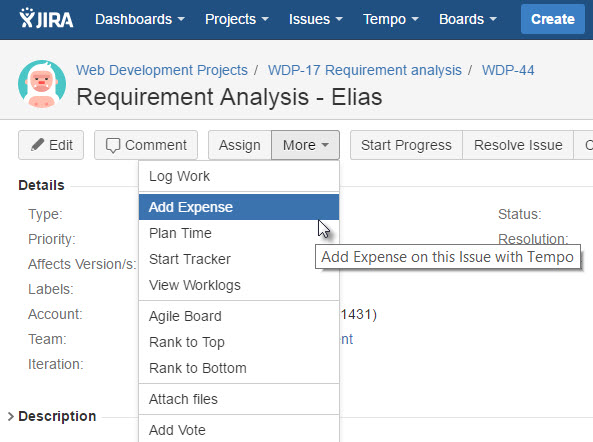
On the menu bar of the issue, click More > Add Expense
-
In the Add Expense window, fill in the requested information.
In the Category field, you can select an expense category from the list. Alternatively, you can create a new category, as in the following example to create the category 'Hotels':
-
In the Category field, type
Hotels. -
Underneath the field, click Hotels - (New).
-
-
Click OK.
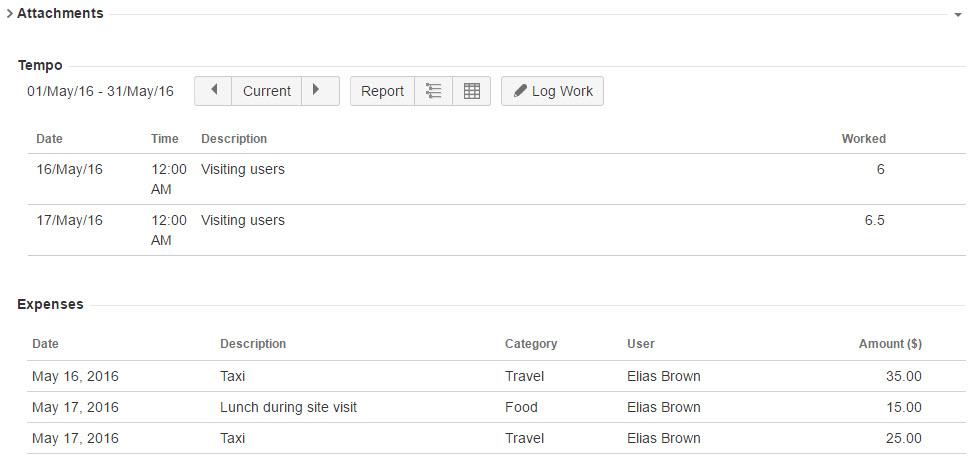
In the Expenses section of the issue, only expenses that you added are displayed. If the issue is editable, you can also edit or delete expenses this same way.
Expenses section of a JIRA issue (Click to enlarge)
Adding issue expenses from within Budgets
-
From within the Costs section of the Folio, select Actual. All issue expenses added within the issue will be calculated as Actual Expenses.
-
To add a new expense, click on the dollar sign symbol at top

or use the 'a' hotkey.
-
In the Add Expense window, fill in the requested information.
-
Click OK.
Expenses section of a JIRA issue (Click to enlarge)
If the issue is editable, you can also edit or delete expenses.